

Taro sago (tapioca dessert) is a deliciously creamy and fragrant Cantonese dessert soup/drink that's very popular in Taiwan. Although the drink that Taiwan is known for is bubble tea, taro sago, with it's amazing flavor and contrasting textures is arguably just as awesome, if not better! What's more, this drink is easy to make, only requiring three main ingredients - taro, sago/small pearl tapioca and coconut milk, and it's dairy free and gluten free!
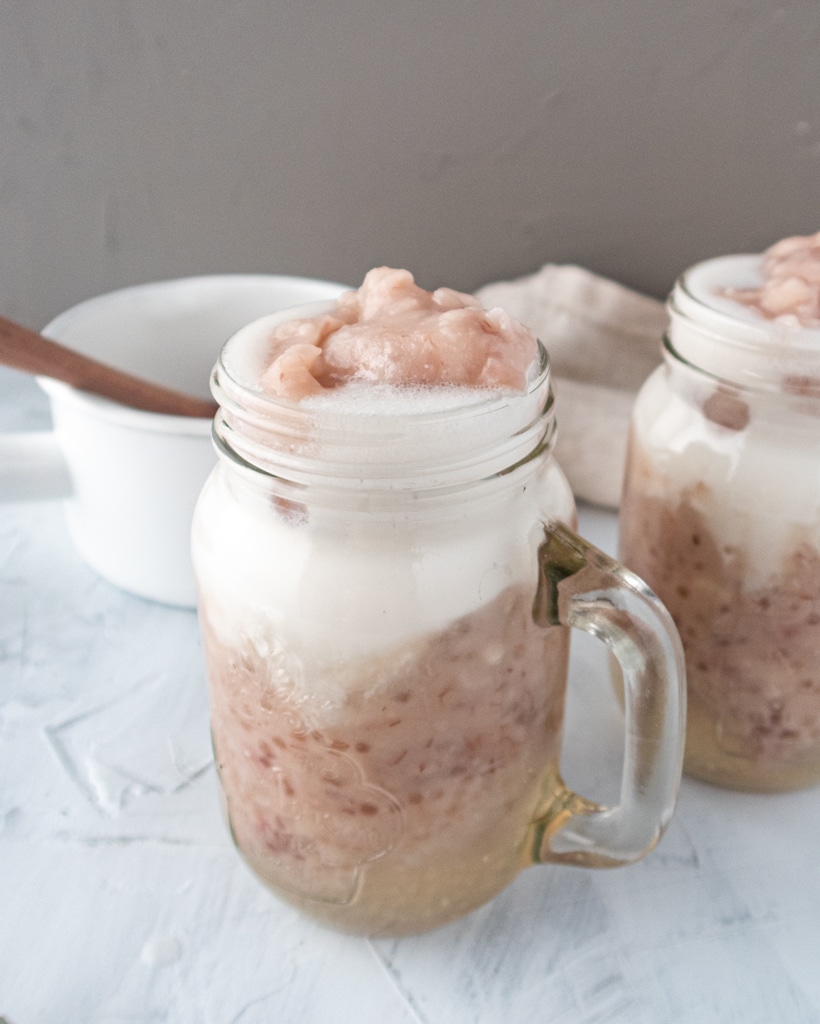
One thing to get out of the way is that even though the dish is more commonly known as Taro sago, we, as many people do, use small pearl tapioca instead because it's easier to find and can basically be used interchangeably with sago. I am a big fan of taro sago with coconut milk. To me, taro and sago/small pearl tapioca are a perfect match. I still remember when I was a kid, whenever we went to a dim sum restaurant, I would always beg my parents to order taro sago as a dessert for after the meal. Since that small bowl of taro sago is almost as expensive as a bento box in Taiwan, I usually had to share with my sister, so I never felt like I really had enough of it.
Now Taro sago has became something I make for my family quite often, and my whole family loves it very much. My three-year-old always gets excited whenever she sees me making it.
What's taro and how to prepare it?
Taro is a starchy root vegetable that's very popular in Asian countries. It's not sweet or anything in and of itself, but when properly prepared, it brings a distinctive mildly nutty flavor with floral notes that can't really be replaced by anything else. In Taiwan, taro is used in both savory and desert applications. You can usually find taro root in Chinese or Latin grocery stores.
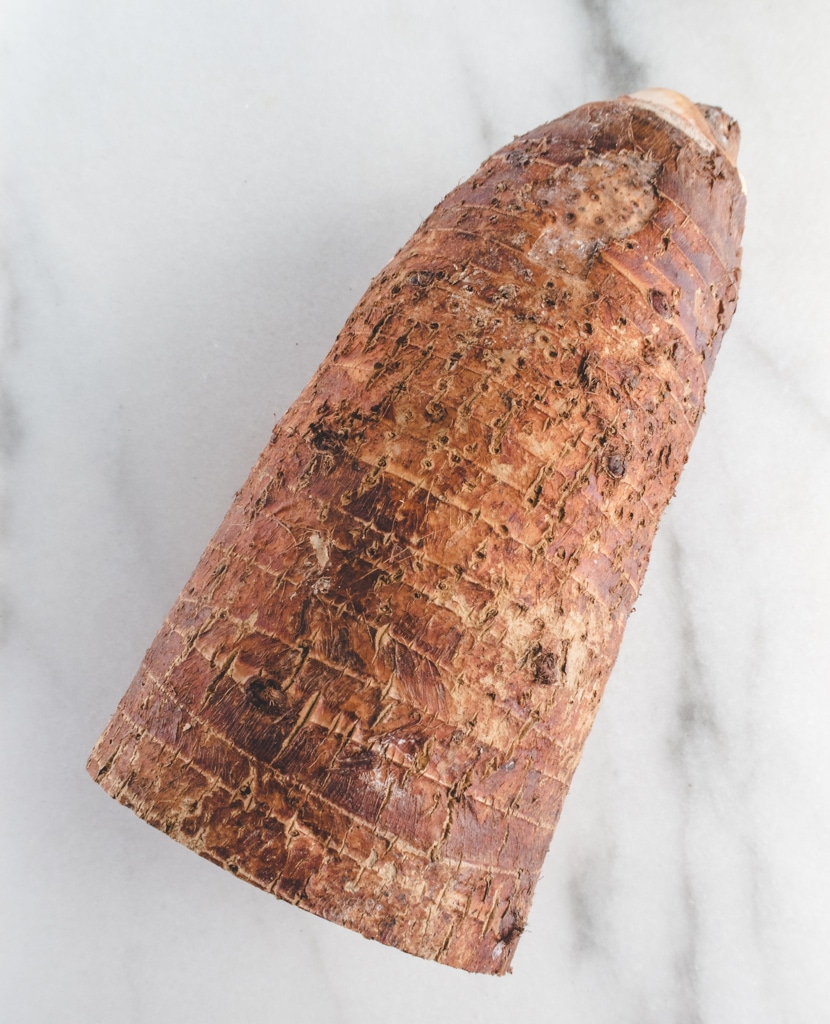
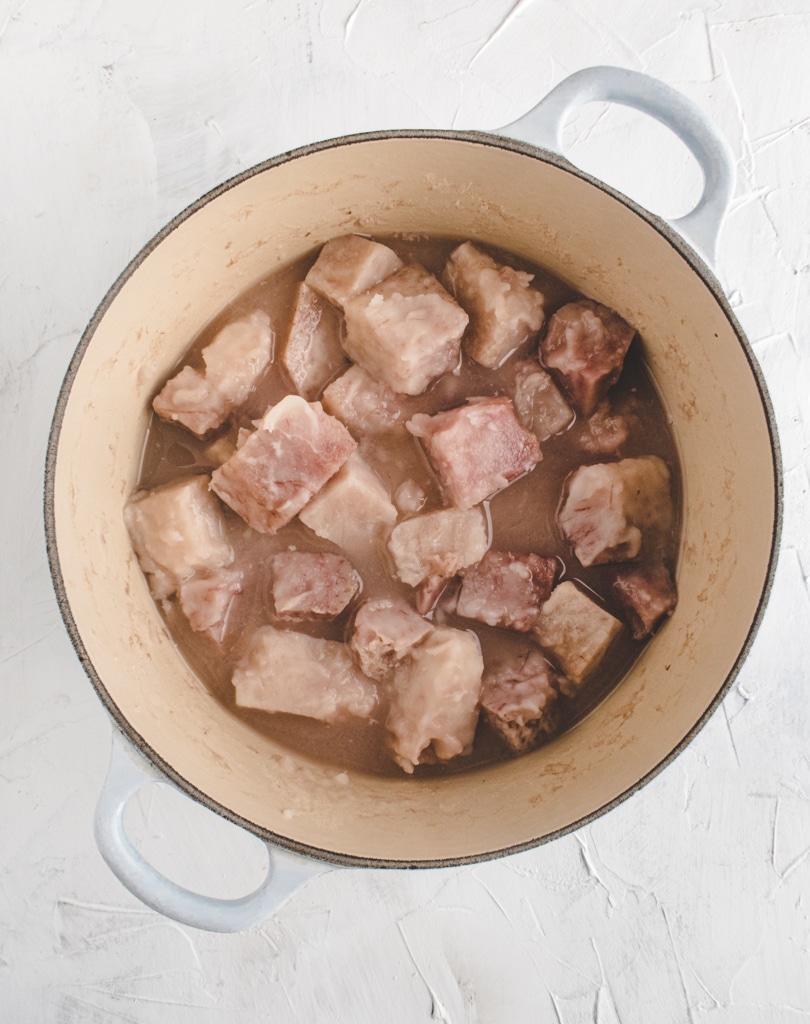
After buying your taro, I'd recommend processing it first before storing, since it's easy for taro to grow mold before it's processed. To peel the taro skin, you can either use a Y shaped peeler or trim the skin off with a knife. Taro skin can make your skin itchy, especially when it's wet, so don't wash it before peeling. I typically prep the taro by trimming off the two ends then trimming off the skin, before cutting it into cubes. Before storing or cooking, I'd give the taro cubes a quick rinse.
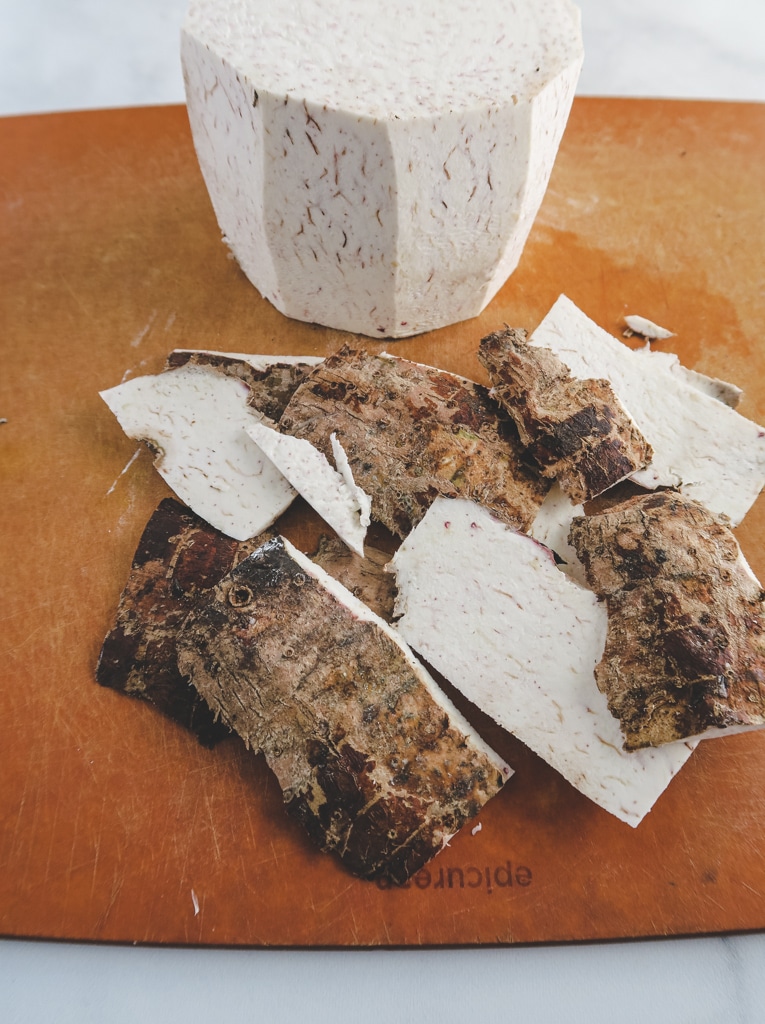
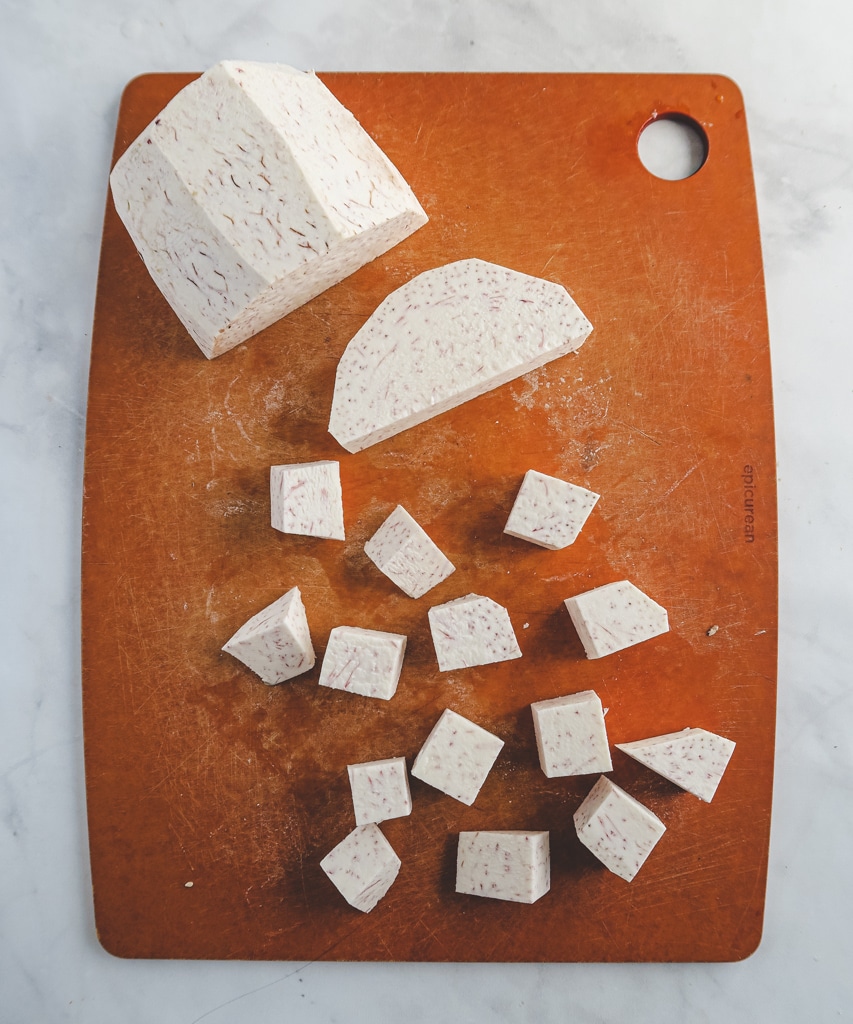
I like to put the cut up taro cubes in a ziploc bag and store them in the freezer. Then when I any, I can just take out the needed amount and cook it directly without needing to thaw it first, very convenient!
How to cook sago (small pearl tapioca)
Unlike the usual tapioca pudding that requires cooking tapioca pearls in milk directly, in this dish, we cook it in water first to ensure that we'll have a chewy and bouncy texture. In Taiwan we call this a "Q" texture (you can learn more about what's Q texture in this article), and it is something very commonplace and important to Taiwanese food culture, especially in the context of buns, noodles and things like boba. I would say that cooking tapioca pearl might be the most difficult part of this recipe, because we want it to be cooked through, yet still "Q". Don't be afraid, though, I'll share with you the trick for easily cooking your tapioca pearls perfectly.
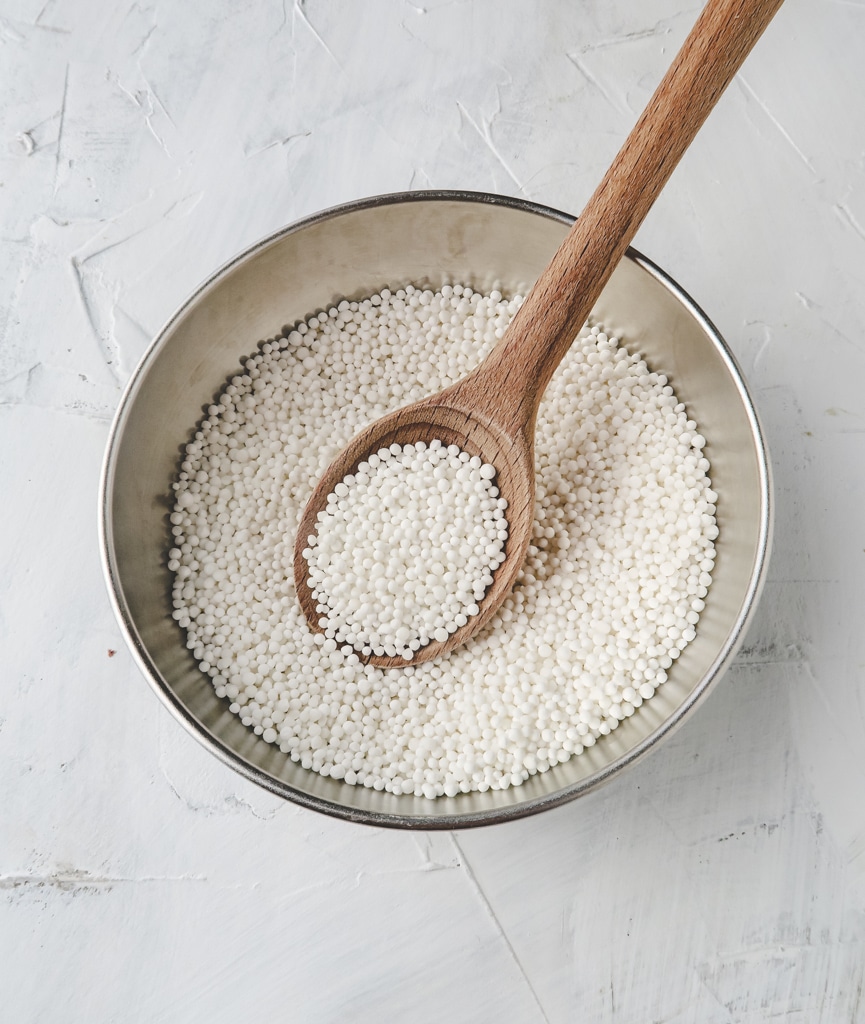
Different brands of small pearl tapioca may have different recommended cooking times, but the principle of cooking them is the same.
- First, soak the tapioca pearl in cold water for about 3 minutes, which will help it cook through more quickly. I usually do this while I'm heating up the water.
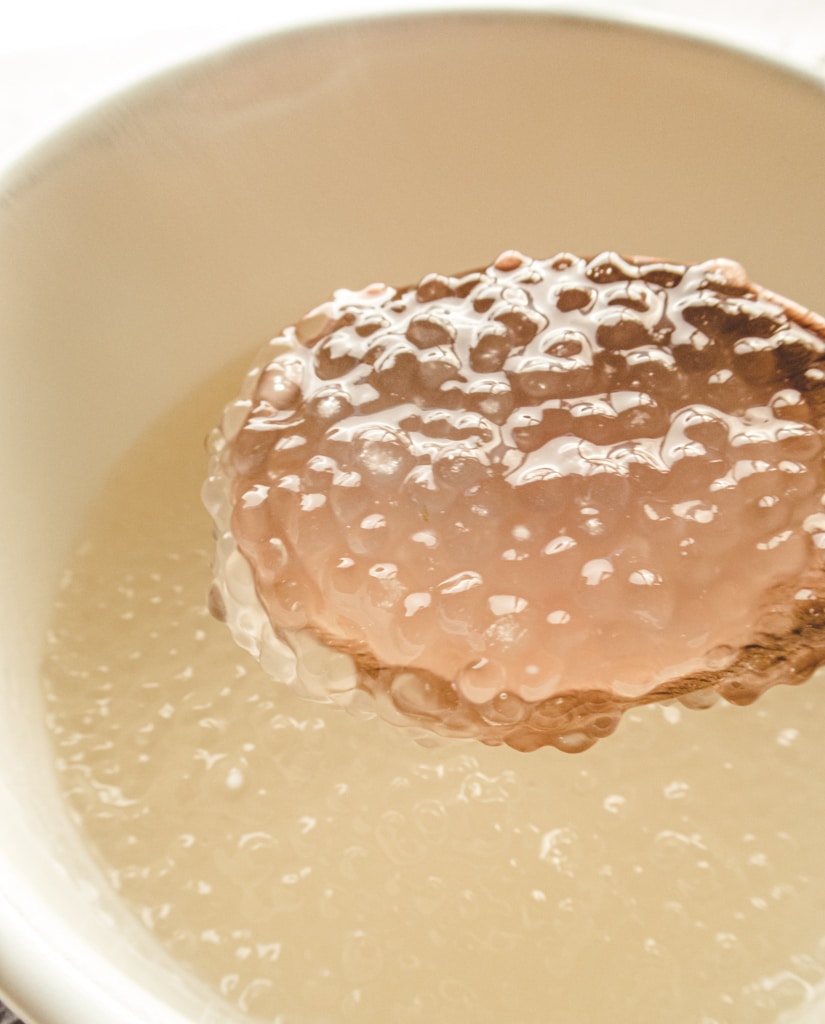
- Cook until the tapioca pearls are almost translucent with only a little white dot in the middle.
- Turn off the heat, cover and let it sit for another 10 minutes or so until the white dot in the middle disappears.
- Rinse under cold water, then add some sugar and a bit of cold water to prevent sticking, and that's it!
How to serve taro sago
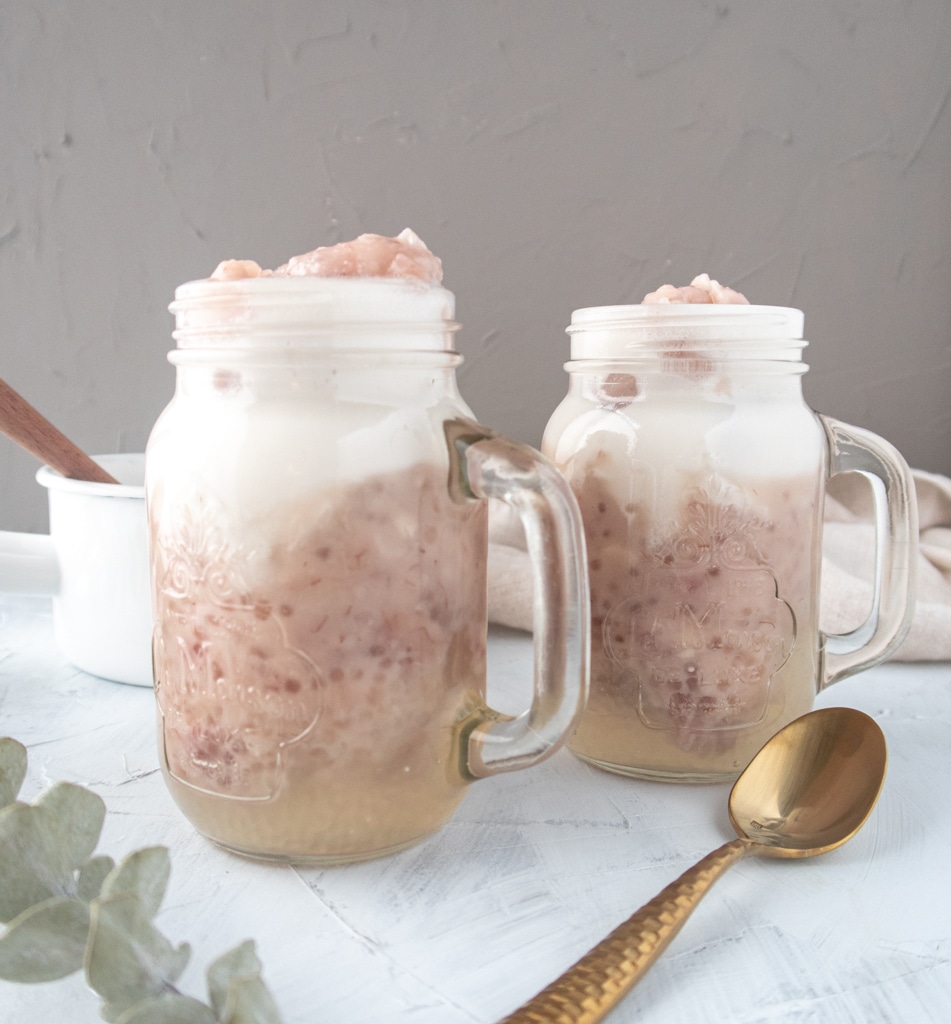
Traditionally, it's served in a bowl and eaten with a spoon. However, you may also find this selling in Taiwan now as a cold drink at a boba stall. They usually serve this in a clear cup with a layer of sago, a layer of cooked taro and a layer of coconut milk (or a mixture of condensed milk/cream with coconut milk). Before drinking, you would just stir all the layers together first.
Storing Instruction
Taro sago tastes the best within a few hours after assembling. If you cannot finish it in the same day or if you want to make enough to enjoy for several days, I would suggest first cooking, combining and storing everything apart from the tapioca pearls. Then, whenever you'd like to have some, cook your tapioca pearls and mix it with the rest of the dish. I recommend doing this because the tapioca pears gets soggier and less "Q" if it sits in the liquid for too long.
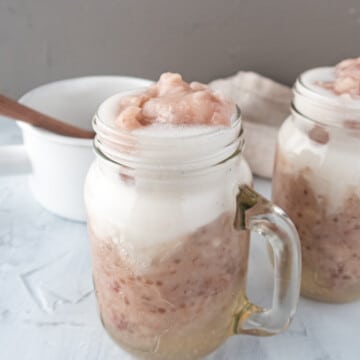
Taro Sago with Coconut Milk
Ingredients
For sweet mashed taro
- 1~1½ lb taro root
- ½ cup sugar
- 1 tablespoon rice cooking wine, optional
- 2 cup water
Sago
- ½ cup small pearl tapioca
- 1 cup water, for soaking
- 2 qt water, for cooking
- 2 tablespoon sugar
Other
- 1 can coconut milk
- condensed milk, optional
- heavy whipping cream , optional
Instructions
Prepare and cook taro
- Trim two ends of the taro root, peel it with a Y shaped peeler or trim with knife. Don't wash it before peeling to prevent irritated/itchy skin.
- Cut the taro into 1.5 inch cubes. Rinse with water.
- Place taro cubes with all other ingredients in a pot and bring it to a boil.
- Turn the heat down to simmer and cook for about 15 minutes covered (leave the lid ajar to prevent pot from bubbling over) or until you can easily poke through the taro with a fork. Stir half way though so that the taro that isn't submerged in water can also get a turn being submerged.
- Cover and let it sit for another 15 minutes until the inner part is completely moist and soft
Cook sago/small pearl tapioca
- Bring about two qt (or more) of water to a boil, meanwhile, soak the tapioca pearls with a cup of water for about 3 minutes.
- When the water is boiling, use a spatula to scrape the tapioca pearls into the pot along the edge of the bowl.
- Maintain a gentle boiling and cook until the tapioca pearls became almost translucent with only a little white dot in the middle. This usually takes about 10 minutes or so.
- Turn of the heat, cover and let it sit for another 10 minutes until the white dots disappear. It's fine if few of them still remain white in the middle.
- Drain and rinse the tapioca pearls with cold water before pouring into a bowl. Mix with sugar and a few tablespoons of cold water and set it aside.
Assembling
- Mash the taro until it reaches your desired texture. I prefer to leave few chunks instead of fully smooth, but it's totally up to you.
- Mix tapioca pearls and taro together, add about ½-1 can of coconut milk. Sweeten with more sugar or condensed milk if desired. You can also add a bit a heavy whipping cream to create a creamier texture and a richer taste.
Leave a Reply