

My grandma used to make a huge jar of Chinese fermented napa cabbage every year. This style of napa cabbage originated from north east part of China, and the best way to enjoy it is to incorporate it into a hot pot with thinly sliced pork belly and mung bean noodles. Cooking fermented napa cabbage together with pork belly results in an amazing flavor profile that you'll remember and crave for again and again after your first time trying it. At least I can say that this combination is something that I definitely miss ever since moving to the US!
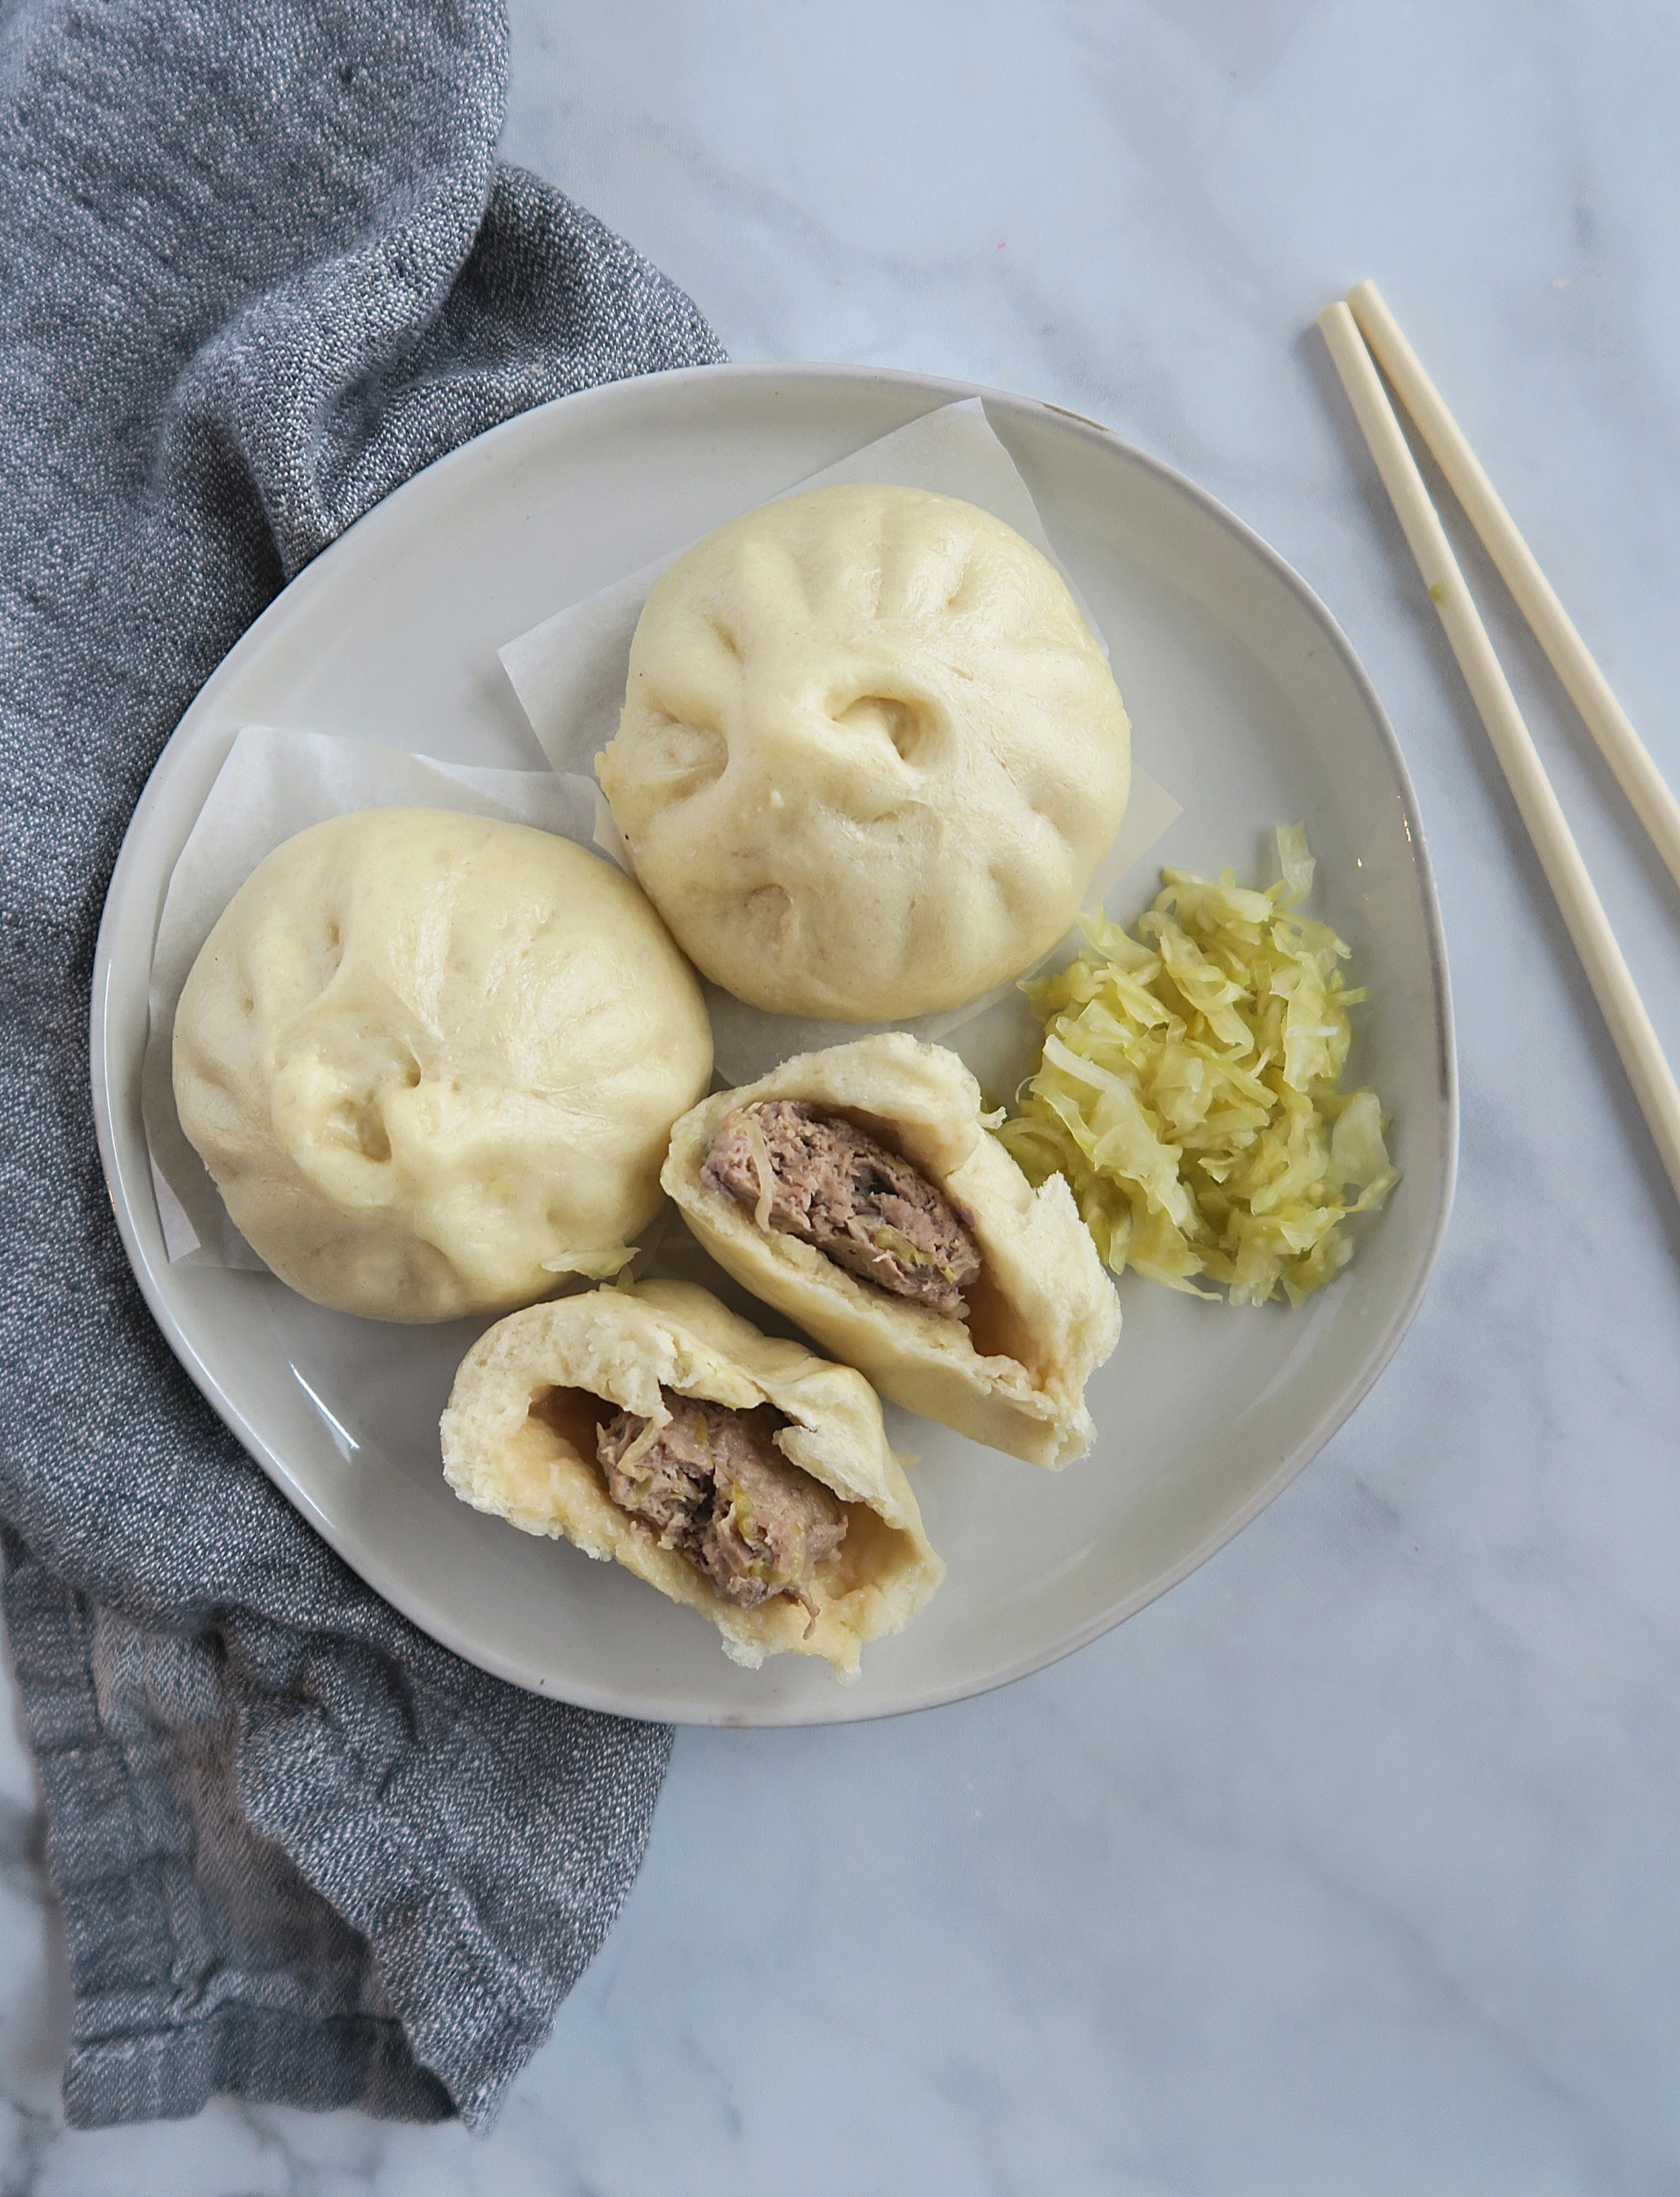
This is why I was so surprised and pleased when I found that sauerkraut actually tastes almost the same as the Chinese fermented napa cabbage that I've been craving all the time, except it's made with green cabbage and has a lighter flavor. Naturally, that means it should also go very well with pork!
Now I make steamed buns quite often, and one night while I was lying in bed planning on making some steamed buns the next day, it suddenly occurred to me that sauerkraut should work perfectly in the pork buns. Not only should the flavor work well, using sauerkraut would even simplify the process, since I'd be able to skip the step of chopping vegetables and just squeeze out the excess water of the sauerkraut before incorporating it with the ground meat. Brilliant! I was so excited about this idea that I almost couldn't fall asleep.
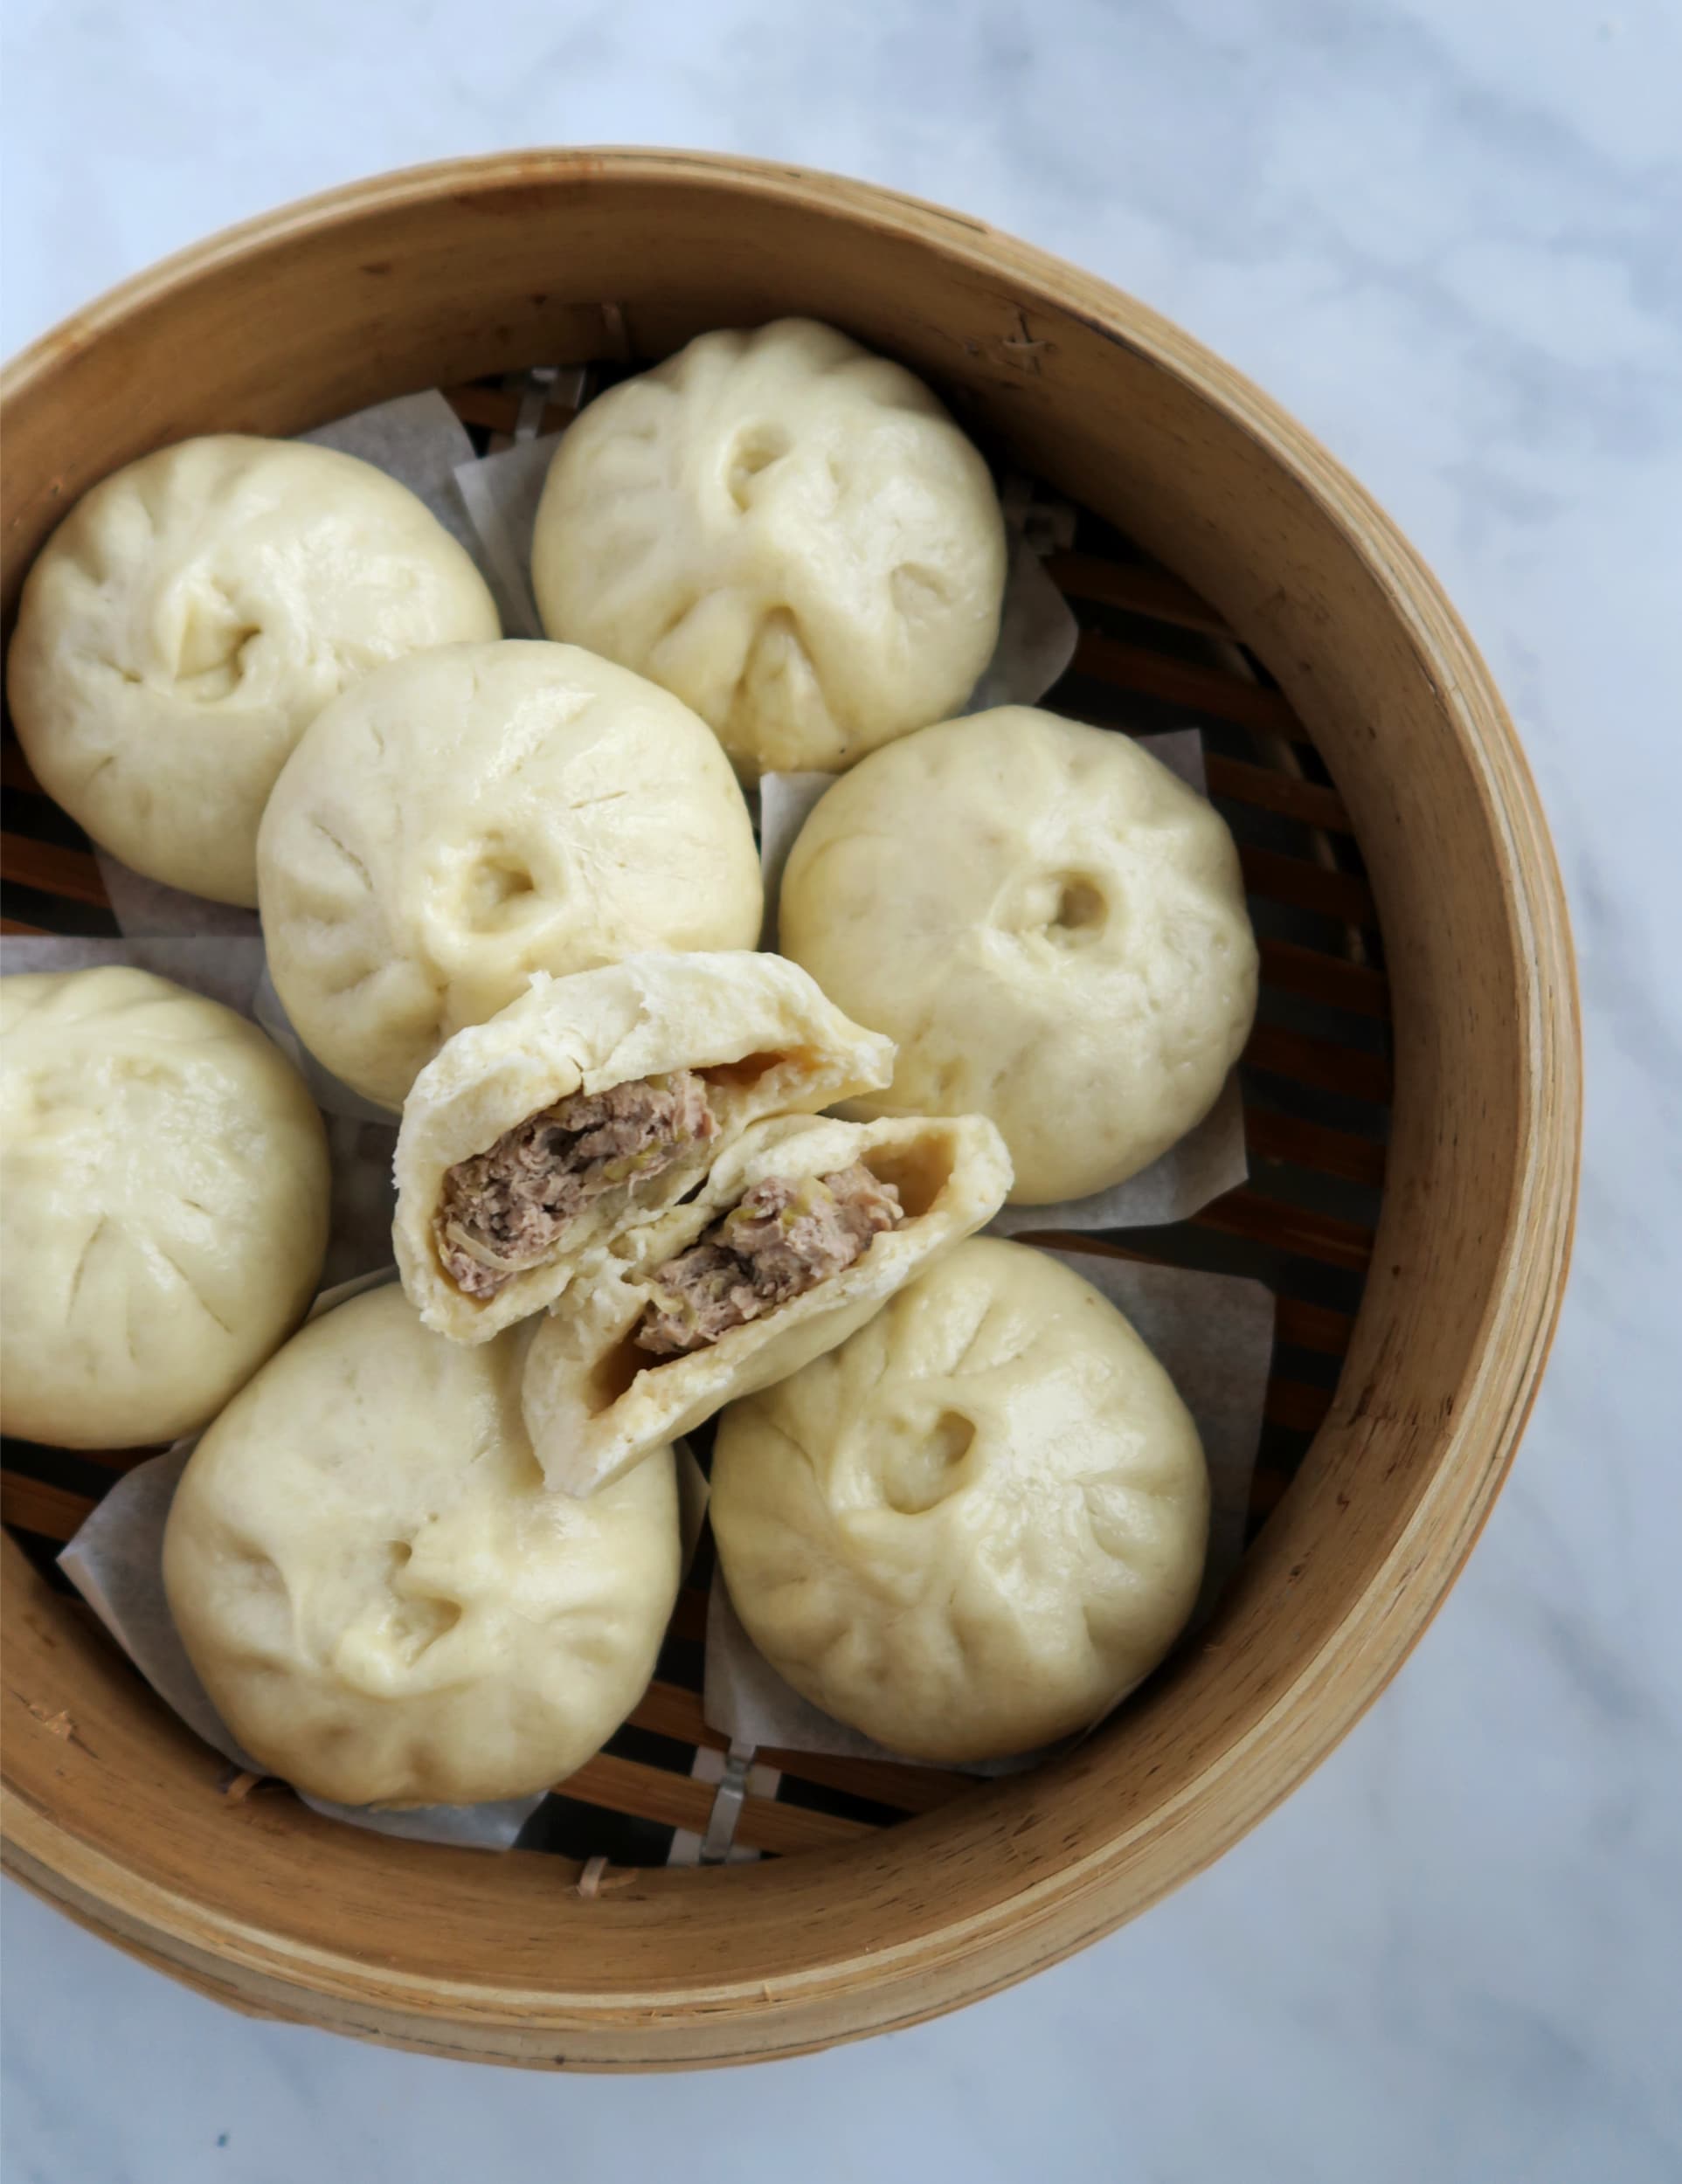
Honestly I was quite nervous after the buns were done. Will these even taste good? Did I just ruin a batch of steamed buns? When I took a bite, all the doubt melted away and I was ecstatic, it was super delicious!! I was reminded from the book Salt Fat Acid and Heat that acid balances flavor, and that it contrasts with other tastes to heighten our pleasure in foods. After eating this bun, I couldn't agree with the author more.
Here are some tips for making steamed buns:
- Adding water to the ground meat is the key to making a juicier filling
- It's best to grind your own ground pork with 30% fat content, as it results in both a better flavor and texture. If that's too much trouble, though, store bought 20% fat ground pork works fine too.
- Always tastes the flavor of the filling to see if you need more seasoning. The easiest way to do this is to microwave a bit of the filling (about 15 seconds) and try it.
- When kneading the dough, add half of the flour into the water, then mix well before adding the rest, this will allow the flour to absorb water faster and make it easier to form a dough.
- After forming a rough ball with the dough, let it rest for 10 minutes before kneading it into a smooth dough, this will save you a lot of effort.
- When rolling the dough for the wrap, roll it thinner at the edge and thicker in the middle, so it'd be easier to wrap around the filling.
- Make sure your buns have proofed enough before steaming, otherwise the bun will be doughy and will slightly stick to your teeth when eating (which is very annoying).
- Don't add too much water in the steaming pot. This will make the water take too long to boil and make you risk having over-proofed buns.
- Once the bun is done cooking, remove it from the pot right away and wait for 3 minutes before opening the lid.
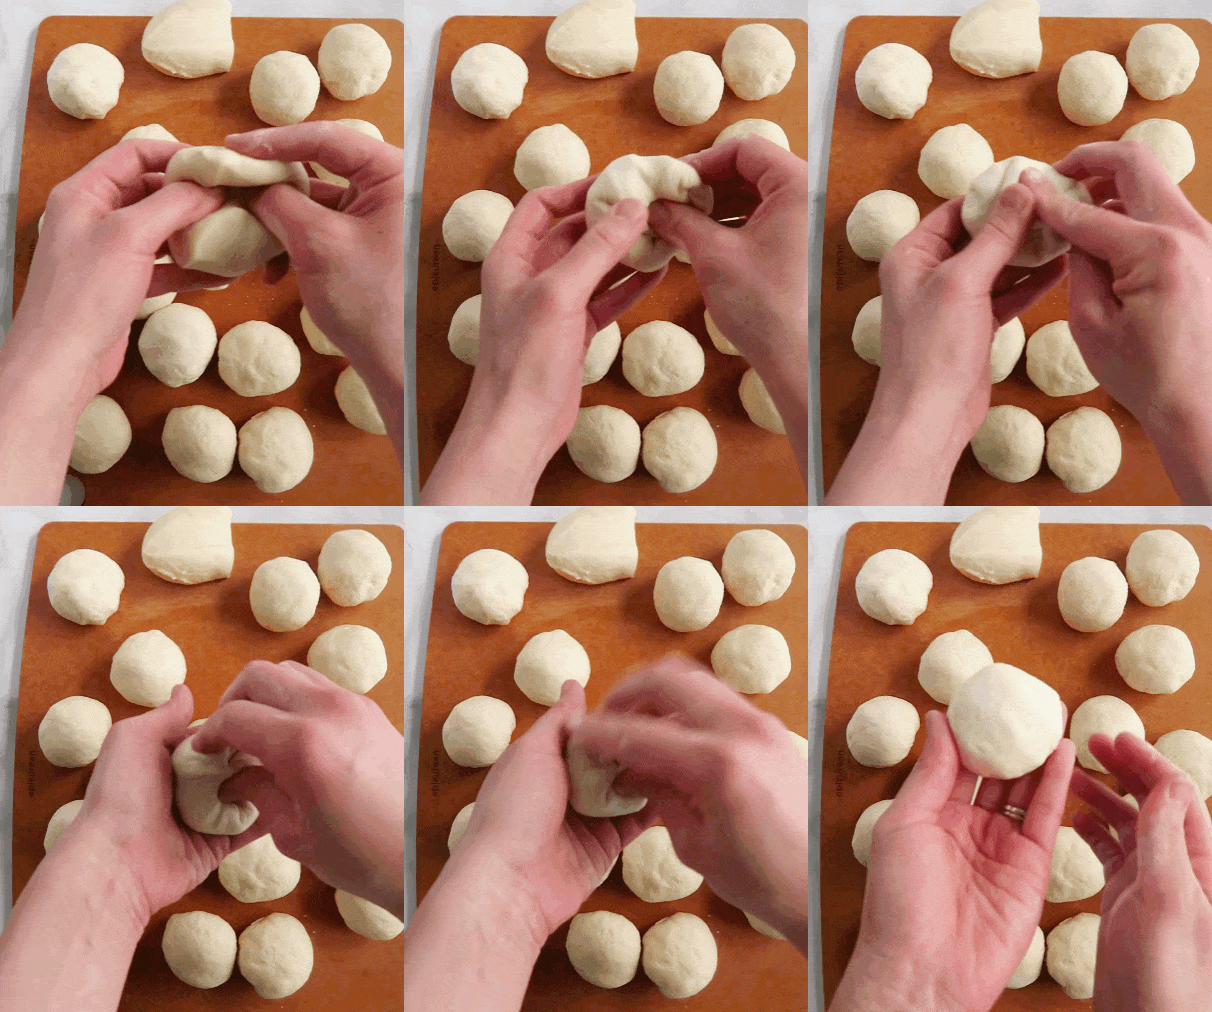
If you are new to making steamed buns, these gifs might be helpful to you:
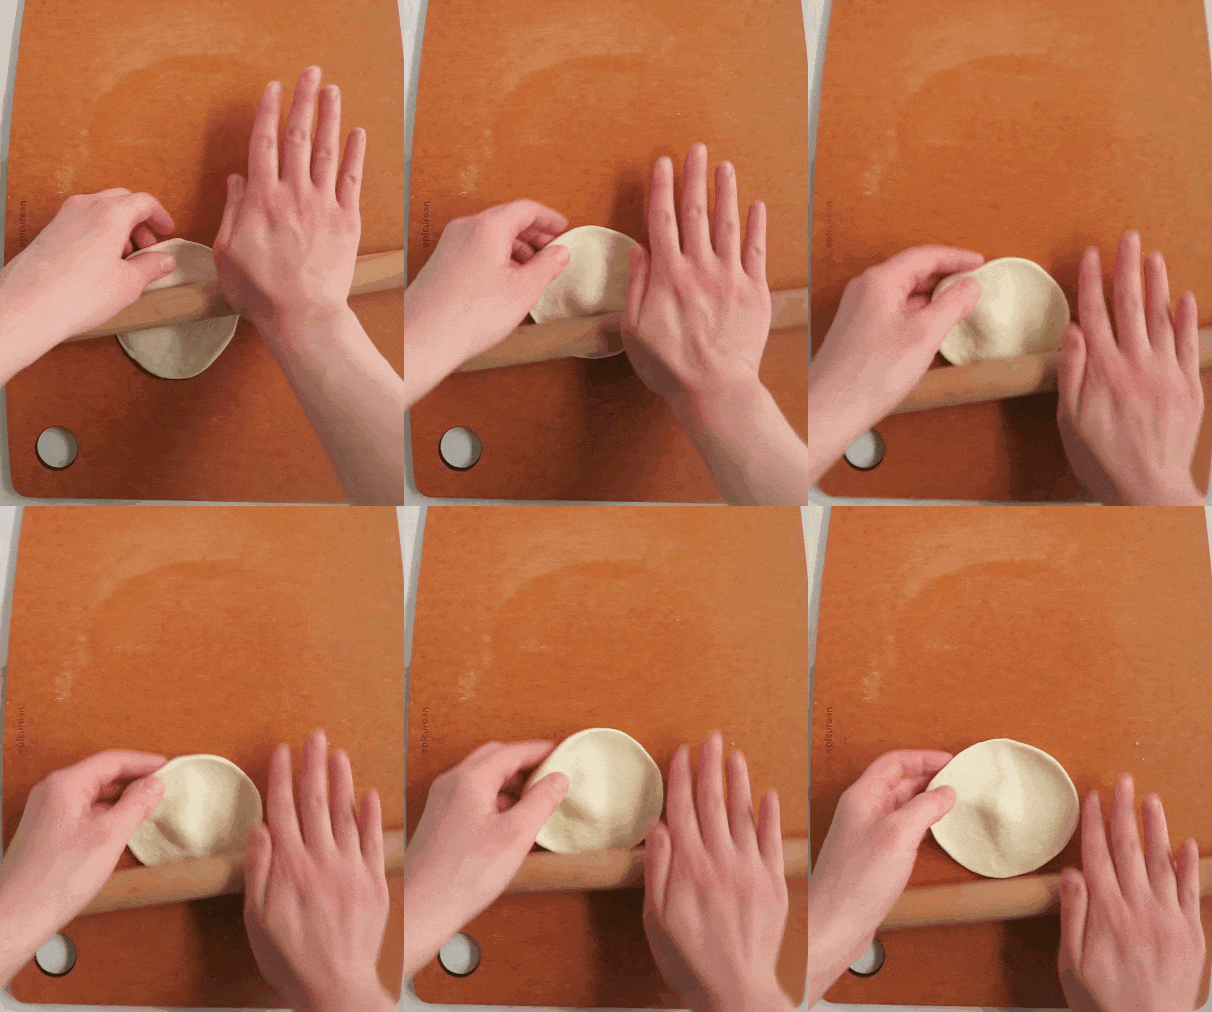
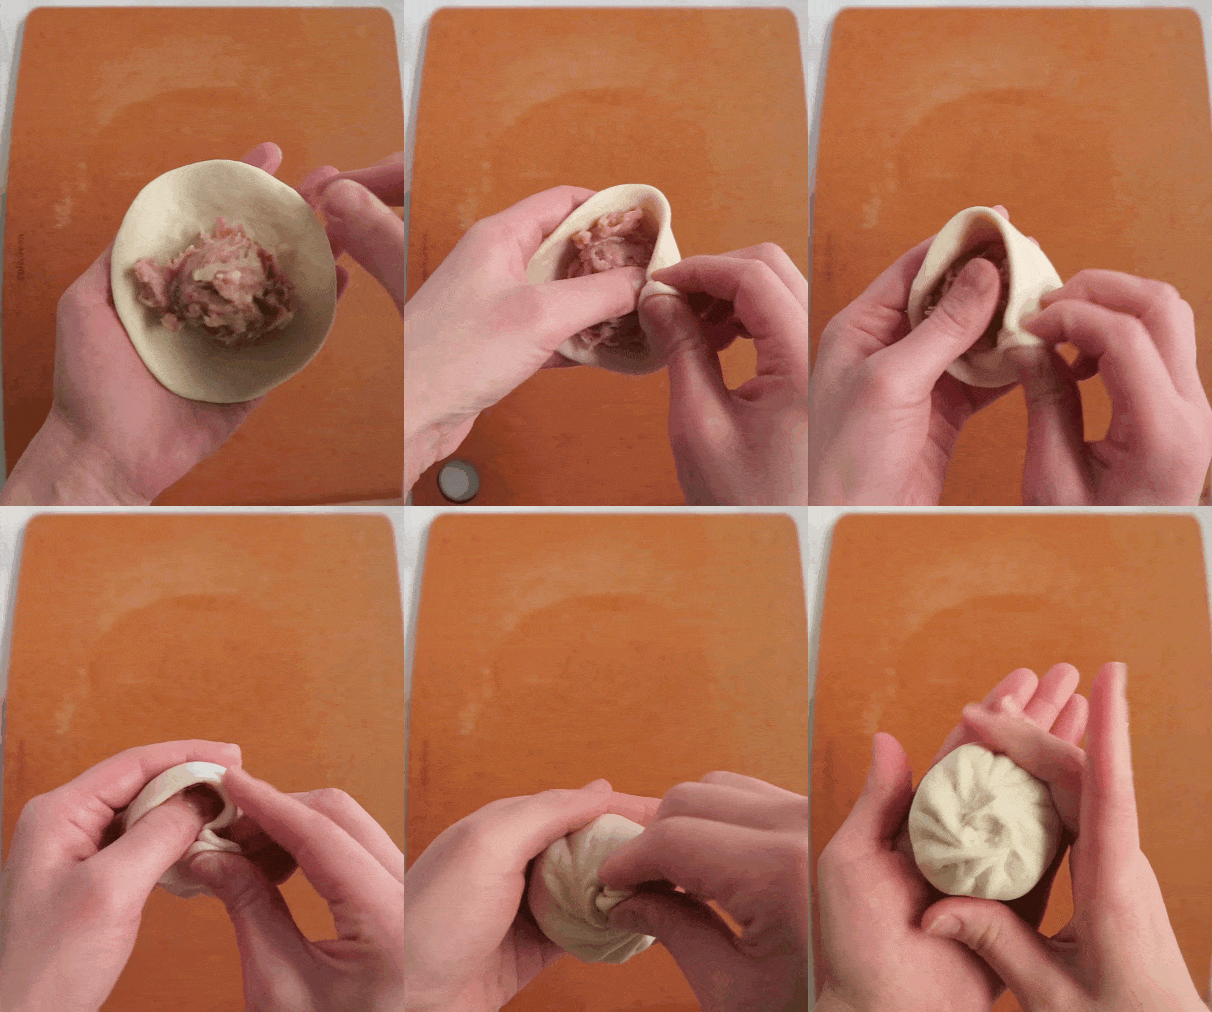
Now it's your turn to try!
Have fun! :))
Don't forget to also try my super cute and yummy Hedgehog Black Sesame Steamed Bun (Zhi Ma Bao)
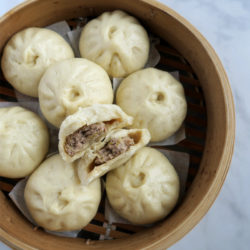
Sauerkraut and Pork Steamed Bun (Baozi 包子)
Ingredients
Dough
- 1 1⁄3 cup water, 320 g
- 1 tablespoon sugar
- 1½ teaspoon instant yeast
- 1 teaspoon vegetable oil, plus more for greasing
- 5 cup all purpose flour, 600 g
Filling
- 1 lb ground pork (with at least 20% fat, preferably 30% ), 450 g
- ½ teaspoon freshly grated ginger
- 1 tablespoon soy sauce
- ½ tablespoon oyster sauce
- ½ teaspoon sugar
- 1 teaspoon rice cooking wine or Shaoxing wine
- ¼ teaspoon white pepper powder
- 5 tbsp low sodium chicken broth or water
- 1 tablespoon sesame oil
- 1 scallion, thinly sliced
- ½ cup packed sauerkraut, measure after squeezing out the liquid
Instructions
Making dough
- Mix water, sugar, yeast and oil in a mixing bowl, add half of the flour in and stir with a spatula until well combined.
- Add in the rest of the flour, mix and knead until there's no dry flour and a rough ball can be formed. Cover and let it rest for 10 minutes.
- Knead the dough again until the surface of the dough is smooth, about 2 minutes. The dough should be very easy to knead after resting.
- Grease the dough with oil, cover and let it proof for an hour until it doubles in size.
Make the filling
- When the dough is proofing, mix pork, ginger, soy sauce, oyster sauce, sugar, cooking wine, white pepper powder, water/chicken broth in a bowl; use your hand to work on the mixture until the liquids are absorbed by the meat before adding sesame oil.
- Mix firmly with your hands until the ingredients are well distributed and the mixture is slightly sticky to the touch (about a minute).
- Add in scallions and sauerkraut and mix well. Microwave a sample (about 15 second on high) to taste for seasoning and adjust accordingly. Store the mixture in the fridge.
Assembling the buns
- After the dough is done proofing, remove it from the bowl to a working surface, knead several times to deflate it.
- Divide the dough into 20 equal portions, and then form each portion into balls by tucking the edge to the center, and place the seam side down (refer to picture in post).
- Cover with a greased plastic wrap and rest for 10 minutes.
- Roll the dough into a disk that's thinner at the edge and thicker in the middle (Refer to picture). Place a scoop of filling in the middle and wrap it into buns (Refer to picture).
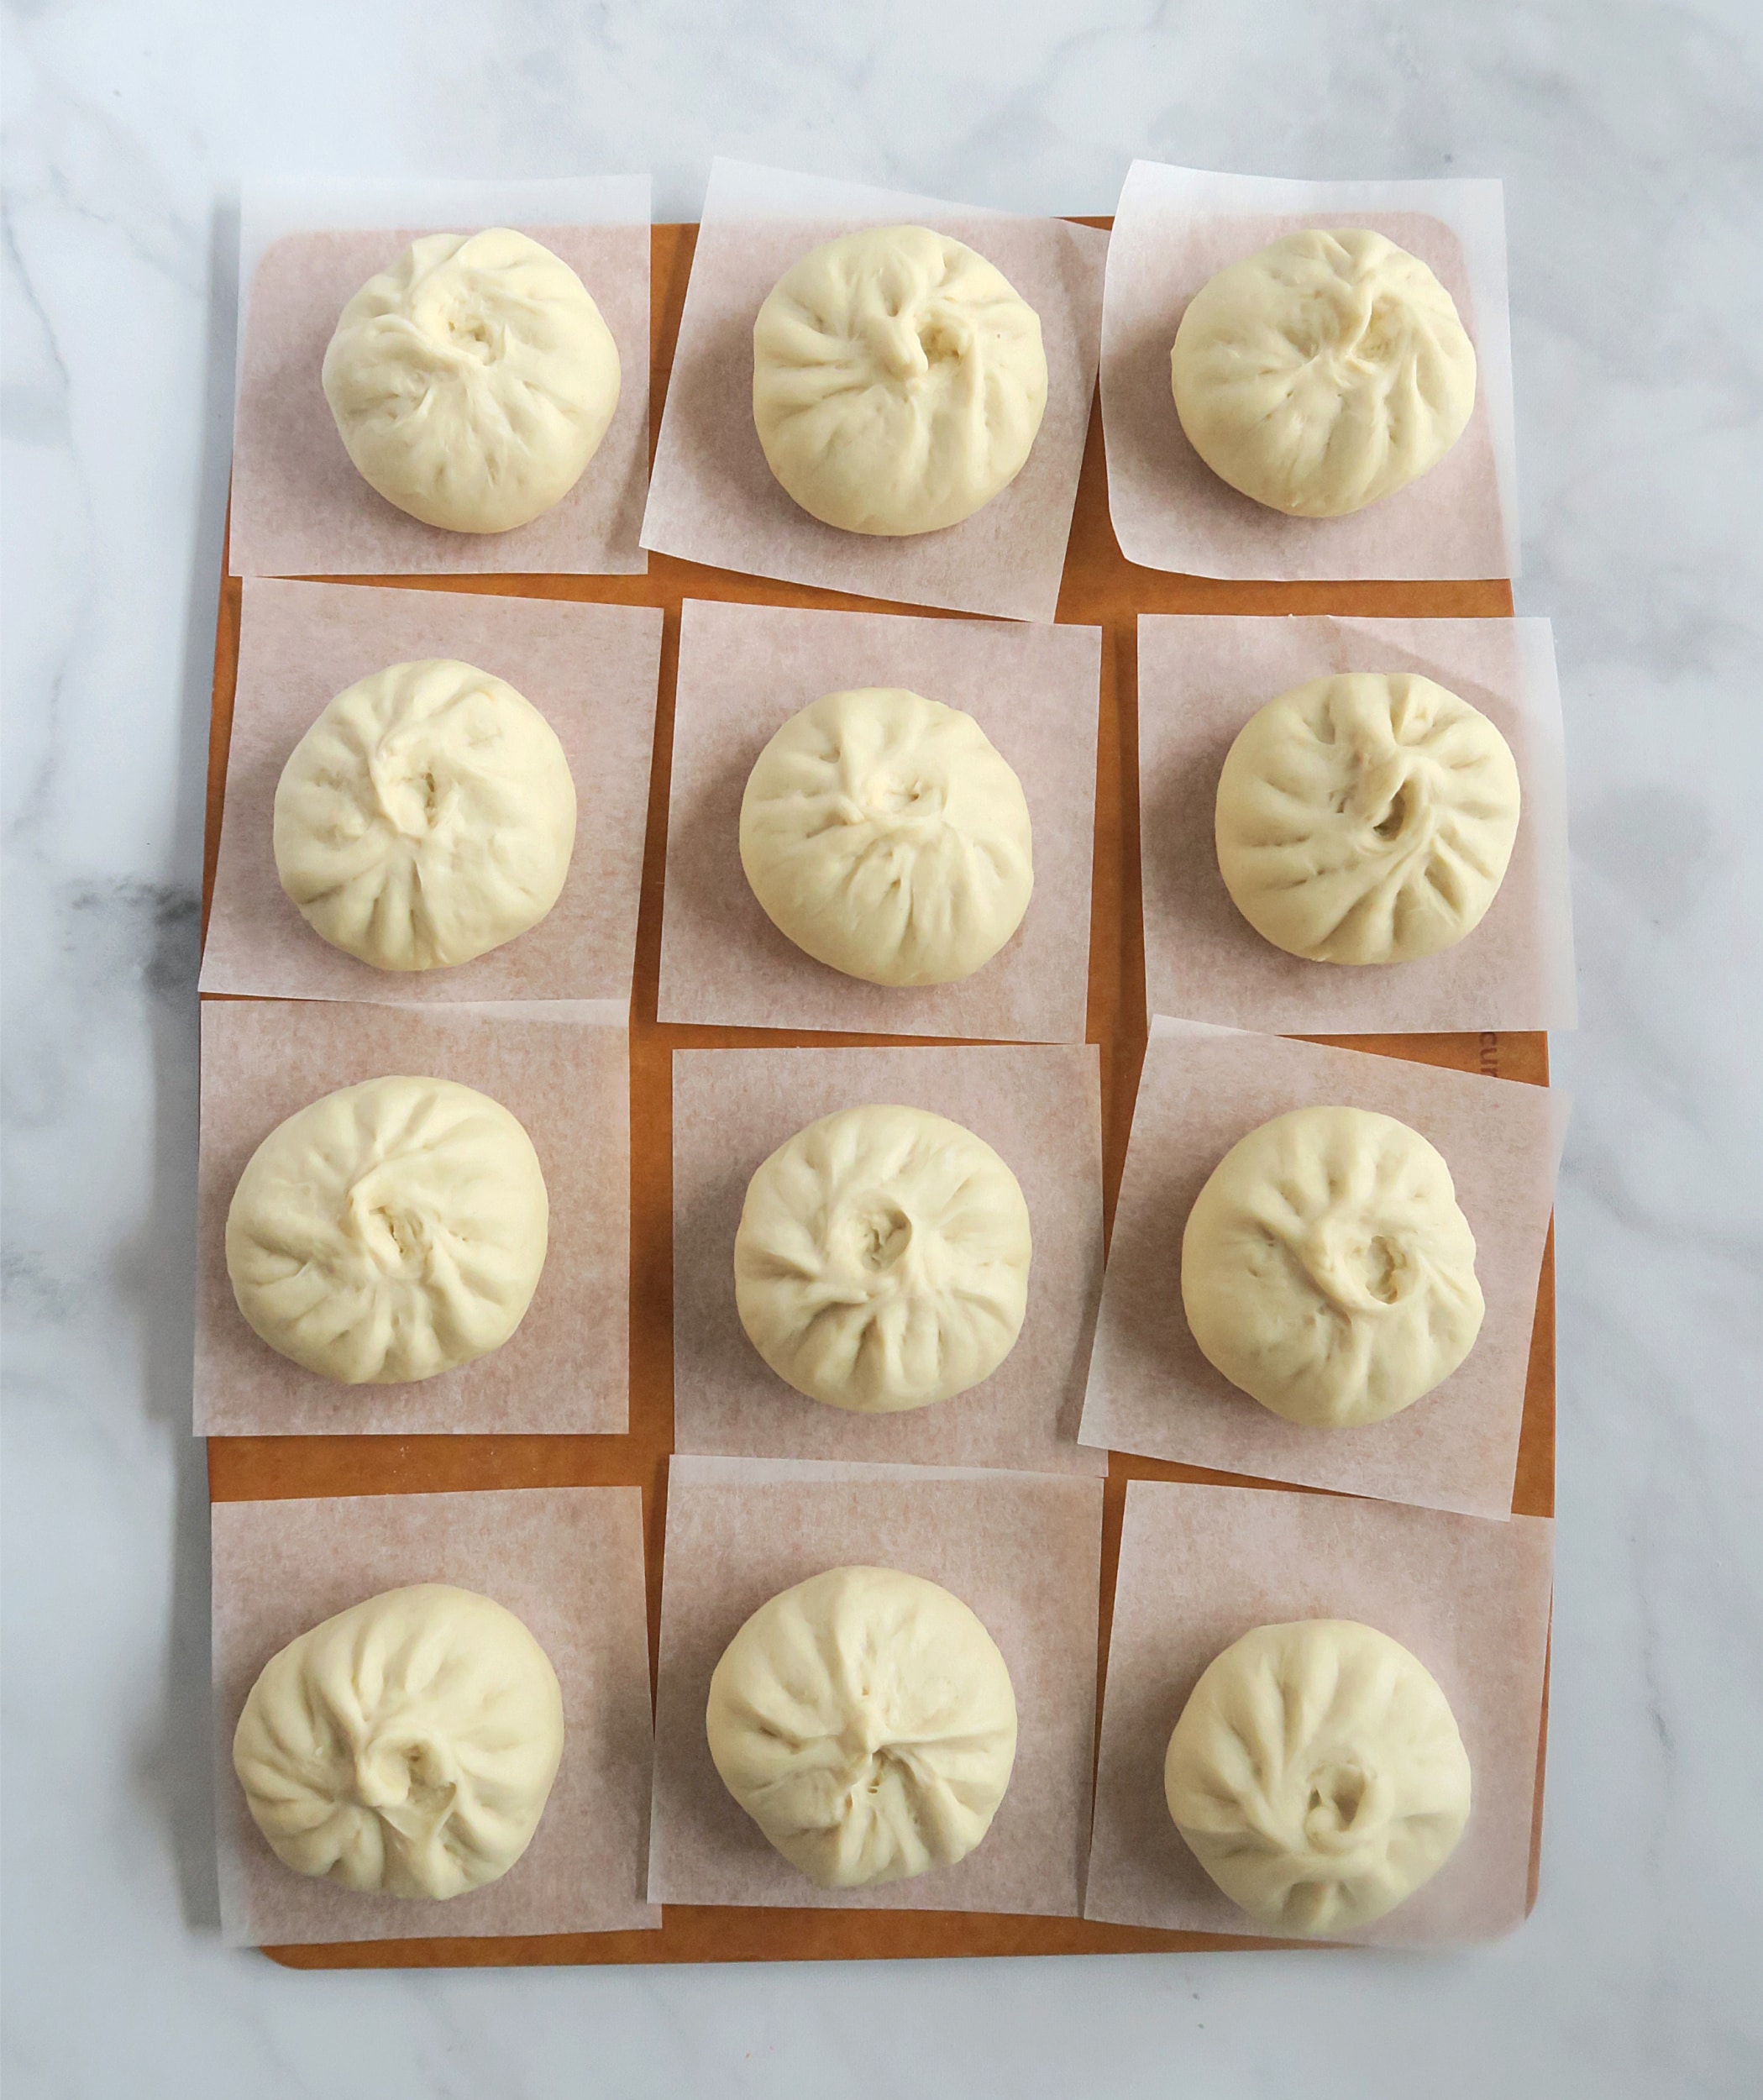
- Place the buns on a piece of parchment paper and proof for about 50 minutes until the surface of the buns look puffy and feel lighter when you hold it.
Cooking
- Place the steamer on top of a pot with 1⁄2" to 1" of water and turn the heat to medium. Once the water is boiling, reduce the heat to medium low and cook for 15 minutes.
- Remove the steamer from the pot and let it sit for 3 minutes before removing the lid.
- Enjoy the buns with more sauerkraut or chili sauce if desired.
These came out really good! Thanks for the recipe!
Hi LS, I'm so happy to hear that 🙂
I made this yesterday and the flavor was really good! I overkneaded the dough in the beginning so the bun was a bit tough, but I really enjoyed everything else. Plus, what a great way to use up some sauerkraut and add some nutrition to the bao!
That's awesome! I happy to hear you enjoy the bun 🙂
hi! i cannot print the recipe. it is redirecting to the home page