

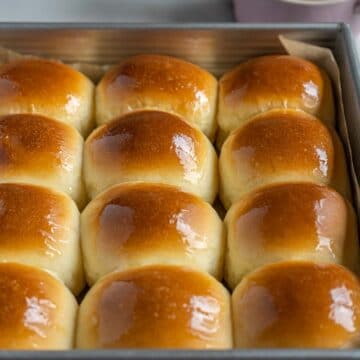
These milk bread Rolls are soft, pillowy and amazingly fragrant. If you like Asian bakery style milk buns and want to try making them fresh at home, this is the recipe for you!
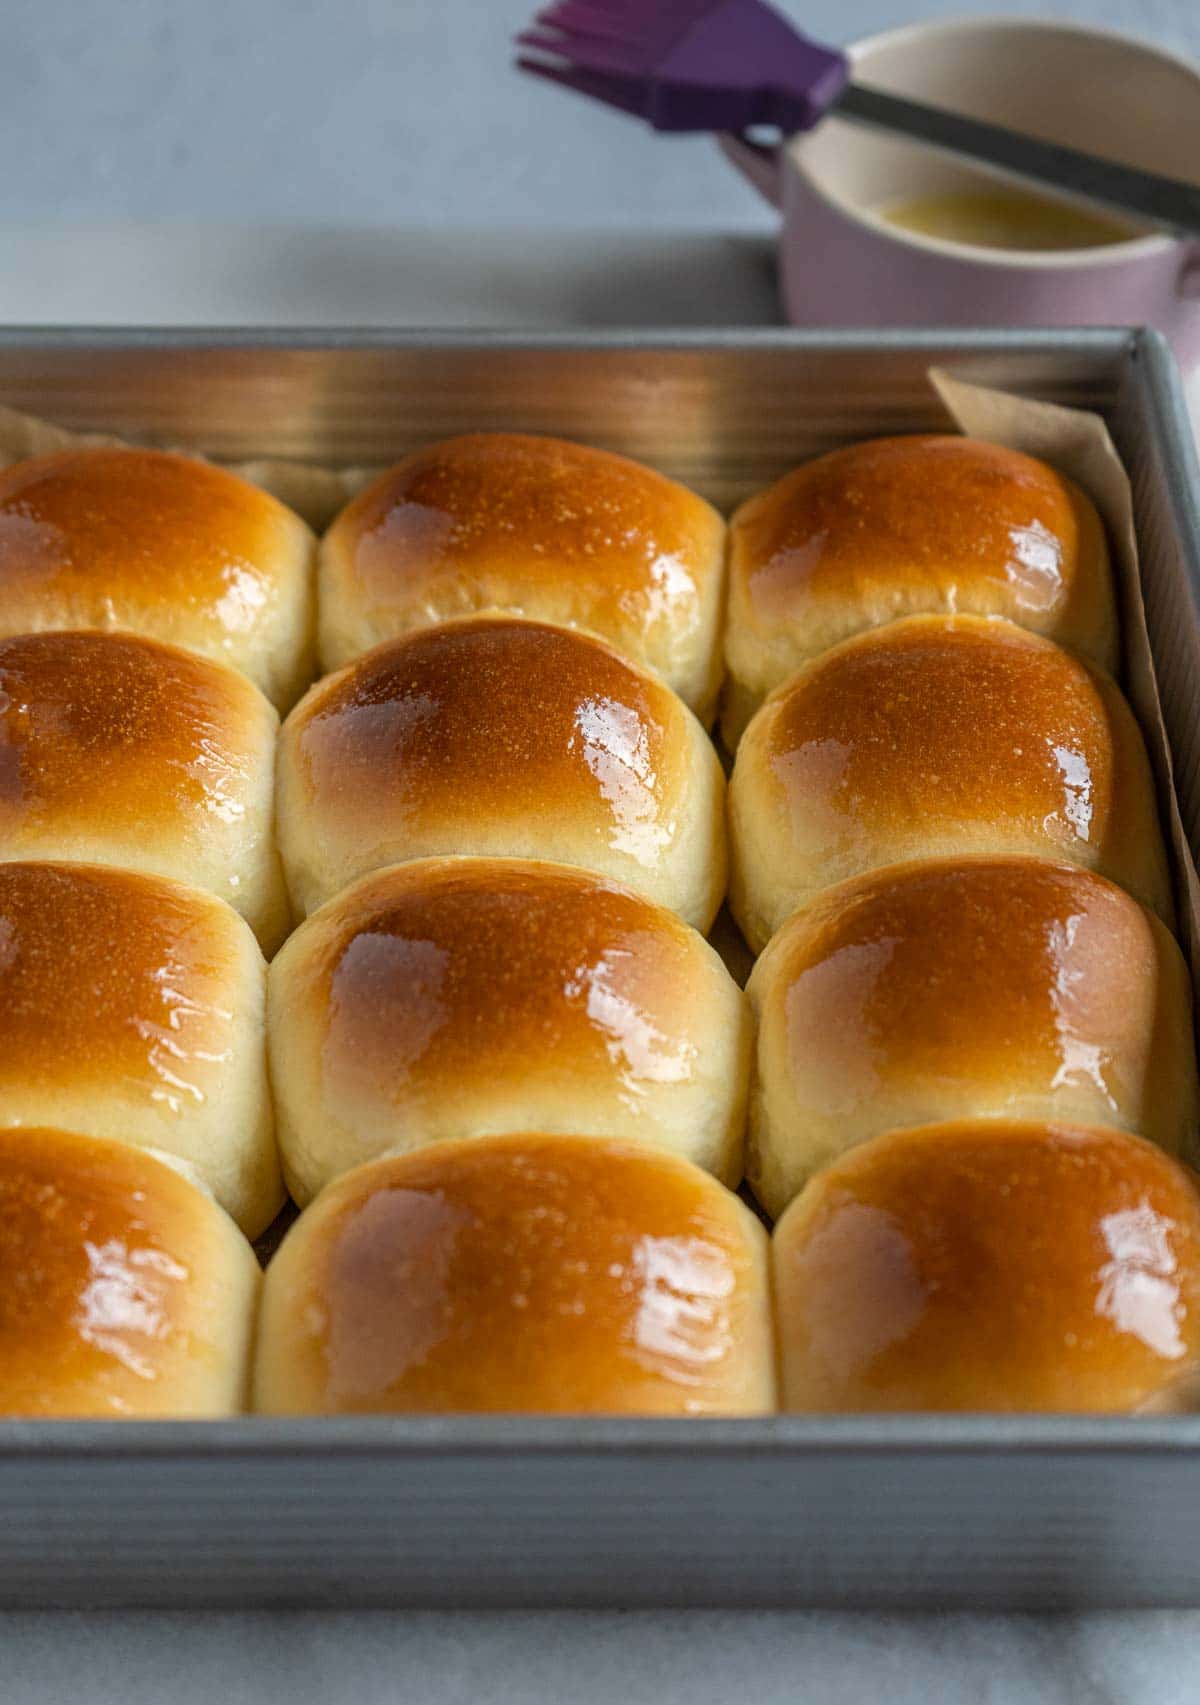
If you've ever had soft buns from bakeries like 85°C Bakery Café, you may wonder how such soft and fluffy buns are made. Unfortunately, many such professional/mass produced buns use mysterious dough enhancers and conditioners that I personally prefer to avoid.
In this post I will walk you through the steps for making the best tasting milk bread rolls at home without any mysterious ingredients. This recipe incorporates all my best tips that I've developed over the past 7 years. It's very simple and you don't even need tangzhong for this recipe.
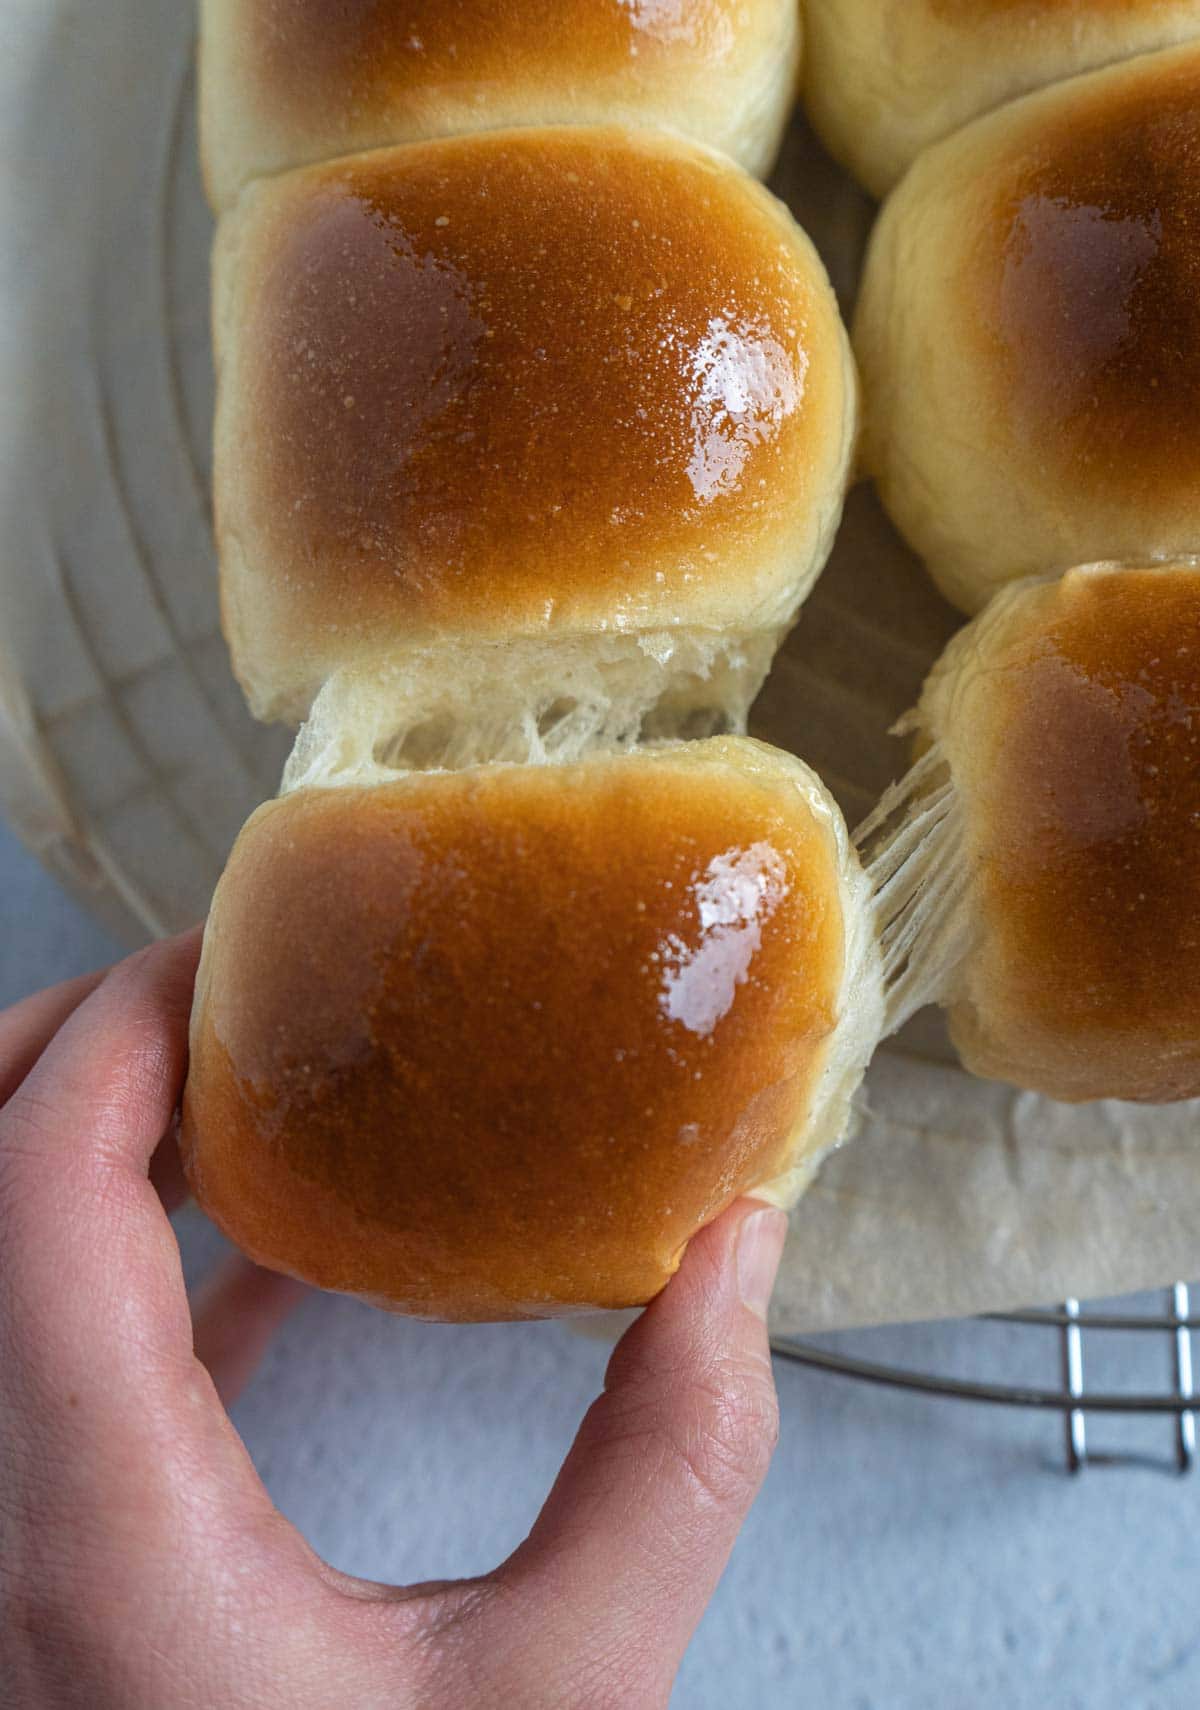
Why You Should Try This Recipe
- These are REALLY good! Seriously, you need to try some fresh out of the oven!
- No mysterious dough conditioner/enhancer/softener needed.
- Great recipe to start with for those wanting to learn to make more Asian buns and breads.
- These freeze well (if they last long enough to end up in the freezer!)
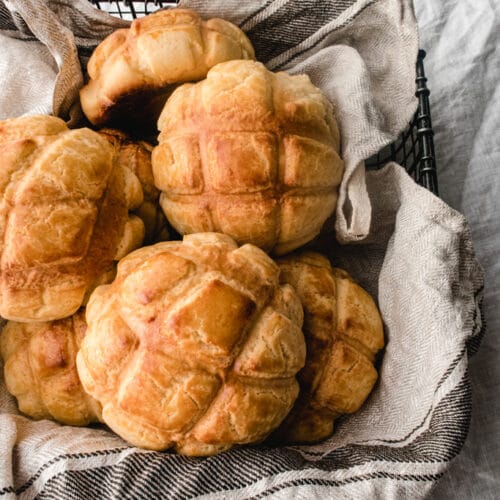
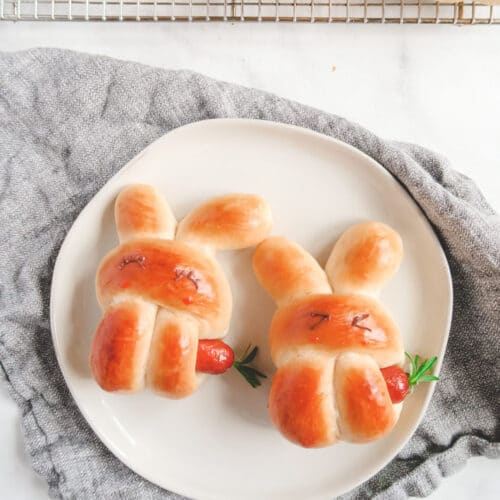
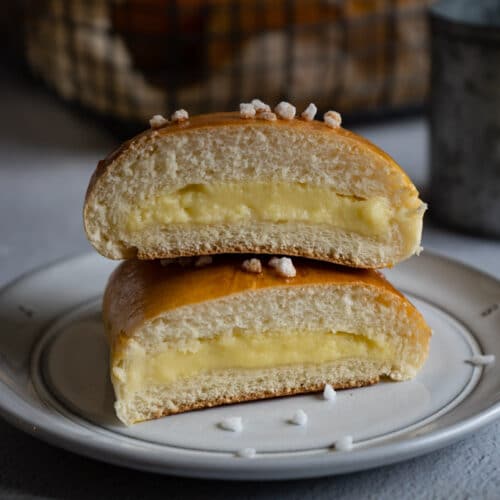
After learning this recipe, you'll find my other Taiwanese bun recipes like baked custard bun, bunny sausage bun and pineapple bun to be relatively familiar and straight forward.
Ingredients You'll Need
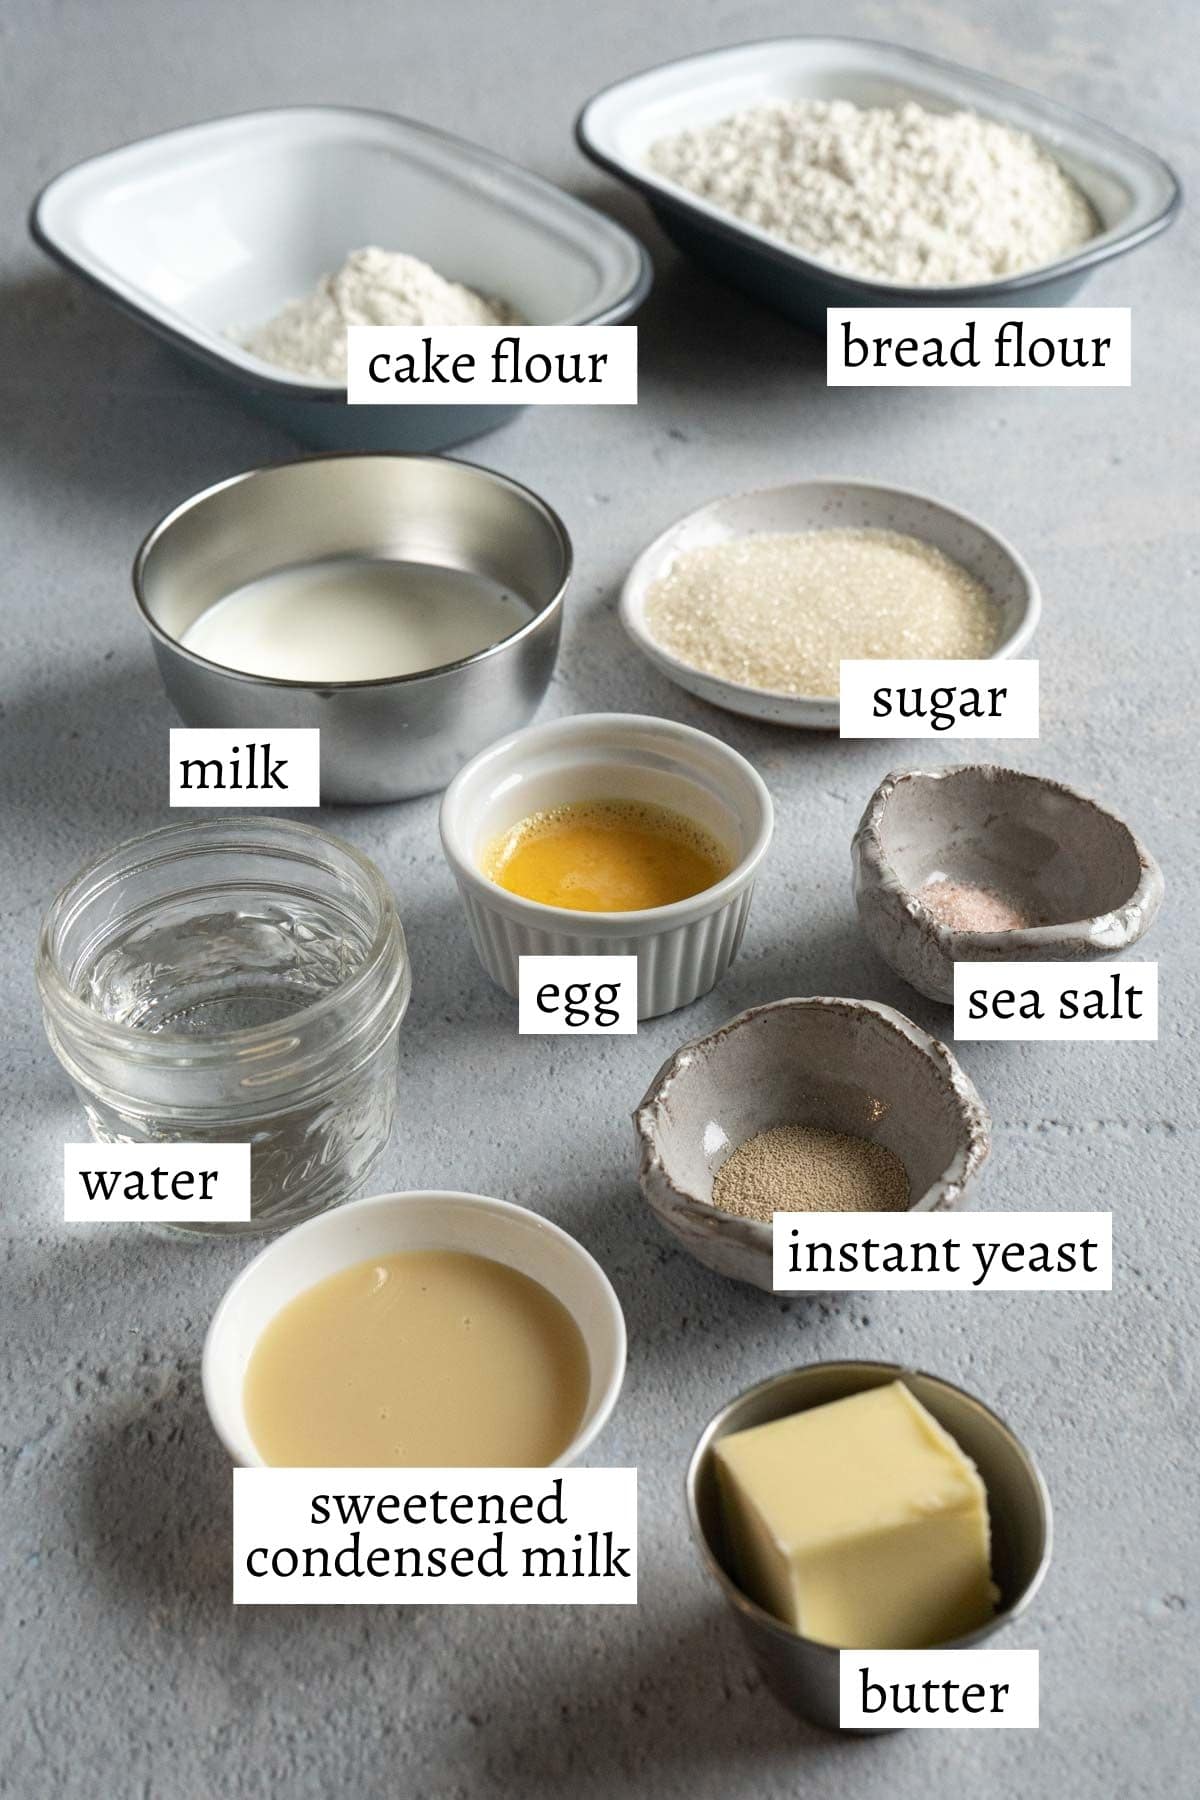
Ingredient Notes
- Bread flour - bread flour is the key for this recipe, replacing with all purpose flour is not recommended as you won't get the same texture.
- Cake flour - adding a small amount of cake flour into the dough is an easy way to make the bread lighter and fluffier.
- Milk - use whole milk.
- Instant yeast - Saf instant yeast is highly recommended, you will be surprised with how it can improve the texture of the bun. I use the gold label Saf, but the red label will work just fine.
- Sweetened condensed milk - it gives the bun a sweet aromatic milk flavor. If it's not available to you, you can replace it with honey.
- Butter - use good quality unsalted butter.
How to Make This Recipe
Step 1. Add flour, sugar, sweetened condensed milk, milk, water, egg and yeast into the stand mixer and knead on low speed until the dough is formed.
After a rough dough is formed, cover and let it rest for 20-30 minutes for the autolyse method. Later on, this will help your dough to pass the windowpane test easier.
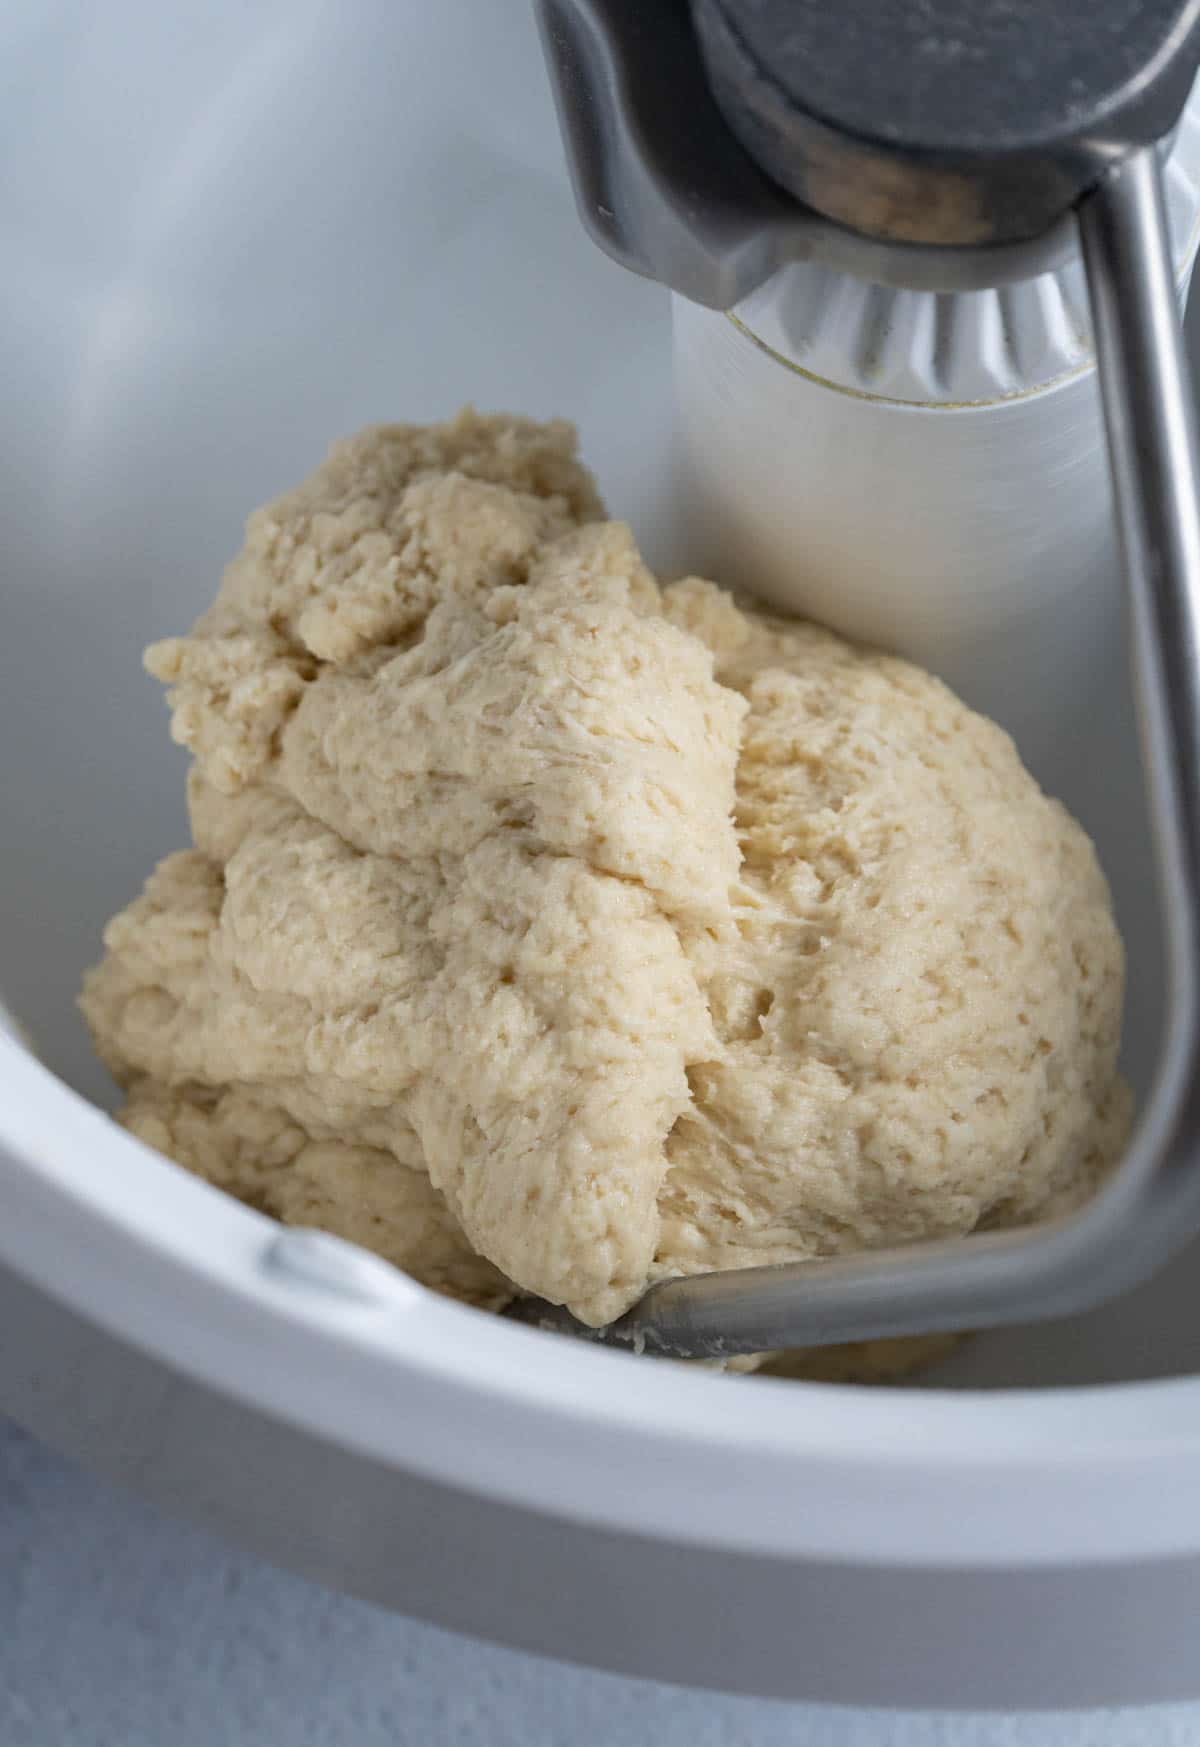
Step 2. Add salt and knead for 1 minute before adding butter. Knead until the dough is smooth and able to pass the windowpane test.
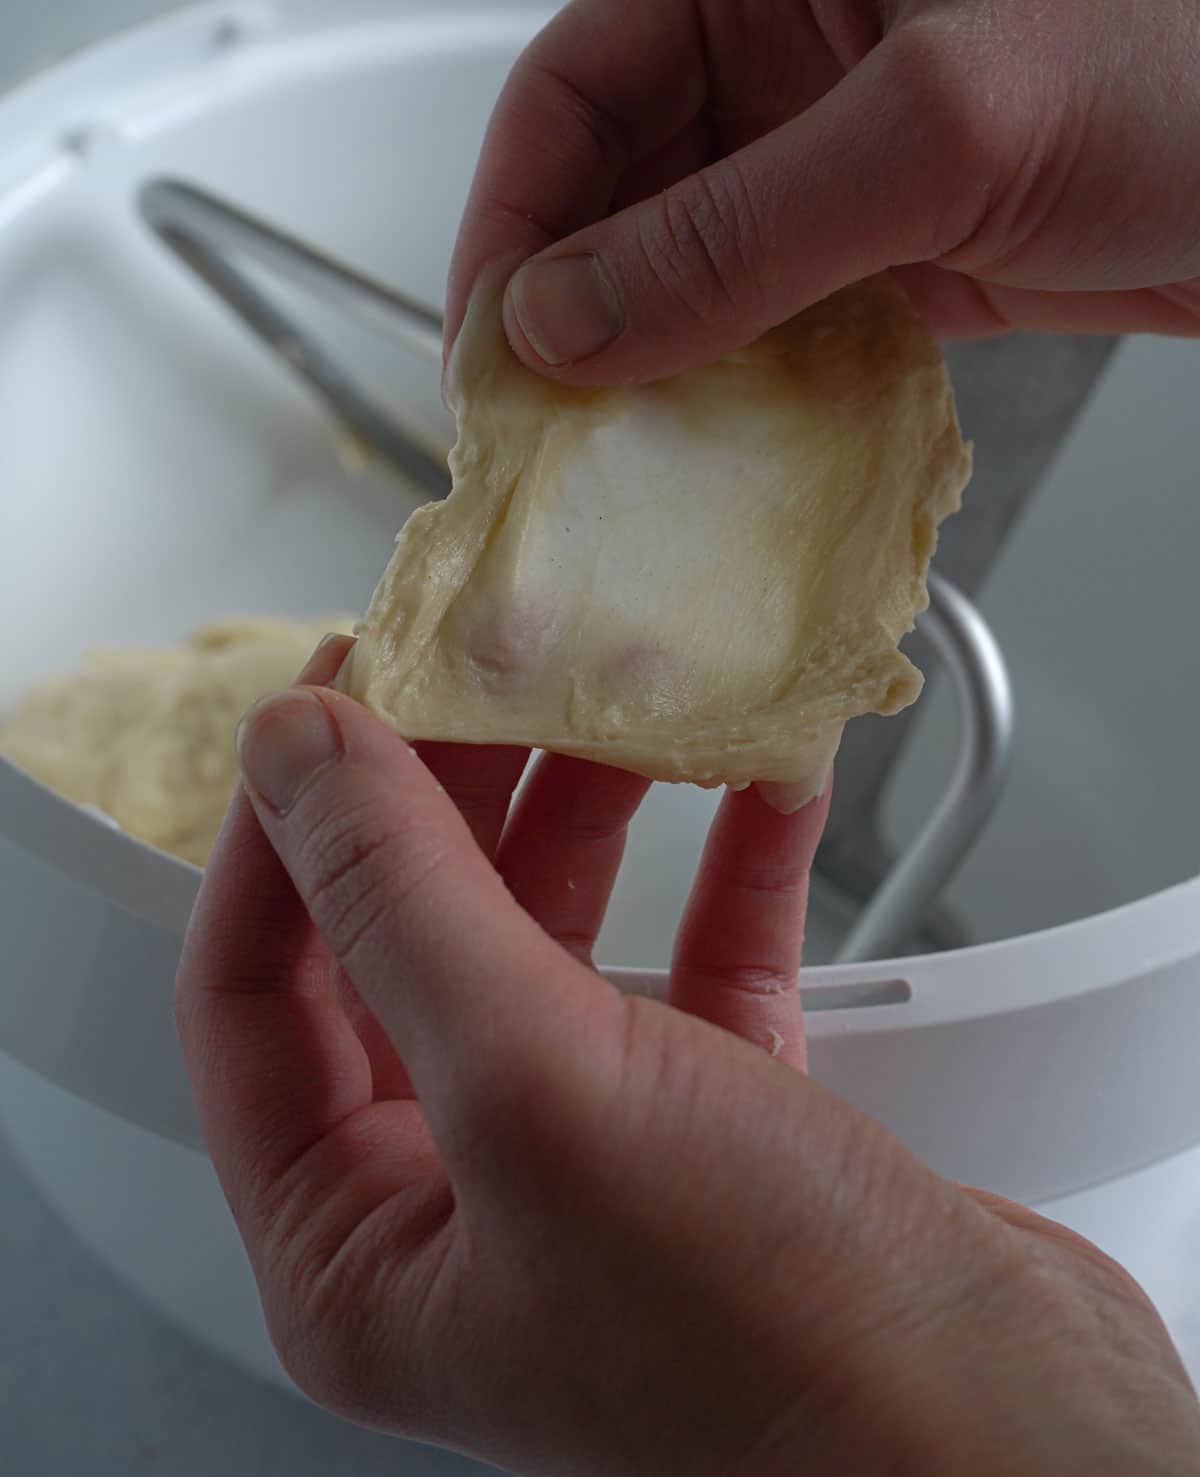
This process can take somewhere between 8 to 15 minutes, depends on how powerful your stand mixer is.
Make sure the dough stays cool during the entire kneading process. If the temperature of your dough becomes higher than 82°F (28°C) when it's done kneading, place it on a tray and chill it in the freezer for 1-2 minutes before proofing.
If you like making bread at home, I highly recommend that you invest in a good stand mixer. I own a Bosch universal plus that I really like, and I also hear good things about the Kenwood kitchen machine.
Step 3. Form the dough into a ball by folding and stretching the edges into the bottom of the dough and pinching it together into the bottom of the dough. Place the dough in a greased bowl, cover and let it proof in a warm place for 1 hour until it doubles in size.
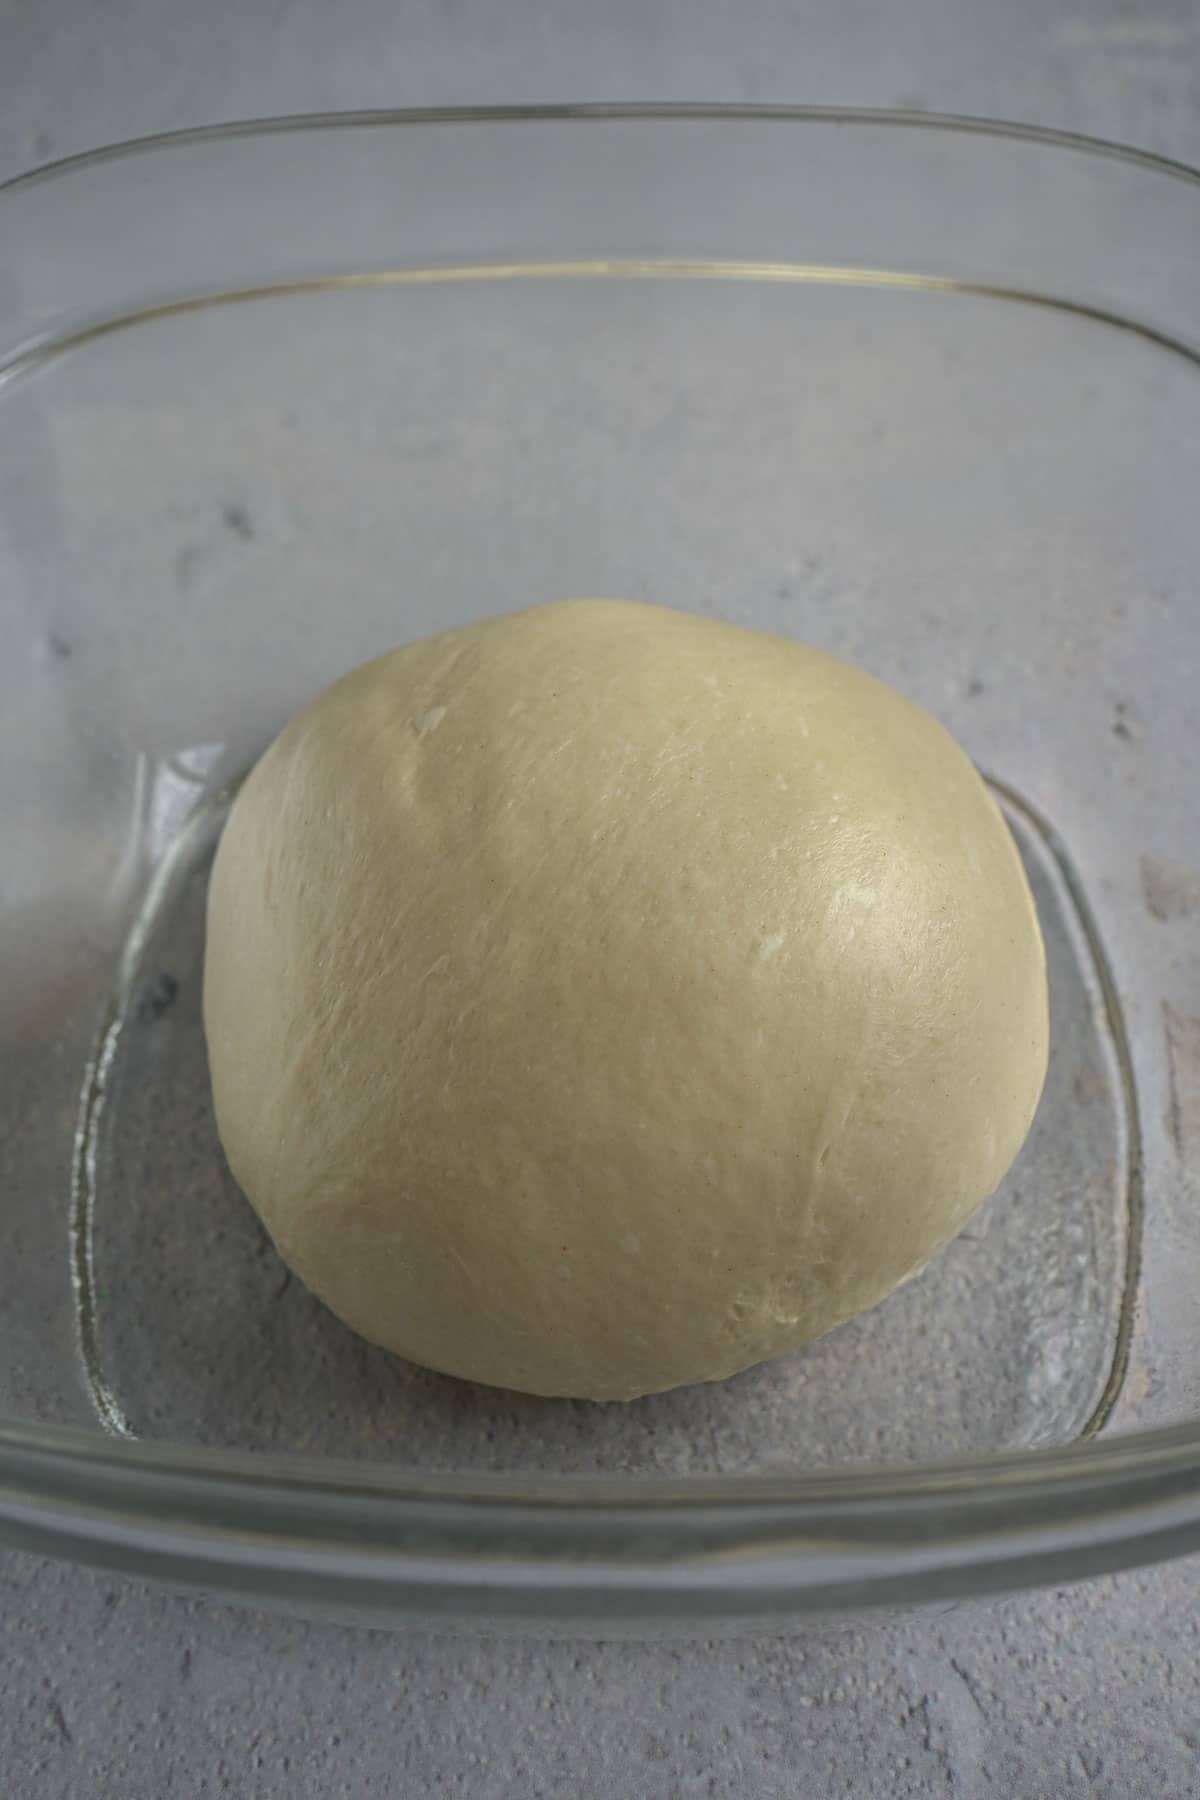
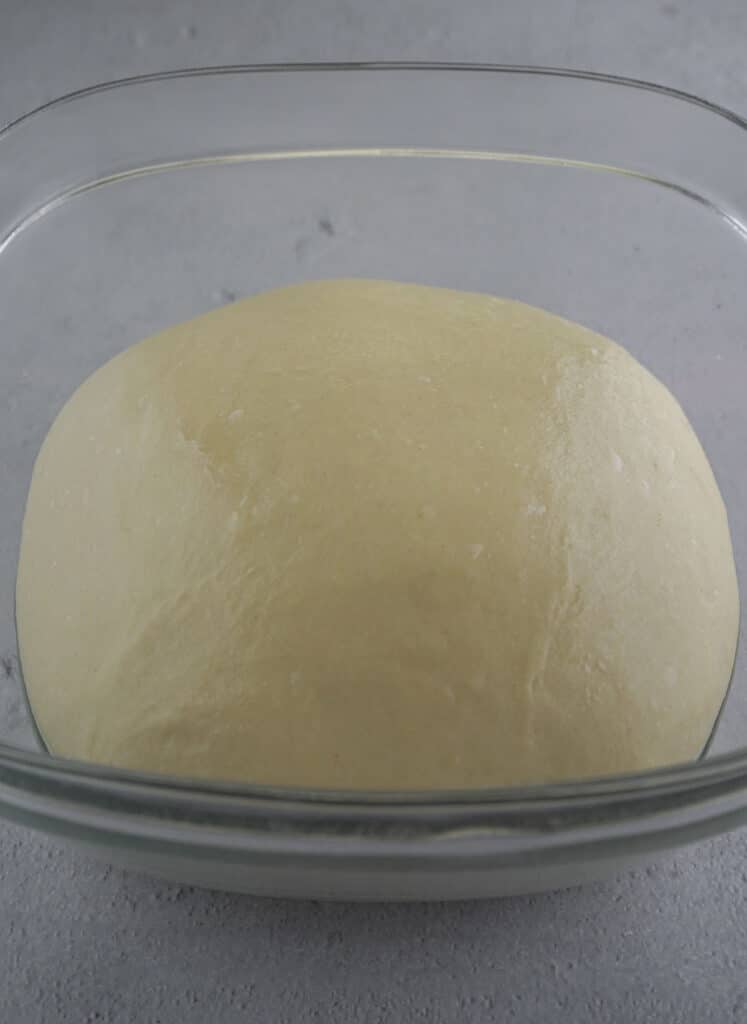
Quick tip - If you find it difficult to tell whether it has doubled in size or not, place the dough in a container with about double of the volume of the dough. That way, when the dough nearly fills the container, you know it's done proofing.
Step 4. Divide the dough into 12 pieces, cover with a damp towel or a piece of greased plastic wrap and let them rest for 5 minutes. After they're done resting, roll them into balls and place them in a lined baking pan.
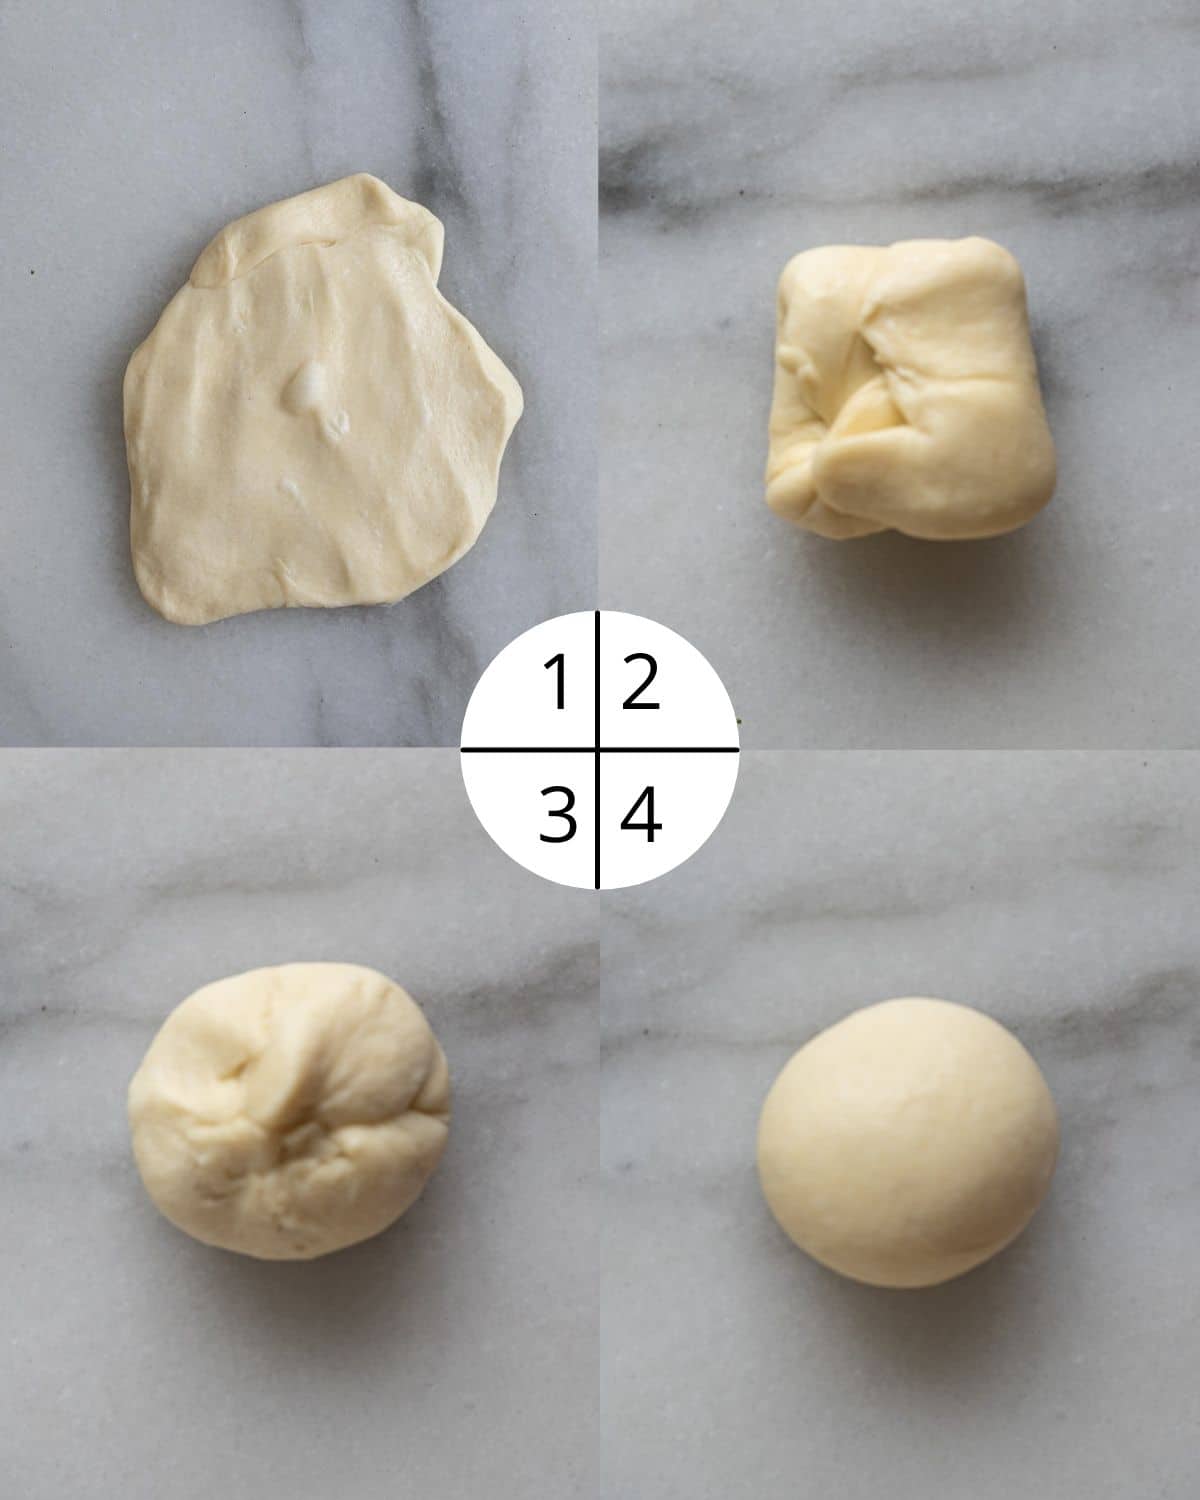
This is how you shape the dough into a smooth and tight ball (reference pictures above for the steps below)
- Flatten the dough with your palm.
- Fold the edges to the center.
- Pinch the edges together to seal the dough
- Turn the seam side down and roll the dough with your hand (against the working surface) by pushing the ball up with the side of your palm that's close to your thumb and pulling it back with the other four fingers in a circular motion. Do this for two to three times and let the tension between the dough and working surface tighten up the dough ball.
After you're familiar with this process, you can skip steps 2 and 3 and speed up the shaping process.
Step 5. Place the dough balls in a lined baking tray, cover the dough with a greased plastic wrap and then cover with a damp cloth and do the second proof in a warm place for an hour until it doubles in size.
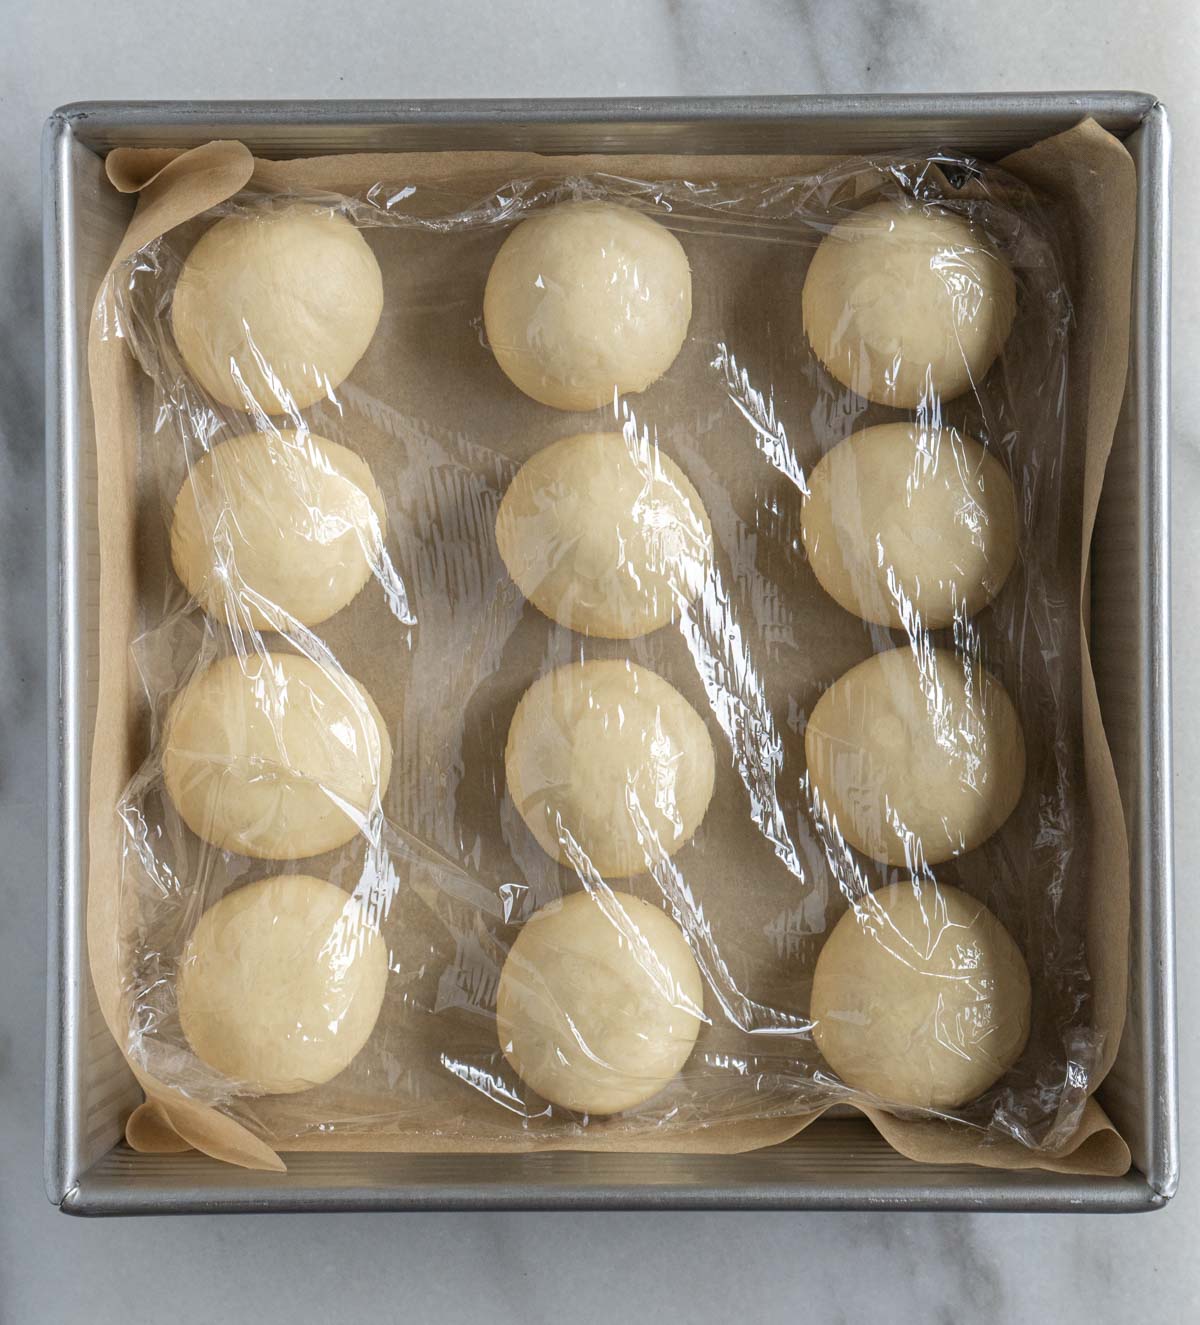
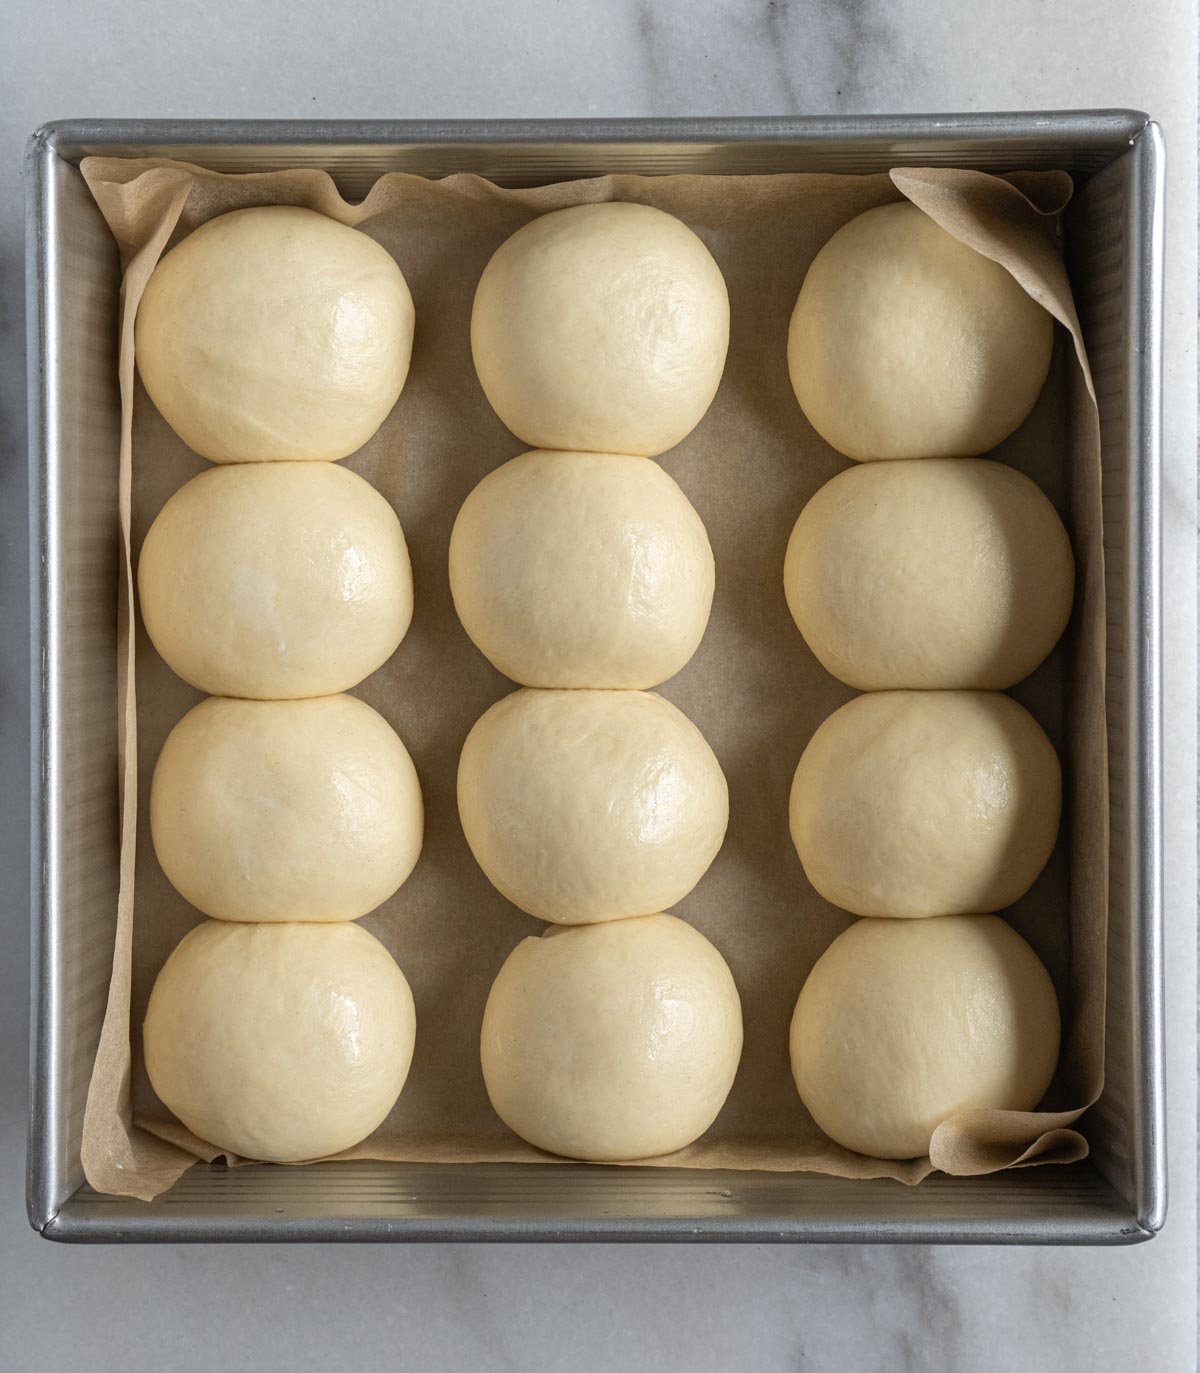
Step 6. Preheat the oven to 375°F (190°C) in the last 20 minutes of the second proof and bake the buns uncovered for 16 minutes or until golden brown.
Step 7. Brush the surface of the bun with melted butter and transfer it onto a cooling rack to cool down a bit before enjoying.
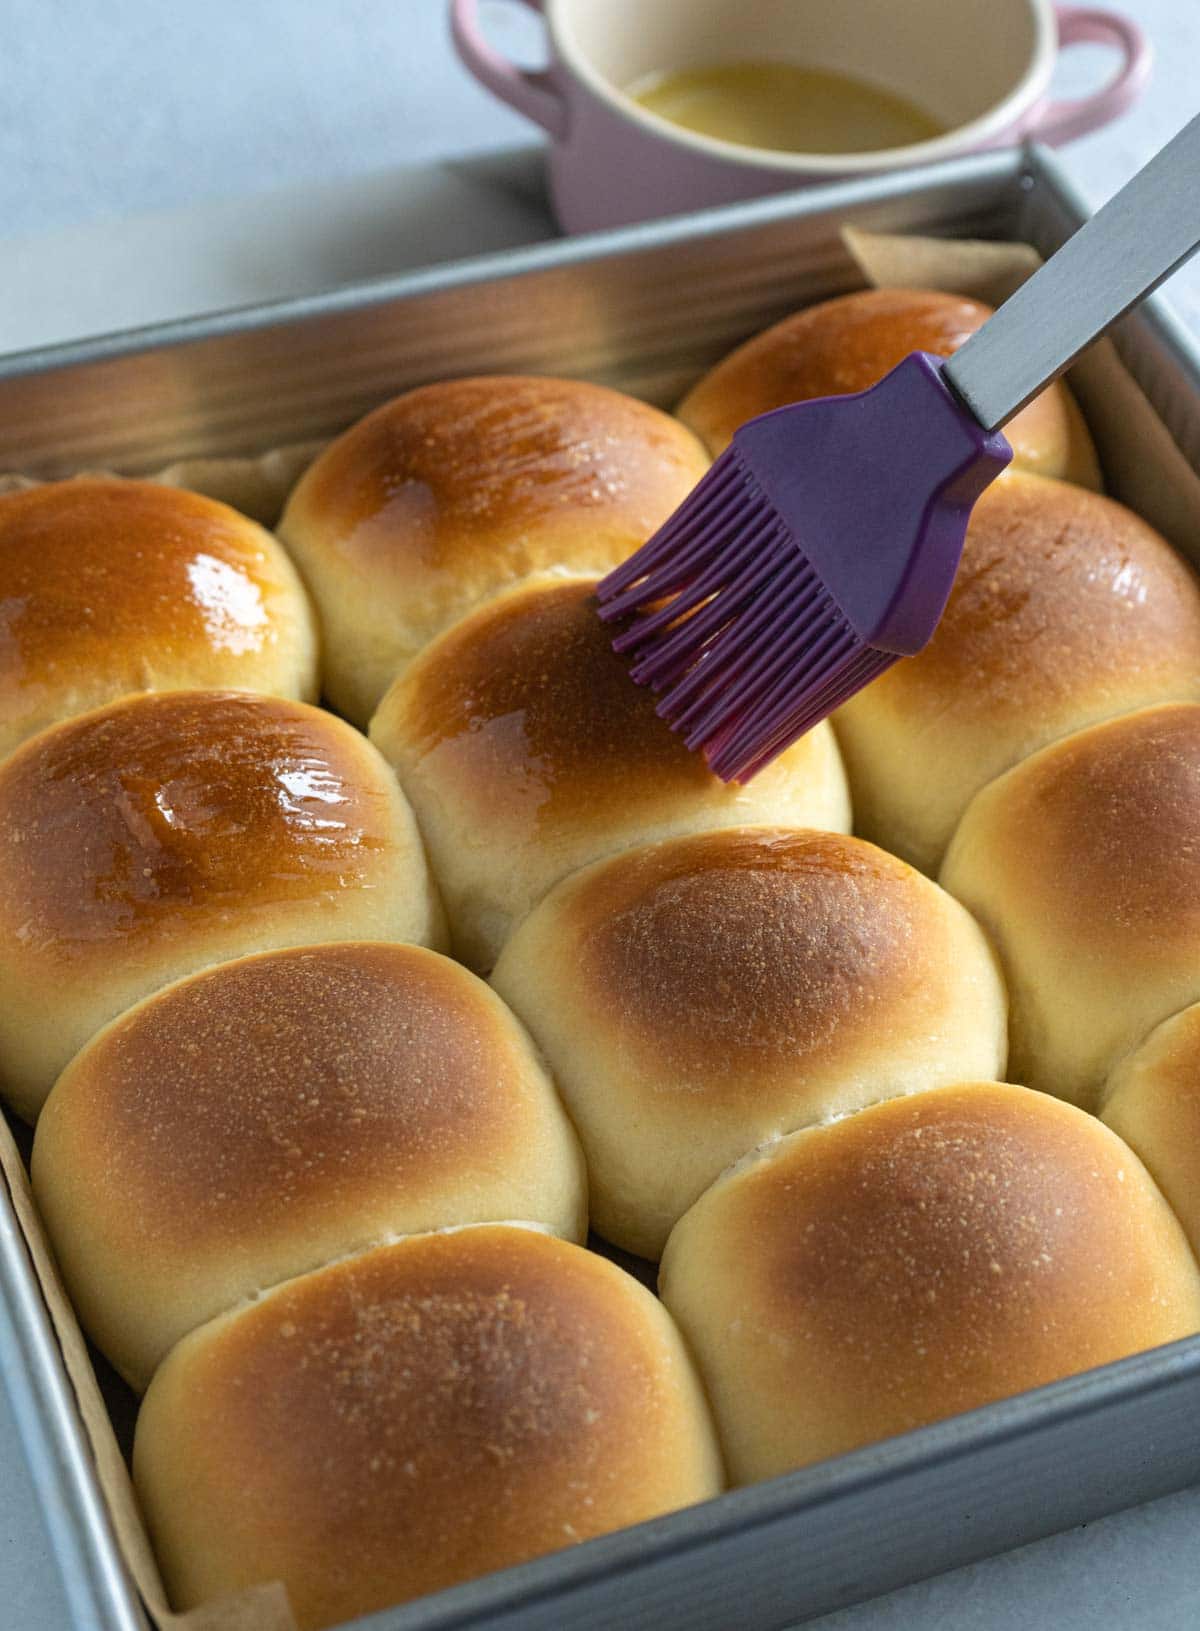
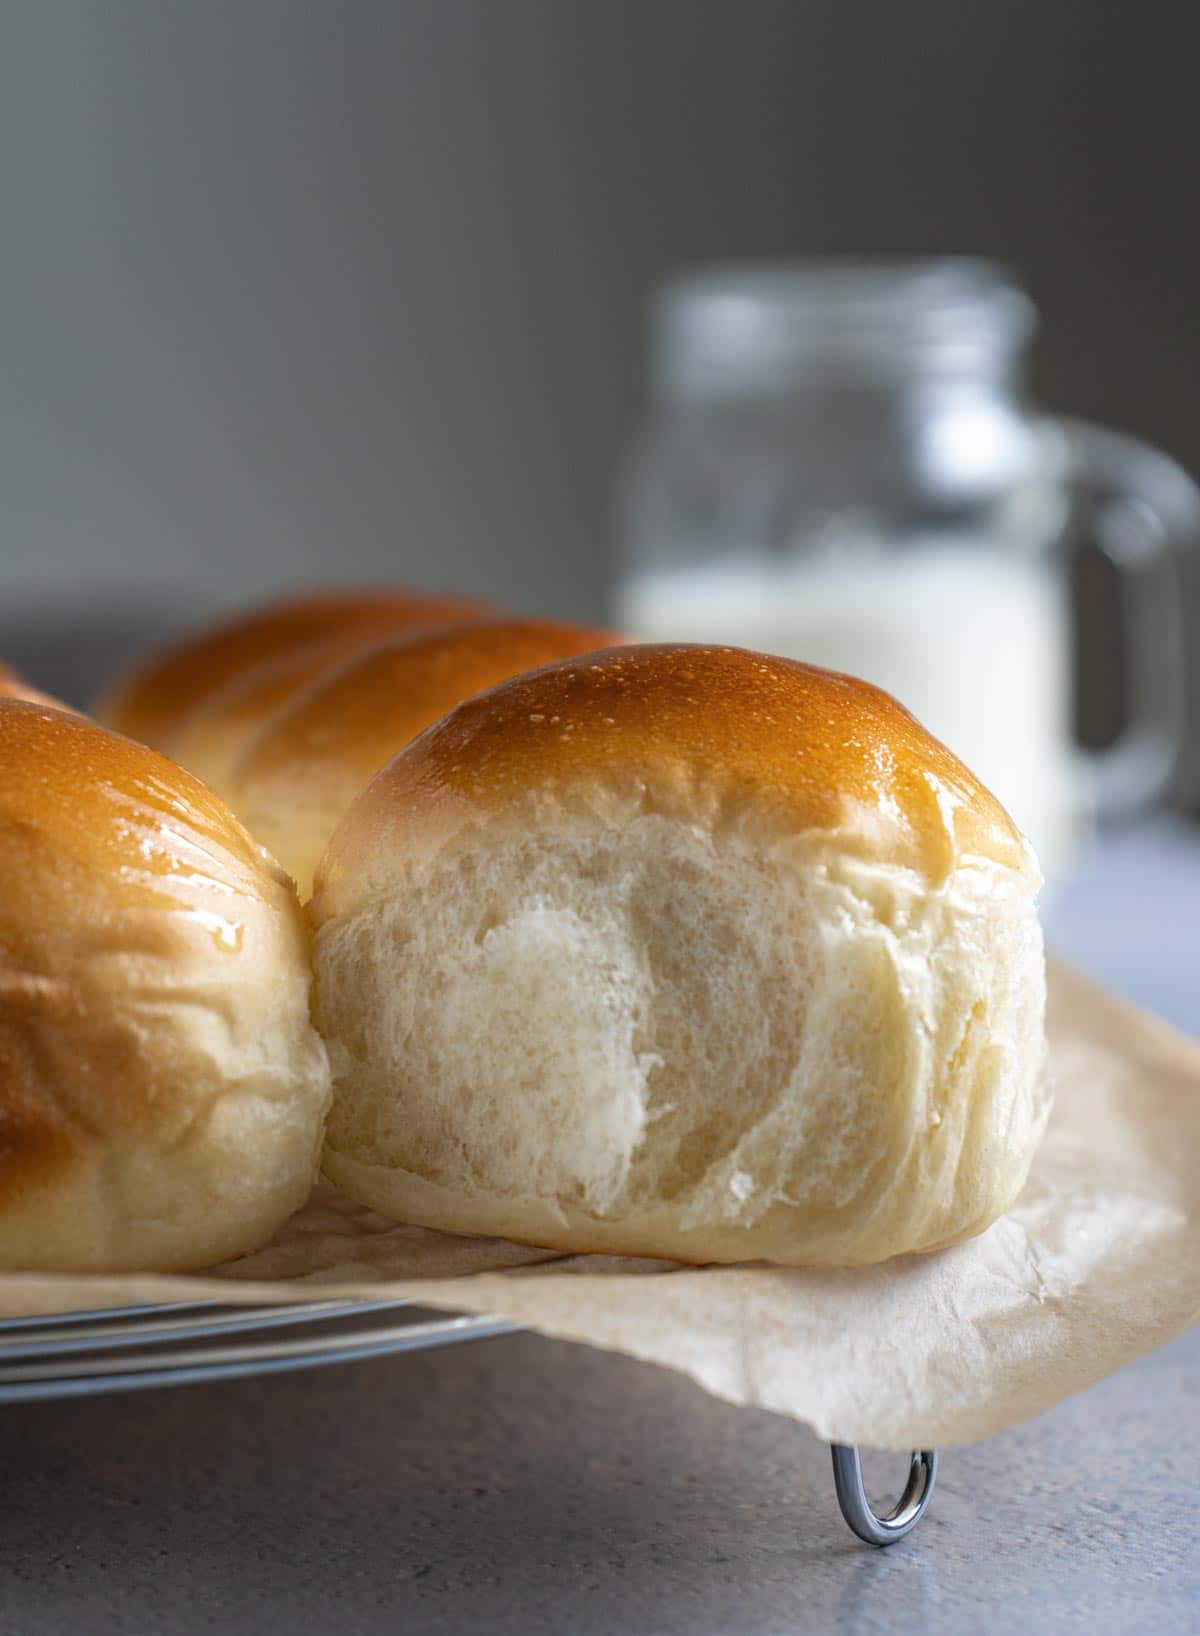
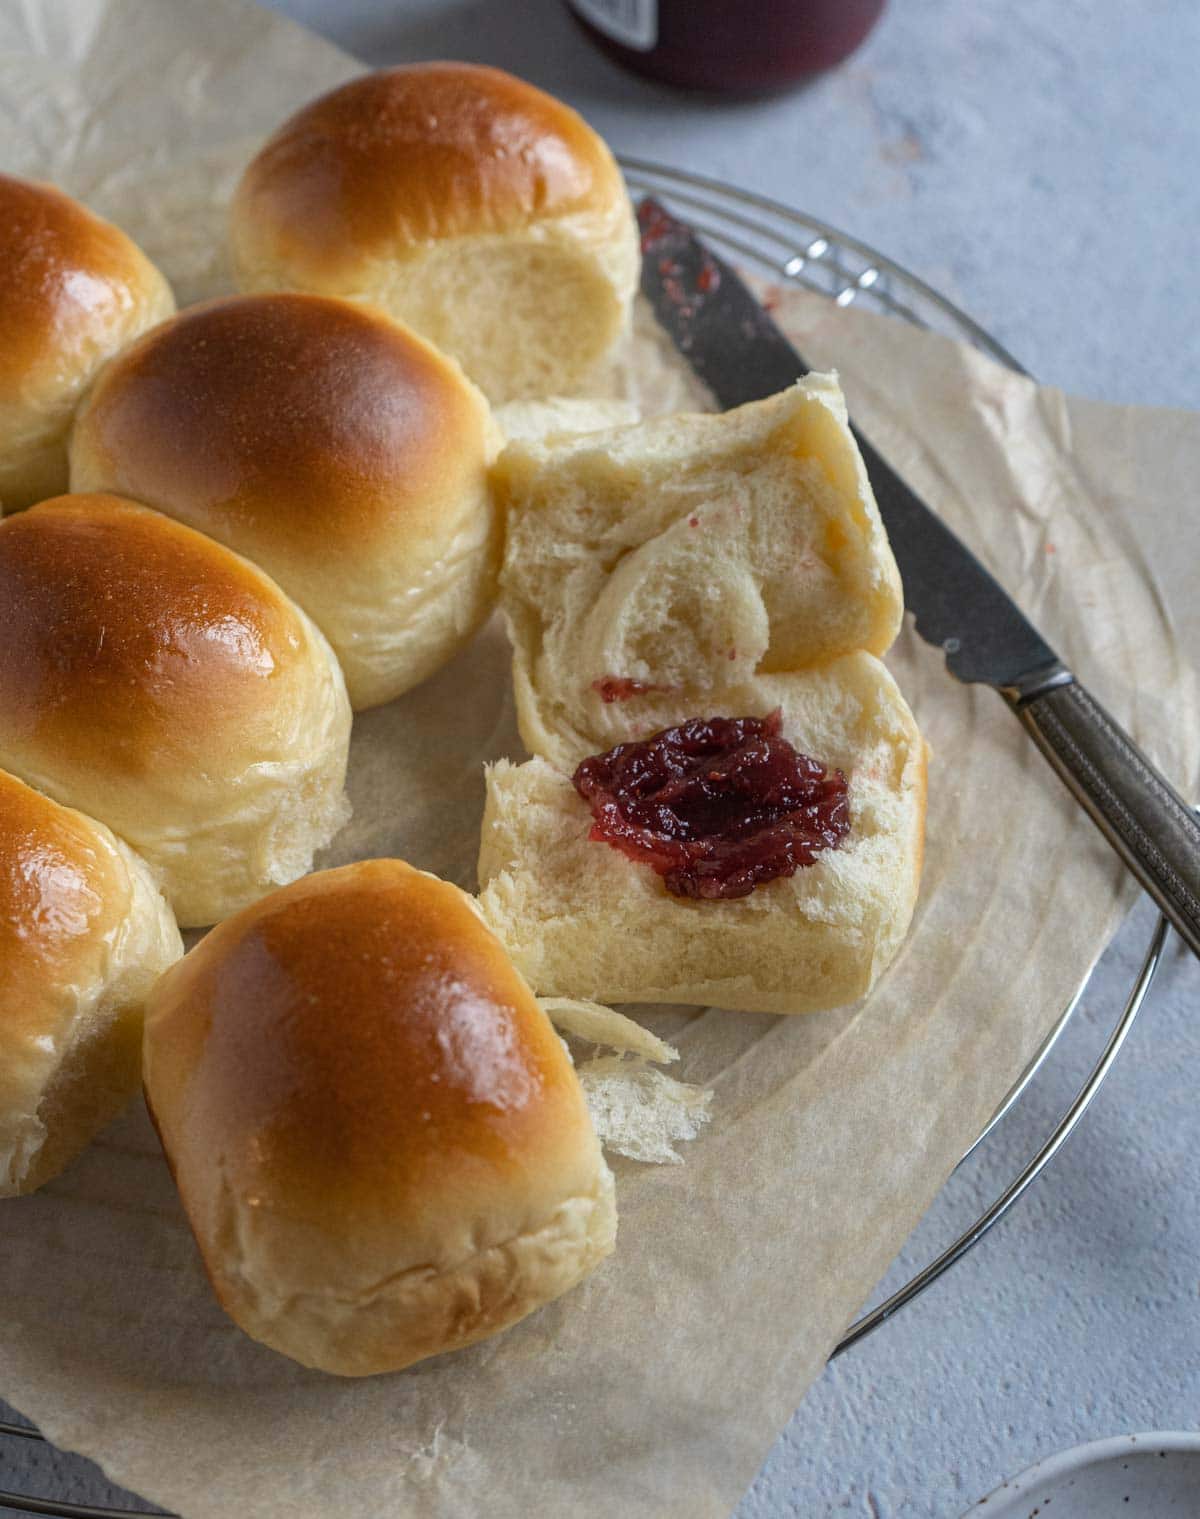
There are so many different ways to enjoy these milk bread rolls - enjoy it as a dinner roll to go with your meal, make it unto a slider, or spread with butter and jam. Even so, my family finds that these milk buns are so good, we usually just enjoy them by themselves!
Tips and Tricks
- Measure your ingredients with a kitchen scale! Especially for flour and liquids, because your one cup can be very different from my one cup.
- Start with cold liquid - I learn this from professional bakers in Taiwan. Since the dough needs a lot of kneading, using cold liquid prevents the final dough from becoming too warm, which will affect the texture of the bun.
- The best proofing temperature is between 80 - 90°F (26.5 - 32°C). If your indoor temperature is too low, you can proof your dough in a sealed oven that also contains a separate glass tray on the bottom rack that's filled with boiling water.
- I usually bake these buns in a 9 x 9 (23 x 23 cm) tray, but you can use any tray of a similar size. If you use a sheet pan, place each dough ball half an inch apart.
Recipe FAQ
This is not recommended, as the texture won't be as good.
Cake flour causes the bun to be softer and fluffier, but if you really can't find it, you can replace it with all purpose flour or use all bread flour, but expect the bun to be a bit less fluffy.
If your dough doesn't seem to rise after an hour, it might be that your yeast is not fresh or the proofing temperature is too low.
The windowpane test is a simple way to check if the dough has been kneaded enough. To perform this test, simply get a small piece of dough and stretch it carefully and see if it can be stretched into a smooth and almost see-through membrane. I usually do this test once the surface of the dough is very smooth.
Yes! Place the dough in a greased zip lock bag, squeeze out the air and place it in the fridge overnight (12-24hrs). When you are ready to shape it, take it out and let it sit on the counter for 20 minutes before dividing and rolling. In this case, the second proof might take a bit longer, as the dough is cold.
Of Course! Actually freezing is the best way to store these buns if you are not eating within a day. Place the buns in a zip lock bag once they are cool completely and freeze it for up to three months. Never store these in the fridge as they will dry up.
Let the bun thaw for 15 minutes or so before baking in 350°F (180°C) for about 5 minutes, and it will taste as good as fresh ones!
Happy Baking!
Here are more delicious bun recipes for you to try
I would like to hear from you! If you make this recipe, please consider leaving a star rating and comment in the section further down the page. Stay in touch by following my Instagram and Pinterest!
Milk Bread Rolls
Equipment
- Stand mixer
Ingredients
- 250 g bread flour, 2 cup
- 50 g cake flour, ⅓ cup
- 30 g sugar, 2 tablespoon
- 20 g condensed milk, 1 tablespoon
- 85 g cold water, ⅓ cup + 1 tbsp
- 80 g cold milk (preferably whole milk), ⅓ cup
- 25 g whole egg, about half an egg
- 1 teaspoon instant yeast, ideally saf instant yeast
- ½ teaspoon sea salt, ¼ teaspoon if using table salt
- 30 g unsalted butter, 2 tbsp
- melted butter for brushing
Instructions
- Add flour, sugar, condensed milk, milk, water, egg and yeast into the stand mixer and knead on low speed until the dough is formed.
- Cover the mixing bowl and let the dough rest for 30 minutes. Store it in the fridge if your room temperature is higher than 80°F
- Meanwhile, bring the butter out from the fridge, cut it into 4-6 pieces and leave it on the counter to soften a little.
- When it's done resting, add salt and continue to knead the dough for 1 minute.
- Add butter cubes one by one and knead until the dough is very smooth and passes the windowpane test. (This step takes me about 7 minutes, with 6 minutes on low speed and 1 minute on medium speed. The actual time it takes depends on your mixer. It can take up to 15 minutes.)
- Form the dough into a ball (it will be very sticky, but if it's too sticky to handle, then add a little bread flour and knead for another 1~2 minutes) and put it in a lightly greased bowl. Cover, and let it rise for 1 hour to 1.5 hour in a warm place (between 80°F to 90°F) until it doubles in size.
- Transfer the dough onto a working surface and cut it into 12 even pieces. Cover and let them rest for 5 minutes.
- Form each piece into a ball (see the instruction in the main post) and place them in a lined baking pan, cover with greased plastic wrap and then cover with a damp cloth and let it rise in a warm place (between 80°F to 90°F) until it doubles in size (about an hour).
- In the last 20 minutes of proofing, preheat the oven to 375°F (190°C).
- Preheat the oven to 375°F. Bake at 375°F for 16 minutes or until golden brown.
- Brush the top with melted butter and transfer the rolls onto a cooling rack. Let it cool for 10 minutes before enjoying.
Made these today. Yummy!!
That's awesome!
Hello,
How would I adapt this recipe to use the tangzhong method? Will it have any additional benefits as opposed to doing it without?
Thank you!
Hi! Does this need to be room temp butter?
Hi Tina, I usually leave it out for about 15 minutes before adding into the dough if I remember, but cold butter will work, too.
I made these, my family loves them. Thanks for sharing!
Thank you Zoey! I'm so happy to hear that 🙂
Can you use the whole egg instead of just half?
Hi Chris, thanks for the question. I like the texture of using half egg better as it's fluffier. You can double the recipe and use the whole egg if you don't want to deal with the leftover egg 🙂
will the buns still be soft in the fridge? i plan to inject some cream inside and store it in the fridge so the cream wont go bad
Hi Kathy, usually the bun gets dryer after after storing in the fridge, but one time when I injected cream in the buns and store them in the fridge, they actually stay moist because of the the cream. I'm not sure how long they will stay fresh and moist, though.
Does this use Sweetened Condensed Milk or Evaporated Milk?
Hi Lori, I use sweetened condensed milk.
Hi can the cake flour be replaced with bread softener?
Hi Annette, no, you can't replace cake flour with bread softener, but you can probably replace it with bread flour and add a bit of bread softener according the the suggesting on the package. Sorry, I've never tried using bread softener so I'm not sure.
What brand of cake and bread flour do you use and where do you get it? Cake flour is hard to find these days.
Hi, I use King Arthur bread flour and Bob's Red Mill pastry flour or Swans Down cake flour.
Thanks. Mine came out too chewy on the bottom. Any advice? I have the same Bosch universal plus as you. How long do you mix all the ingredients for before waiting 30 minutes before kneading? Do you tend to add milk and let the sugar dissolve first in this before throwing the rest of the flour in? I'm having a lot of issues with cooking bread and I can't seem to get the hang of it. This time the dough came out near perfect before I cooked it but the taste was too chewy. Maybe I ate it too soon and didn't let it cool off enough?
Hi Marco, it sounds like the buns are either not bake through or under-proofed. I usually just knead all the ingredients except salt and butter all together for about 3 minutes before doing the 30 minutes rest. Next time when you do the second proof, put a piece of dough in a small cup or cap, place it near the tray with the rest of the dough, so it will be easier for you to tell if the dough is double in size. Check my Mantou post for the instruction of how I do it. https://cookinginchinglish.com/mantou-chinese-steamed-buns/. Feel free to let me know if you have any other questions!
Thanks! One more question. I'm having trouble visualizing making the little balls in step 4? It says push up with your palm and back with the other four fingers but is this up and back off the surface or up and back against the surface? The balls in your image are perfectly round while mines are lumpy so it must be a technique thing.
Hi, no problem! If rolling is more challenged to you, instead of rolling, you can just gently flatten the dough with your palm, fold the edges to the center, pinch them all together to form a dough ball.
I made it today,it was delicious.How can I keep it fresh for a few days?
Hi Liza, place them in a ziploc bag and squeeze out the air before sealing. It can stay fresh for 1-2 days in room temperature or a month in the freezer.
Hi,
I’ve made these the first time a couple days ago and it turned out delicious! My niece loves them and asked me to me to make another batch that same day!
I was wondering would I be able to freeze the already proof dough(last proof) and freeze them to bake another time?
Thank you Sandy! I've tried that before but the result wasn't great. The best way is to freeze them after baking. I usually let them cool for an hour before storing them in a ziploc bag and freeze them.
Okay! Thank you so much! I will do that.
Totally came across your recipe at a random, and it was awesome! Super fluffy and just pure yumminess. I can see myself making it again, with a frankfurter in the middle for the classic sausage bun! Thanks! can’t wait to scroll through your page for my recipes xxx
Actually, just re-reading your recipe and I didn’t do a second proof. After adding the salt and butter, I shaped these into the pan, let it rise and baked. It still turned out great. I’ll try it again next time with another proof to see if it makes it even fluffier!!
Hi Kiki, thank you for trying my recipe! I'm glad to hear the rolls turn out well. And yes, you can make it into a sausage buns or with different kinds of fillings 🙂 Have fun baking!!
is it necessary to use cold water in cold milk most bread recipes call for room temperature liquid to keep the dough from becoming too sticky. My dough is extremely sticky even after adding additional flour. have any suggestions?
Hi, using cold milk and cold water is very important when making milk bun, as you need to keep the dough cold through out the kneading time in order the get best texture. The dough will be sticky, so a stand mixer is needed for this recipe. After you knead until passing the windowpane text (about 10 - 15 minutes) , the dough should be smooth and soft but not sticky. Let me know if you have other questions 🙂
Hi.I have been making this buns eversince i found your site.I just wanna know if this will work if I make it as a loaf?
And also...do you think I can also put meat filling on it like the chinese baked pork bun?
Thank you!!
Hi Lisa, thank you so much for your support! If you want to make a loaf bread, I would recommend using this recipe instead: https://cookinginchinglish.com/milk-bread-loaf/. Happy baking!
Hello. What oven setting do you use? Top and bottom grill or just fan ?
Hi Rana, my oven doesn't have those kinds of setting, I can only adjust the temperature...
First batch didn’t rise, looked pale & sad, but tasted great! Made a second batch & it turned out like the photo. Not sure why the first batch failed. Any insights would be welcomed. 😊
Can I use mini Loaf sylicone pans for rolls? One in each. They are about 2&3/4 by 1& 3/4 each x 12
Yes you can, but I would probably reduce the baking time to 12-13 minutes and adjust from there.
Could I use active dry yeast?
Yes!
Is there a reason why you use egg and cake flour in this recipe and none for your milkbread? Could you use the milkbread recipe to make rolls?