

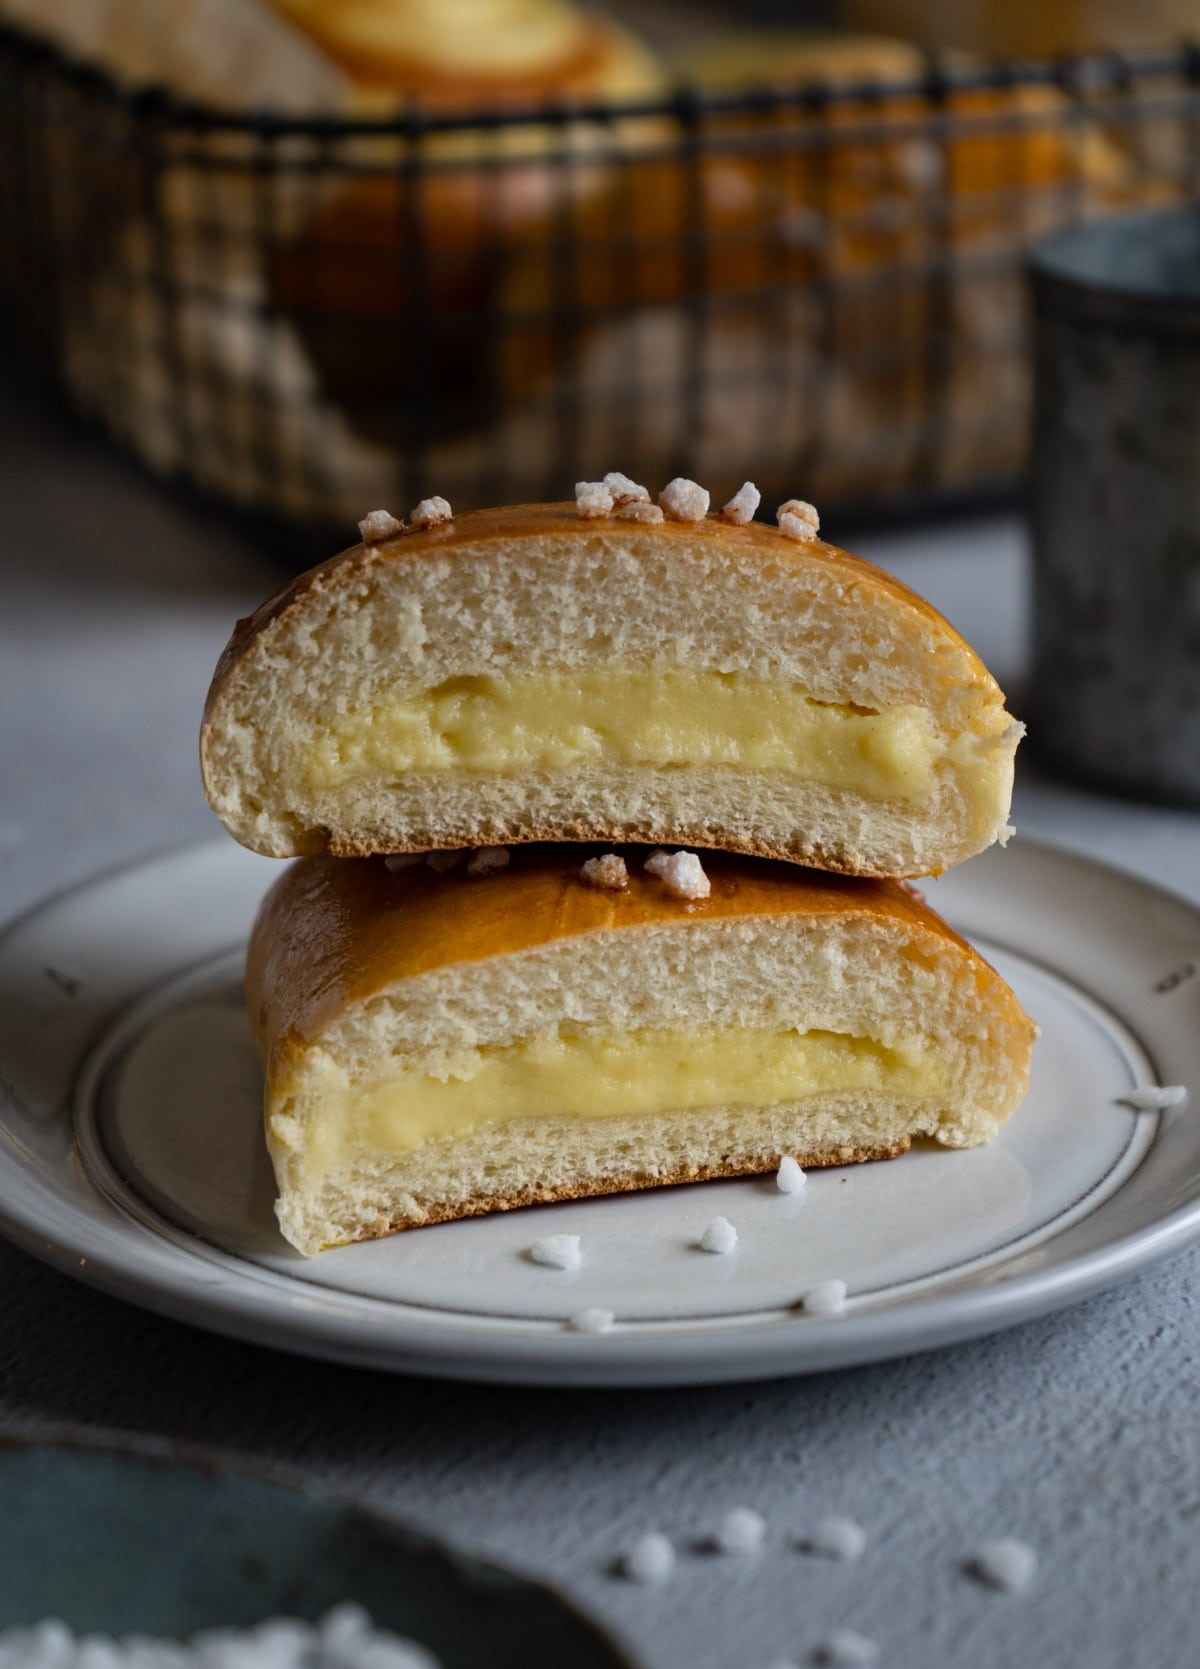
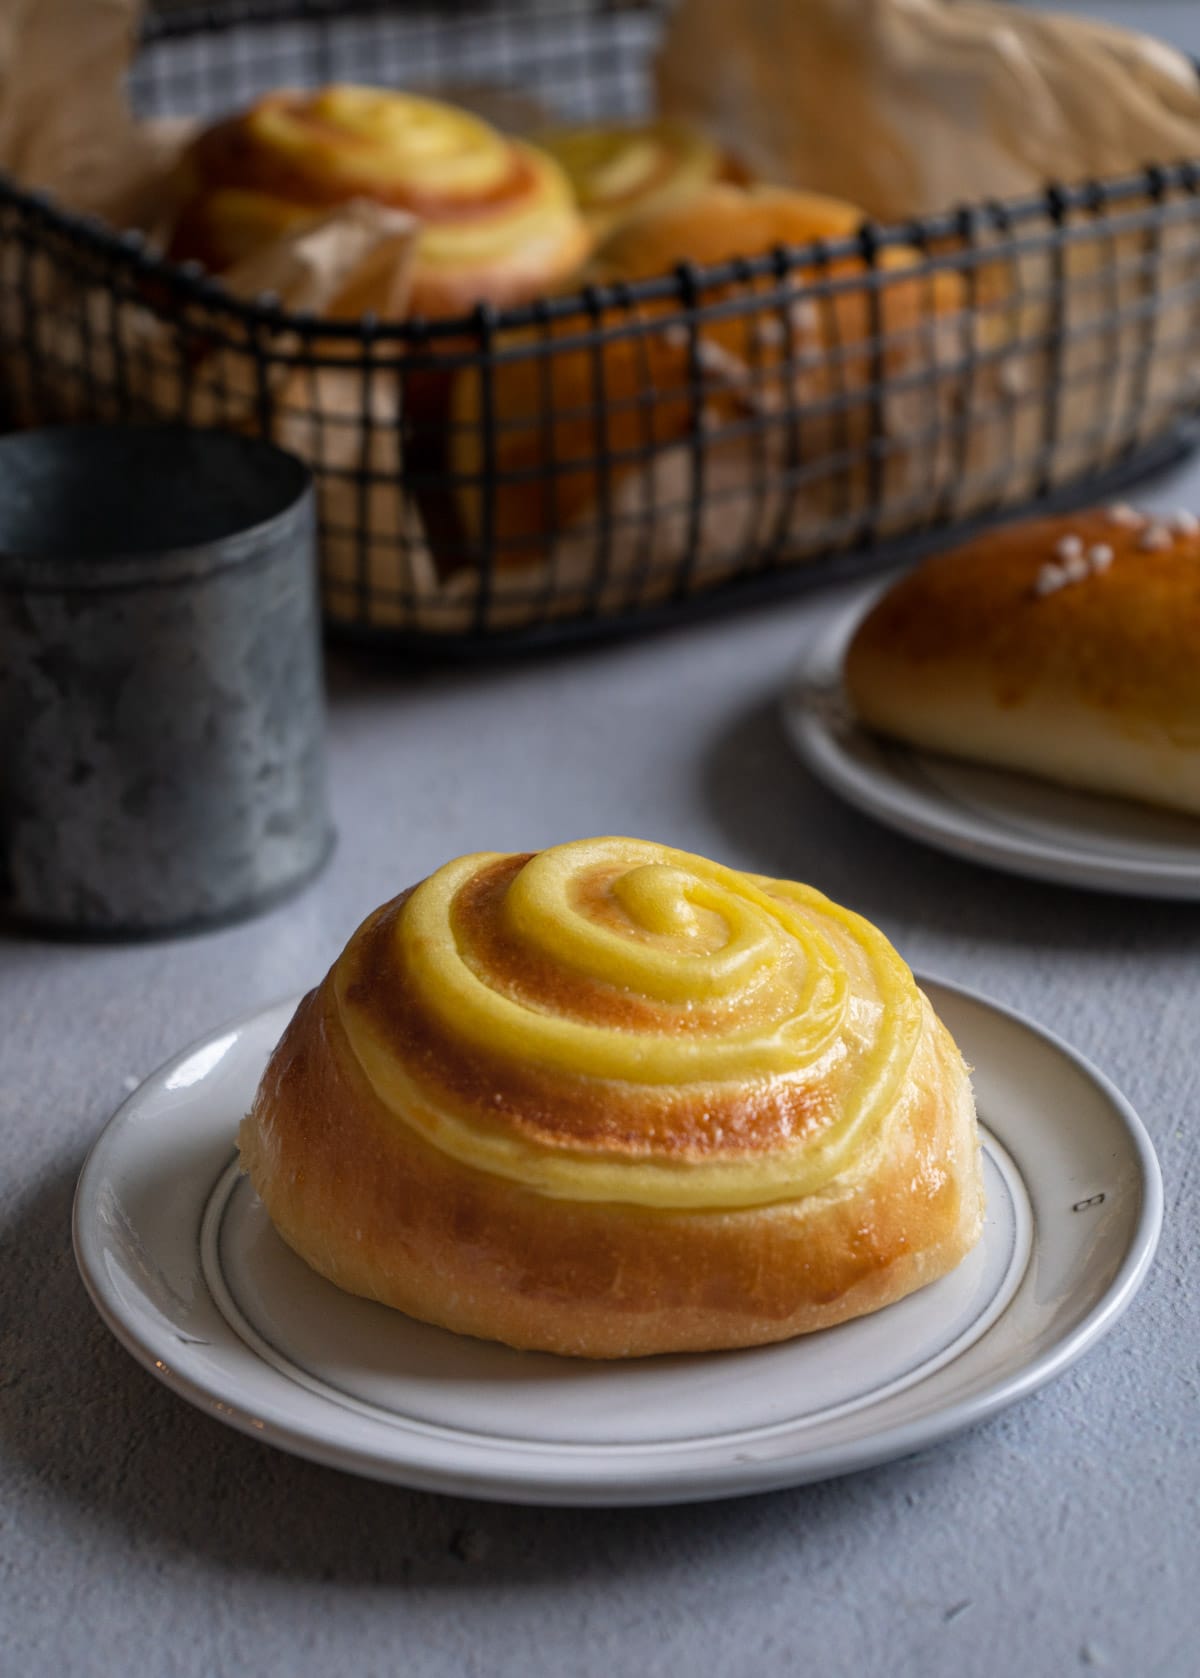
Tender and fluffy bun along with the sweet and creamy custard melt together in your mouth to create something amazing! Custard buns are so popular in Asian bakeries for a reason, and now you can make some fresh in your own home!
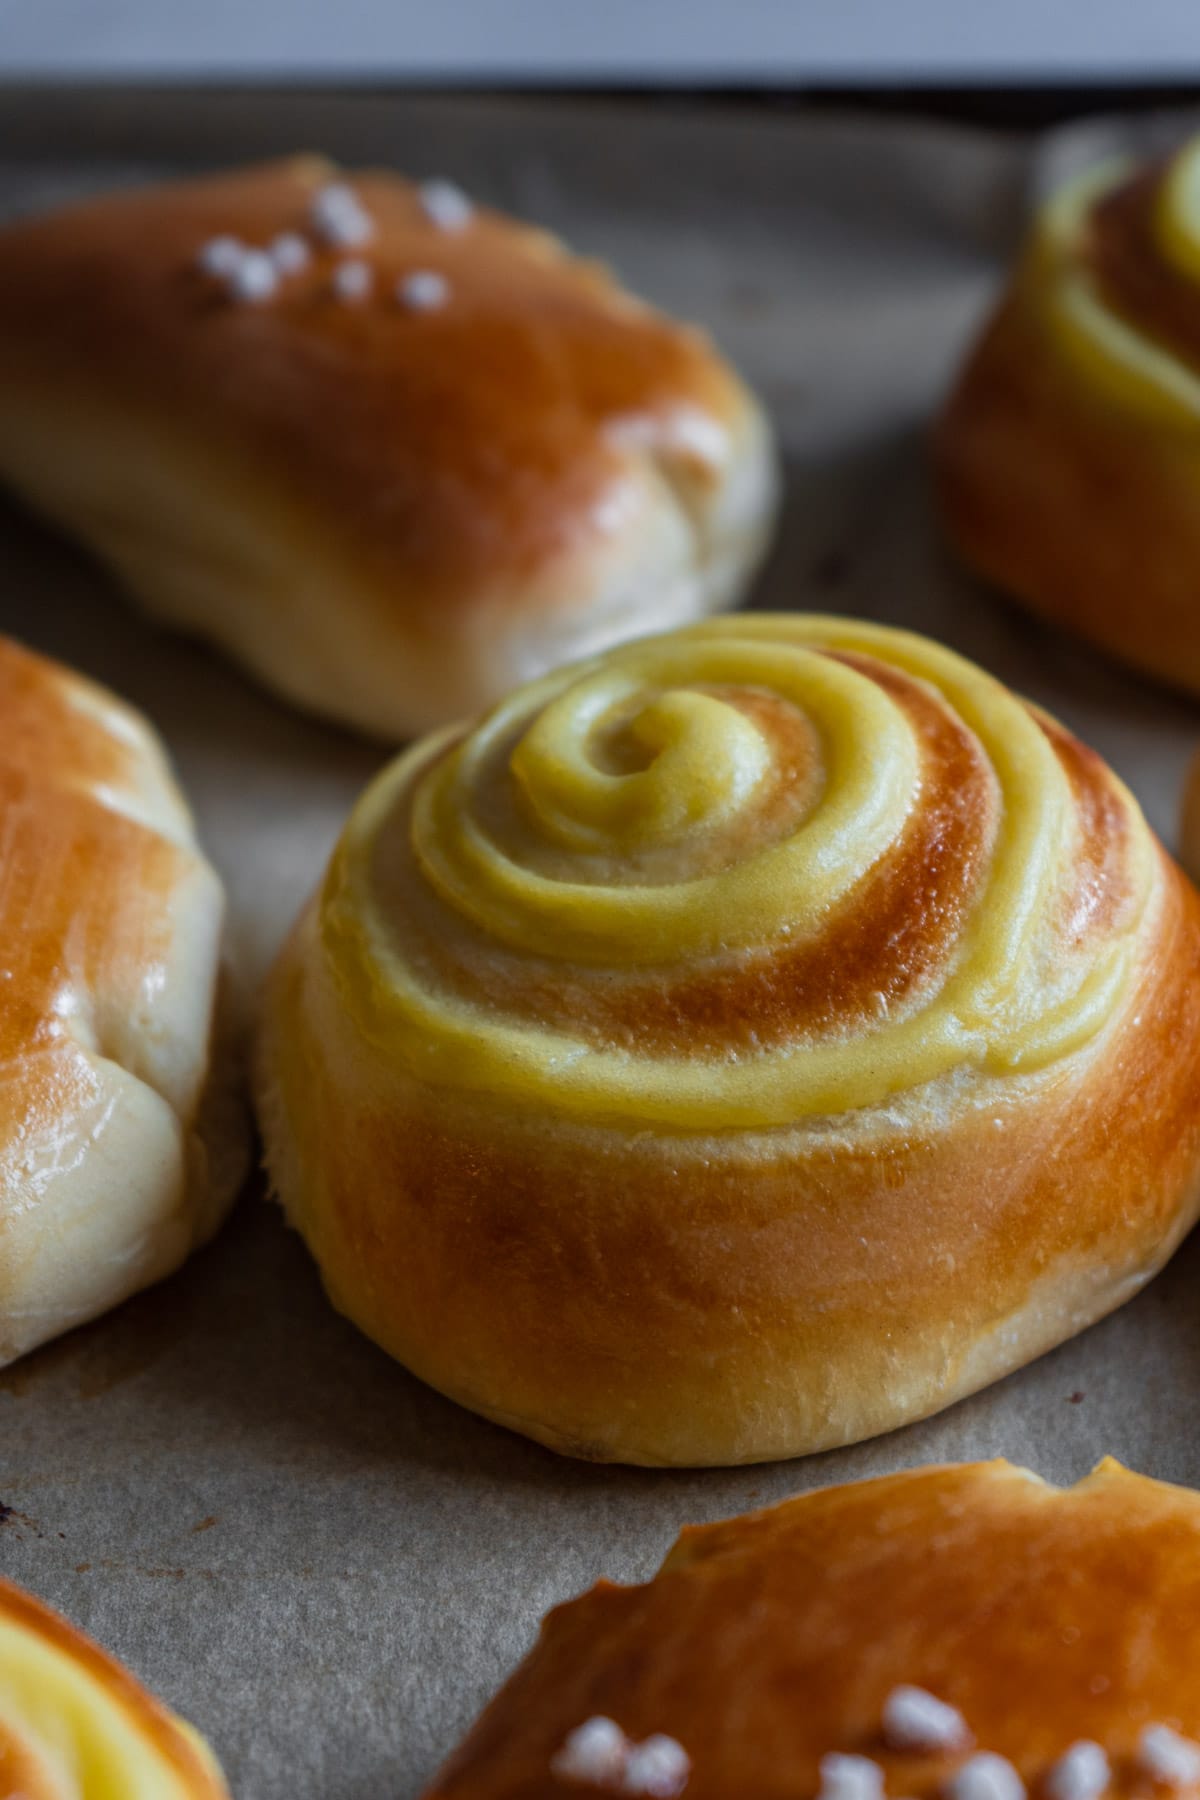
Custard buns are very popular in Taiwan, you can find it in every bakery. It's usually a round bun with a custard swirl on top of the bun for decoration. After I came to the US, I was looking for custard buns but couldn't find them in any local grocery store.
I was surprised that something so popular in many Asian countries was nowhere to be found here. But now that I know how to make a good custard bun, I can just make it whenever I want (yay!).
If you like this recipe, make sure you also try my pineapple bun, milk bun, Taiwanese milk butter bun and healthier cardamom cinnamon bun.
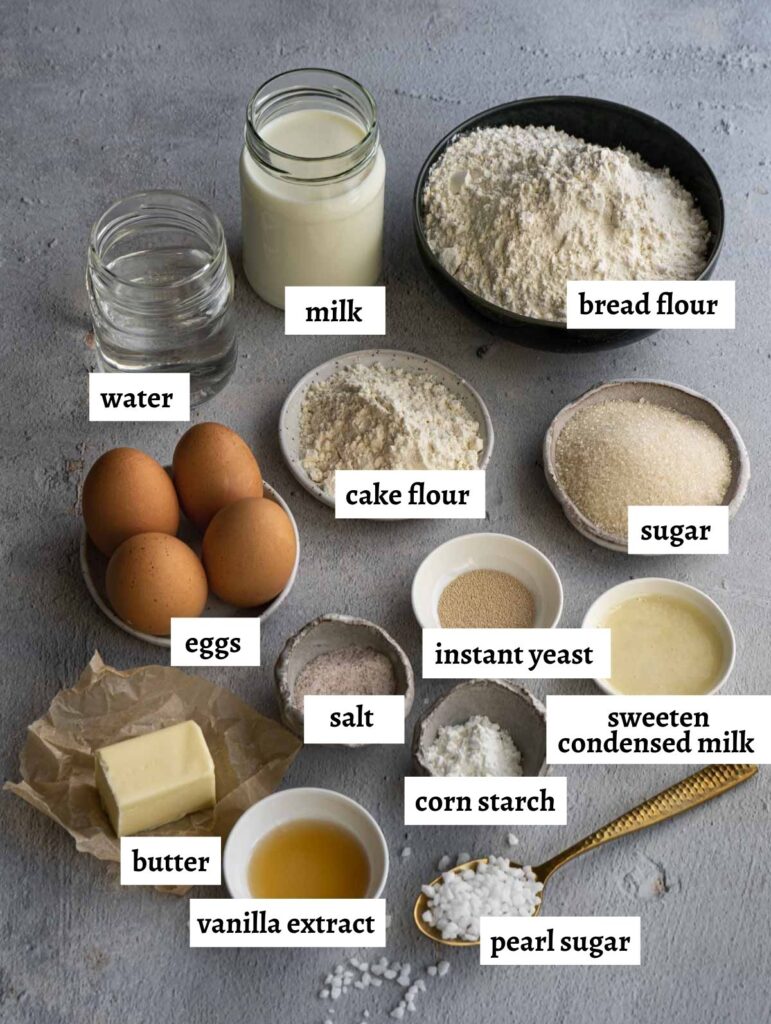
Ingredients You'll Need
Notes
- Bread flour - bread flour is the key for this recipe, replacing with all purpose flour is not recommended as you won't get the same texture.
- Cake flour - adding a small amount of cake flour into the dough is an easy way to make the bread lighter and fluffier.
- Milk - use whole milk.
- Instant yeast - Saf instant yeast is highly recommended, you will be surprised with how it can improve the texture of the bun. I use the gold label Saf, but the red label will work just fine.
- Sweetened condensed milk - it gives the bun a sweet aromatic milk flavor. You can also replace it with honey.
- Butter - use good quality unsalted butter.
- Pearl Sugar - Optional, mainly for decoration.
How to Assemble the Bun
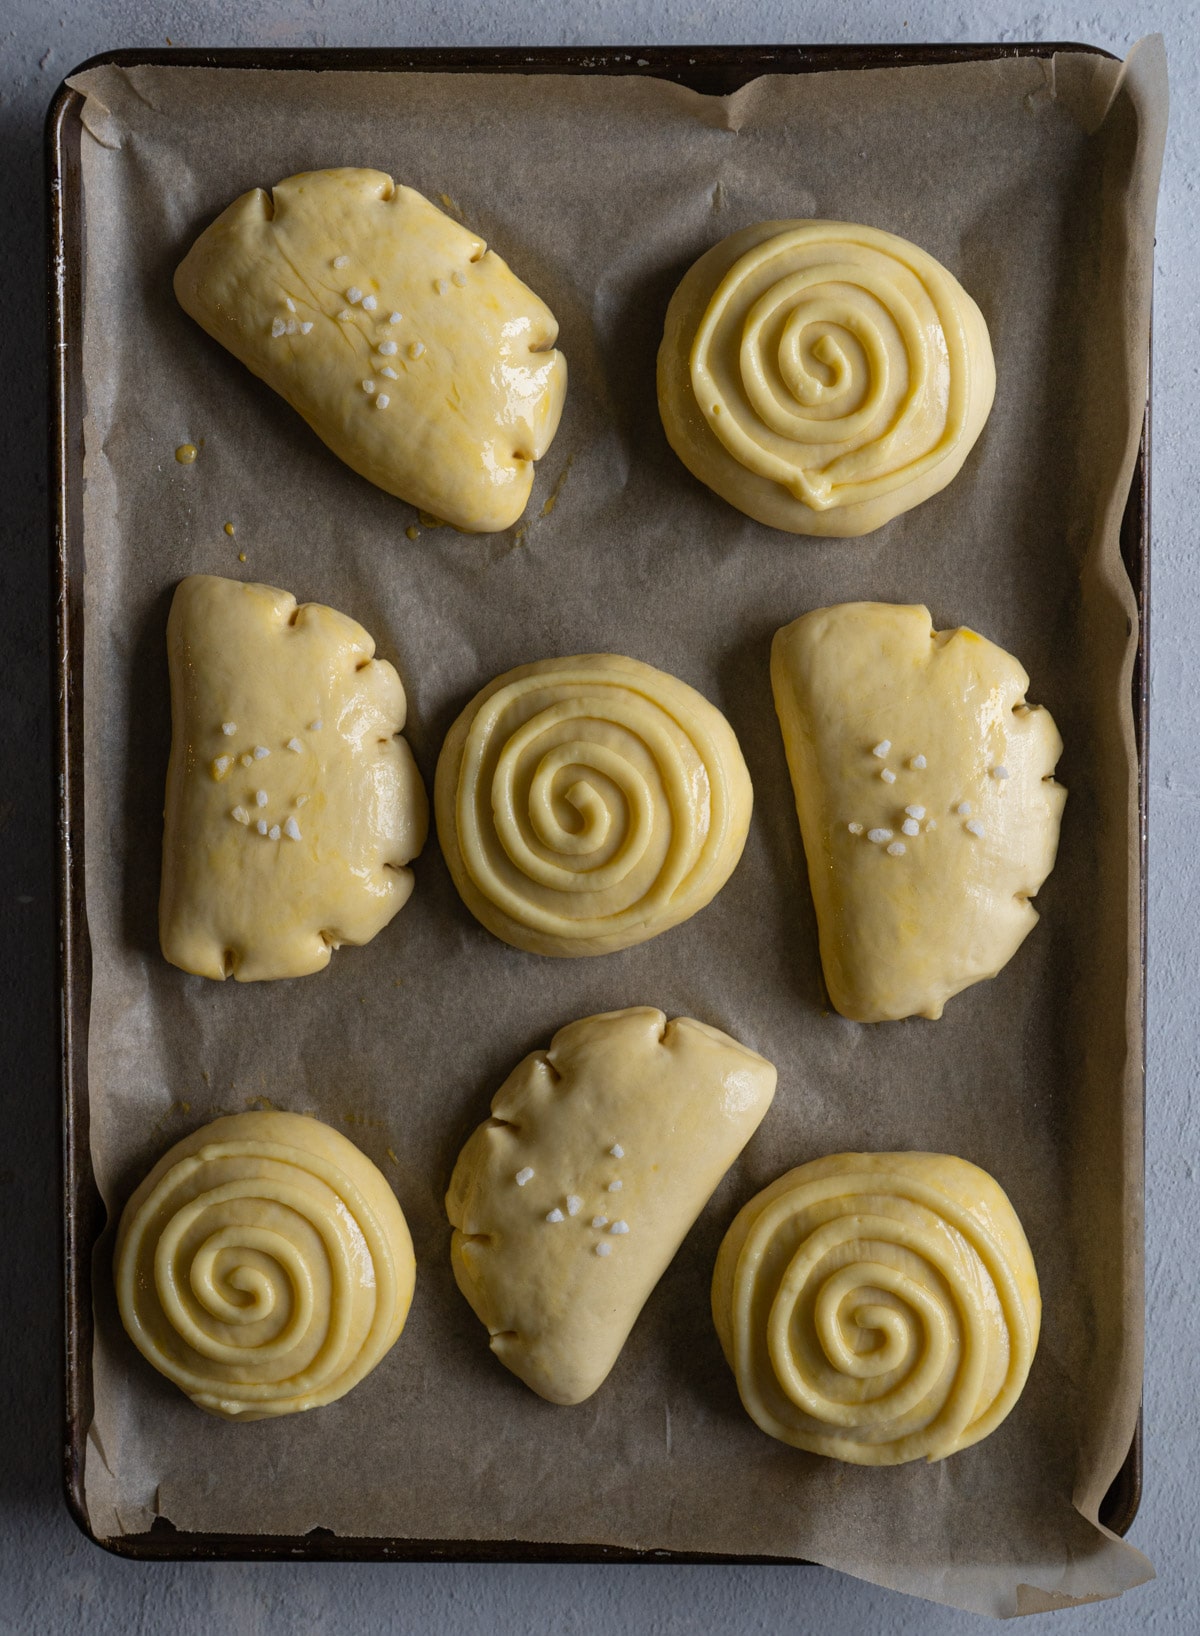
Method 1 - Round Shape
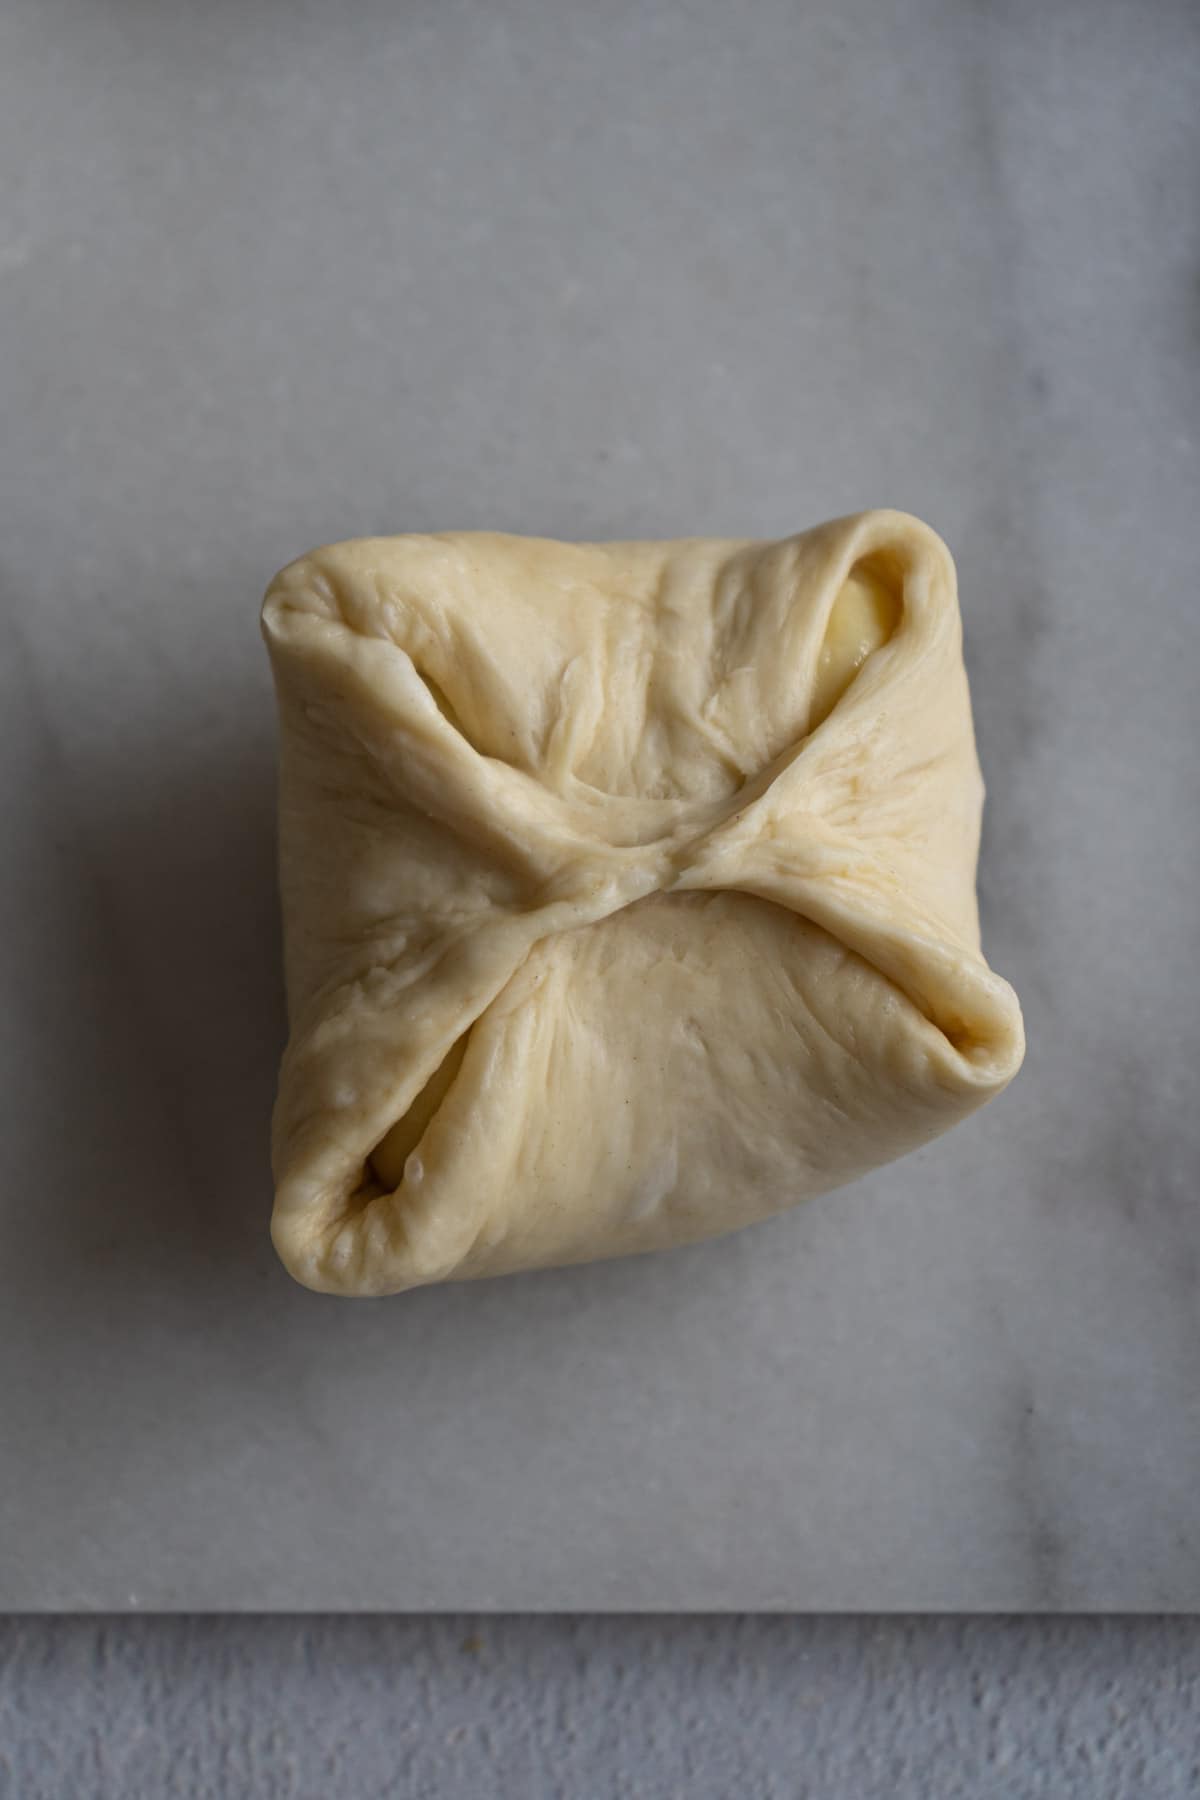
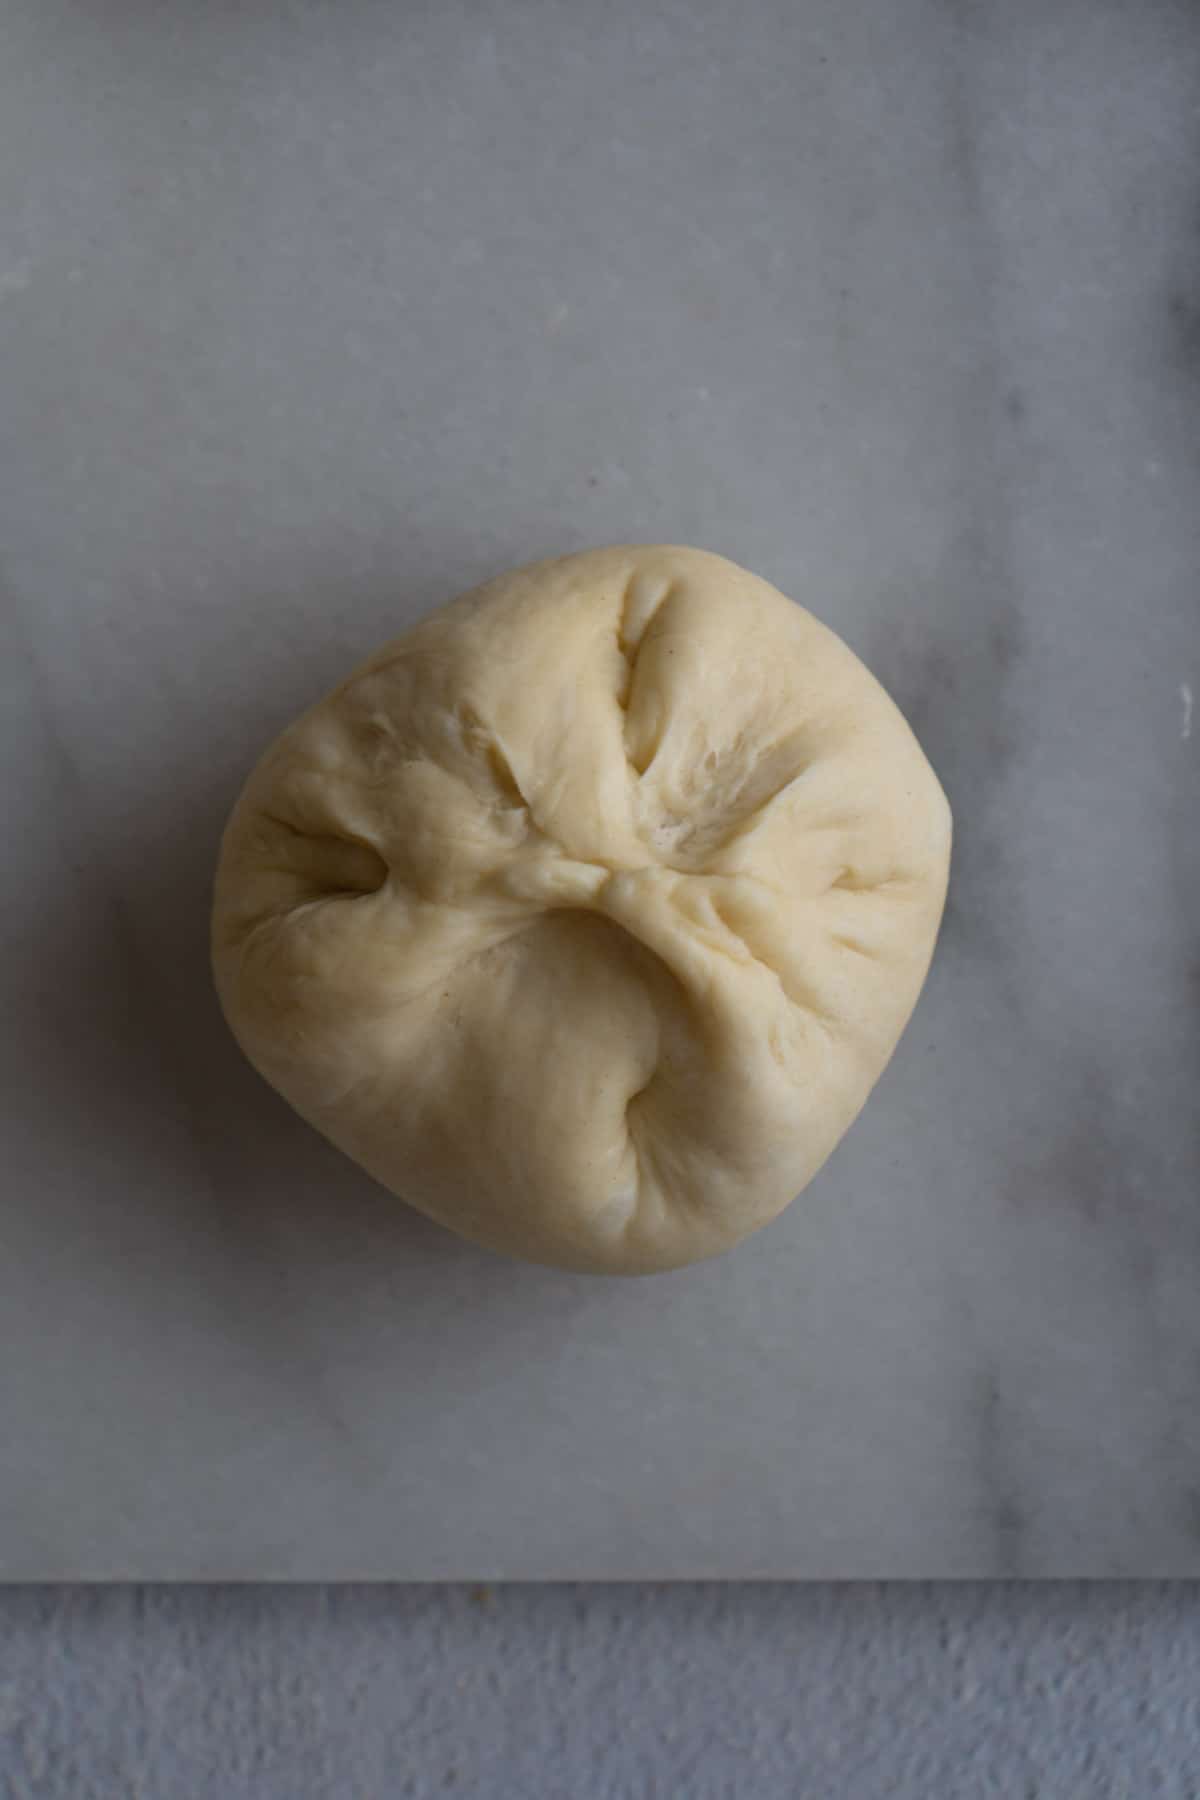
Roll the dough out to a 3"- 4" round, place 30 - 40 g (about 1 scoop / 2 tbsp) of custard in the center of the dough.
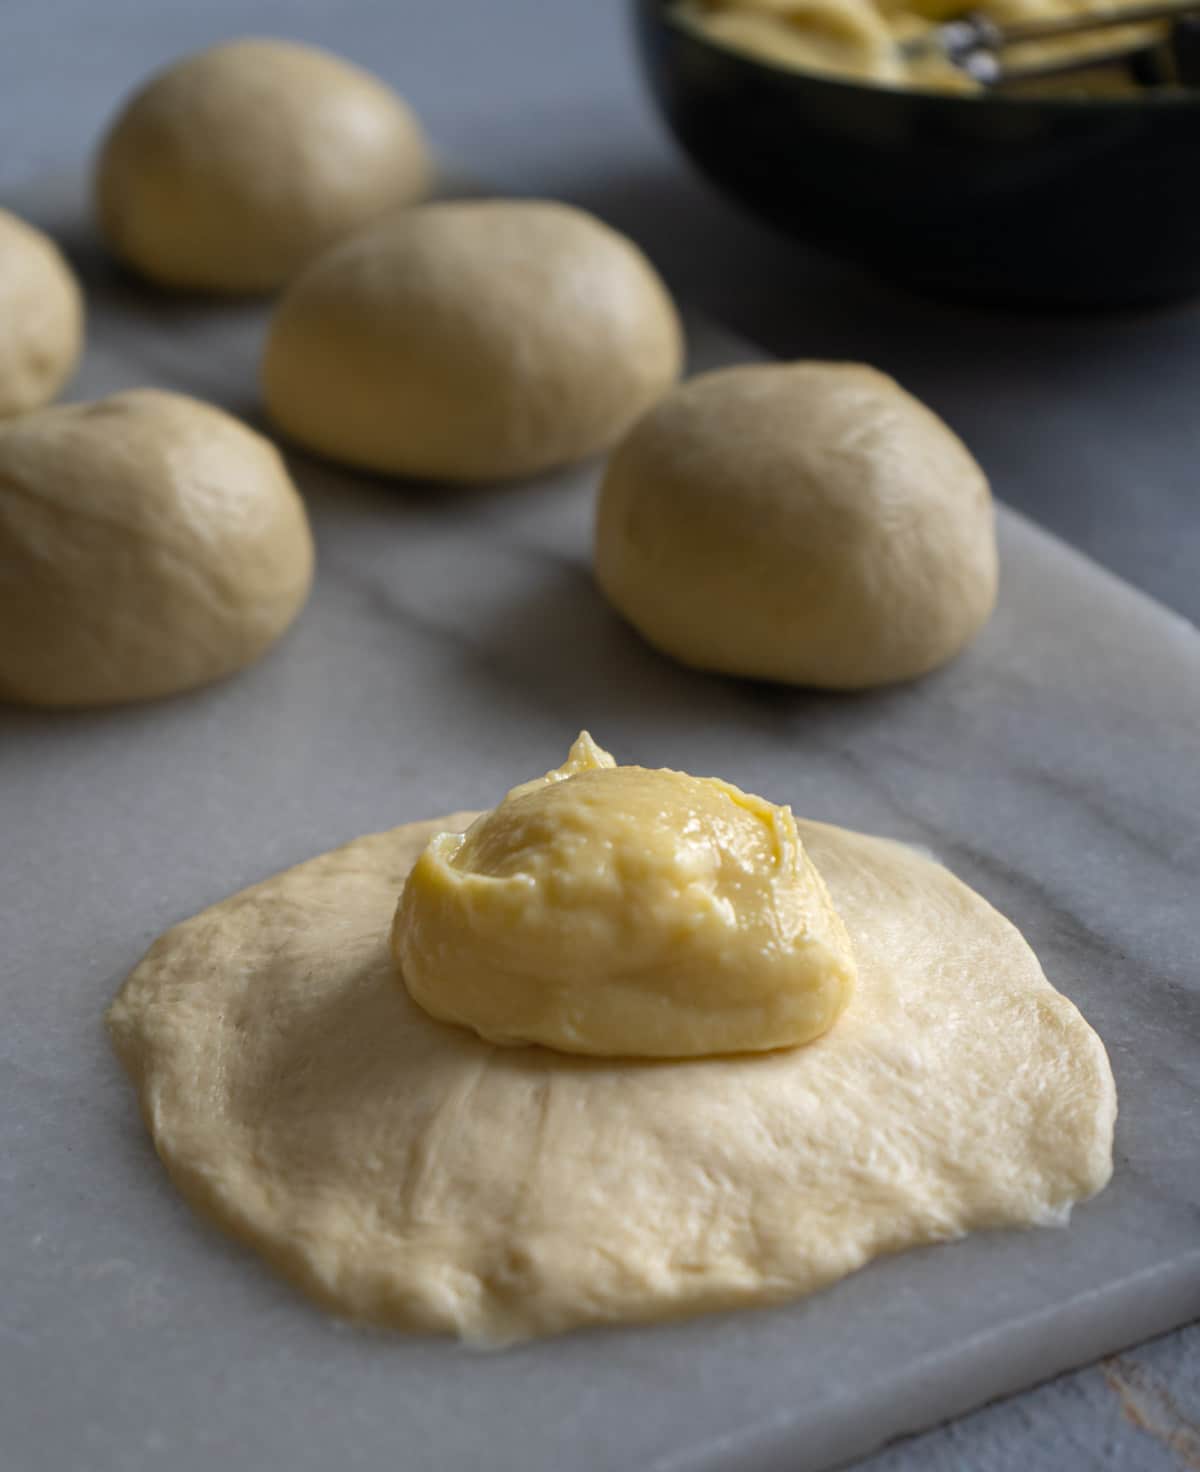
Lift up two edges (3 and 9 o'clock directions), and quickly pinch them together, do the same thing at the 12 and 6 o'clock directions and then pinch everything else together tightly.
Method 2 - Semi-Circle Shape
If forming a round bun is too challenging, try rolling the dough out into an oval to fold in half into a half circle shaped bun.
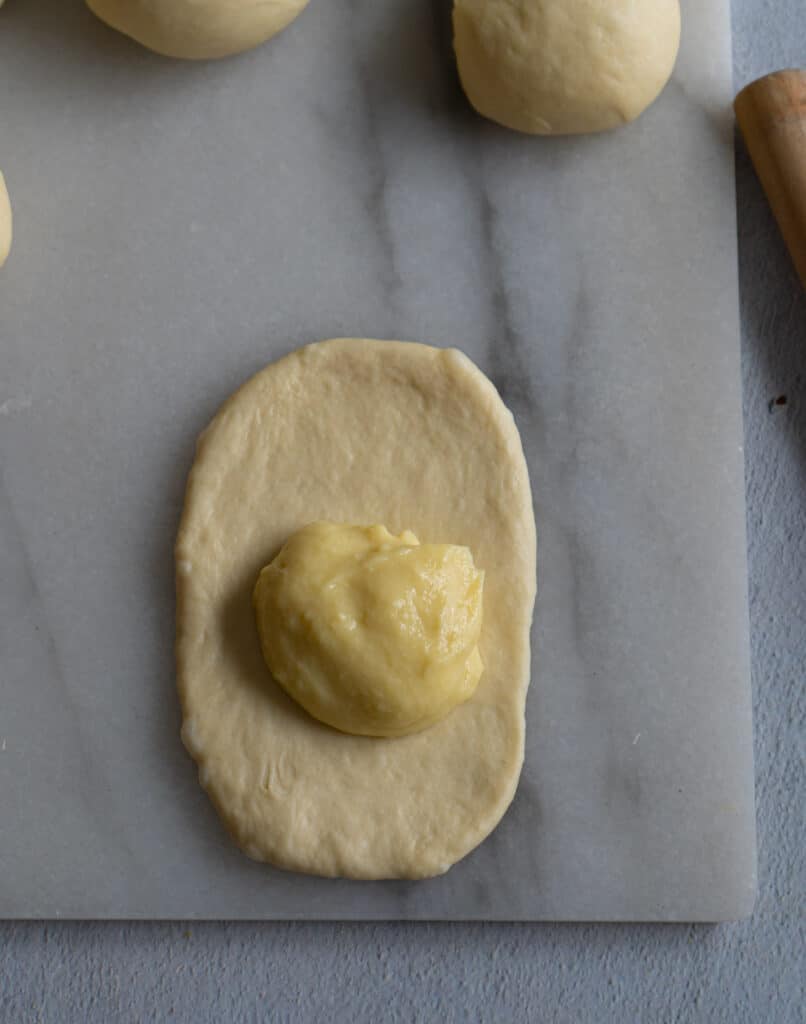
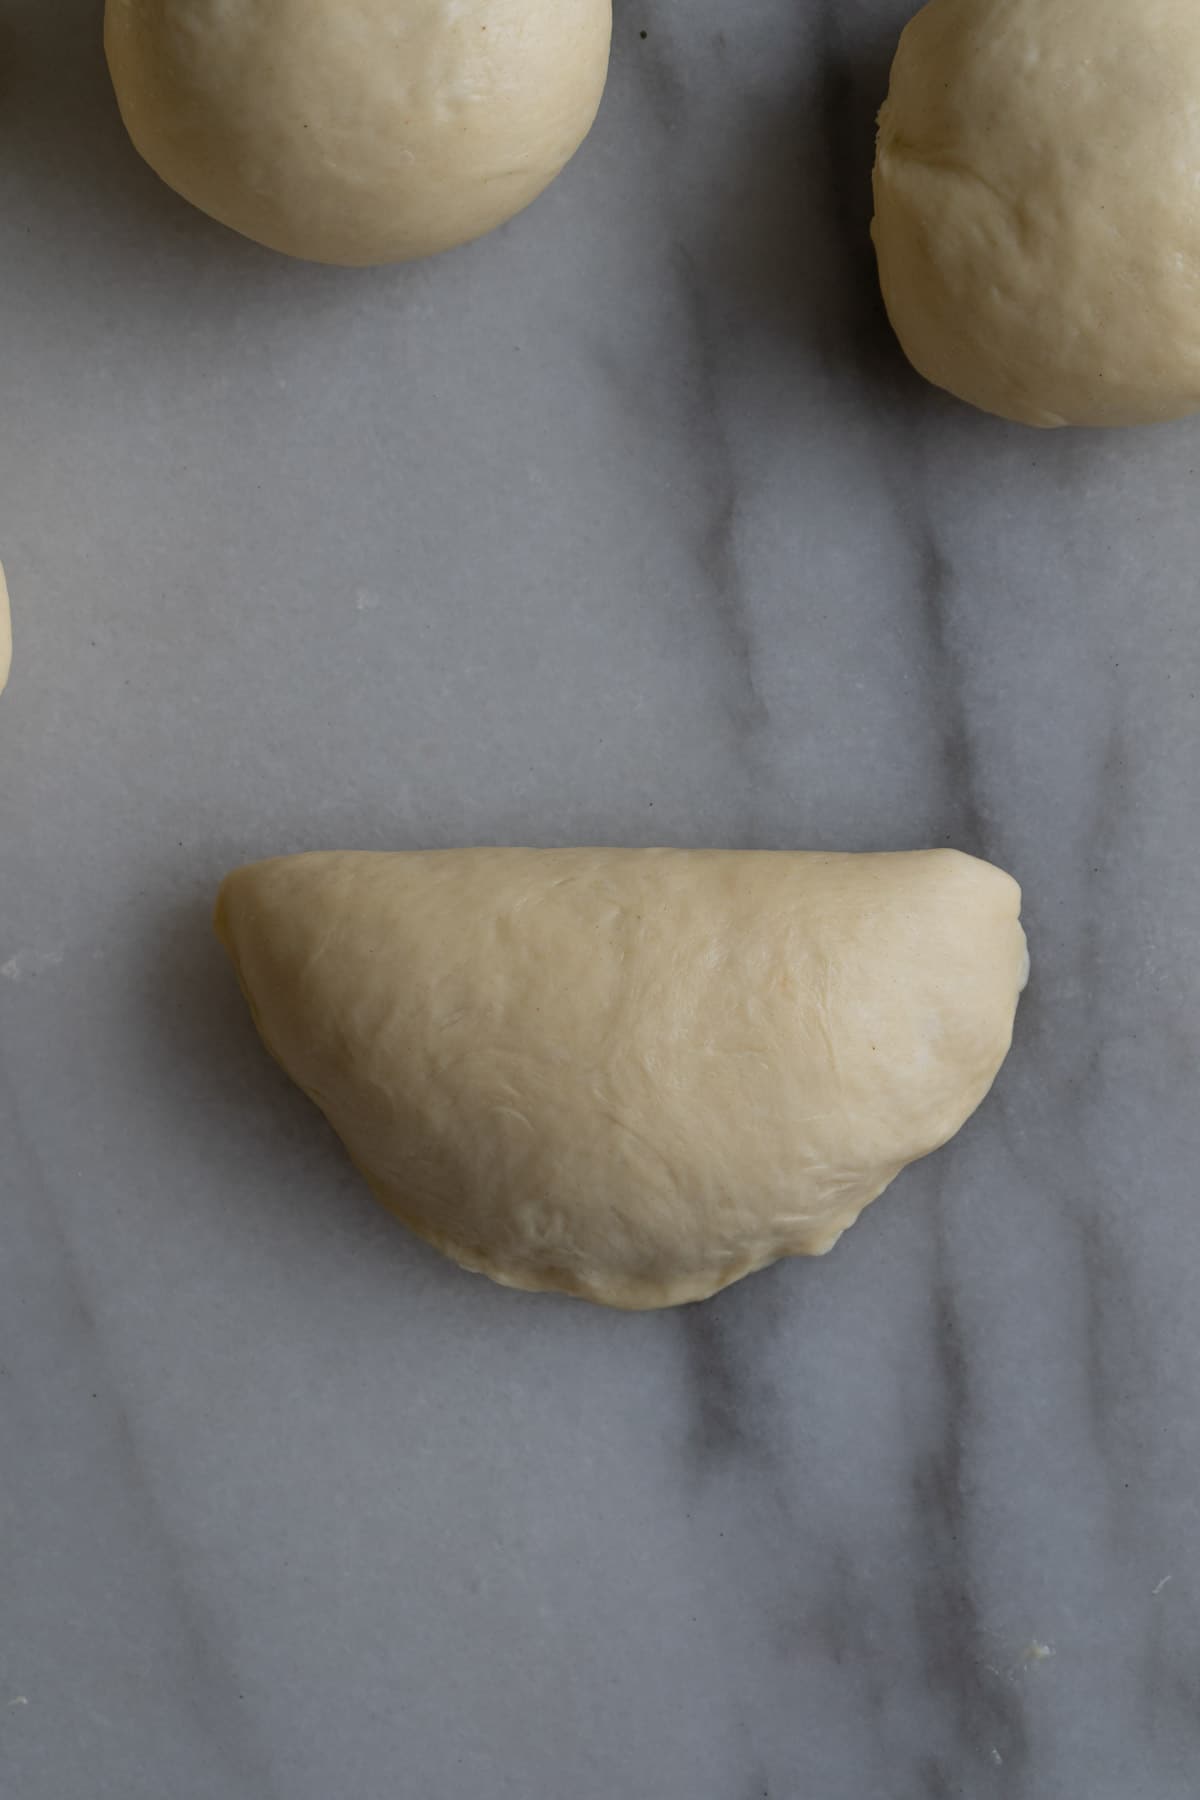
The trick is to lift up the top part of the dough and stretch it out before quickly folding down and pinching the edge together tightly. Basically, you want to do it fast enough so that the custard won't get a chance to flow to the edge.
Finish Decoration
After the second proof, brush the top of the buns with a thin layer of the leftover egg mixture. You can either pipe the leftover custard on the surface in a swirl pattern or sprinkle some pearl sugar or other topping of your choice.
Tips & Tricks
- Check out my milk bun recipe for more details on how to make soft and fluffy buns.
- If you prefer to use Tang Zhong dough, use the dough recipe from my pineapple bun.
- Make the custard beforehand - spreading out the work will make the entire process a lot easier. You can make it up to two days ahead.
- Use an ice cream scoop or piping bag to place the custard in the center of the dough to prevent it from touching the edge. If the custard touches the edge, it will be very hard to pinch the dough together.
- Rolling the dough out wider and stretching the edge of the dough just before quickly pinching it together makes it easier to successfully form the bun and avoid any custard related mishaps.
- For the best results, I like to fill in as much custard as I can, but if you are new to making stuffed buns, try adding less custard first, otherwise you may have difficulty sealing the bun.
- Make sure to seal the dough tightly to prevent it from exploding.
Recipe FAQs
This is not recommended, as the texture won't be as good.
The cake flour that goes into the custard can be replaced by all purpose flour, but I would highly recommend using it in the bun dough as the cake flour causes the bun to be softer and fluffier. If you really can't find it, you can replace it with all purpose flour or use all bread flour, but expect the bun to be a bit less fluffy.
If your dough doesn't seem to rise after an hour, it might be that your yeast is not fresh or the proofing temperature is too low.
You can use the dough recipe from my pineapple bun post.
If you are not eating within a day, place the buns in a Ziploc bag once they cool completely and freeze it for up to three months. Never store these in the fridge as they will dry up.
Let the bun thaw for 15 minutes or so before baking at 350°F (180°C) for about 5 minutes, and it will taste as good as fresh ones!
Don't Forget to Try
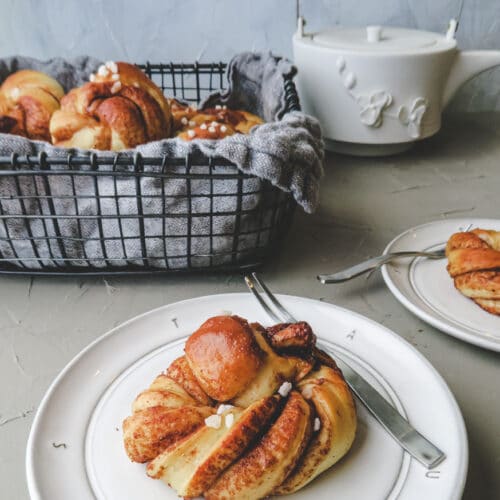
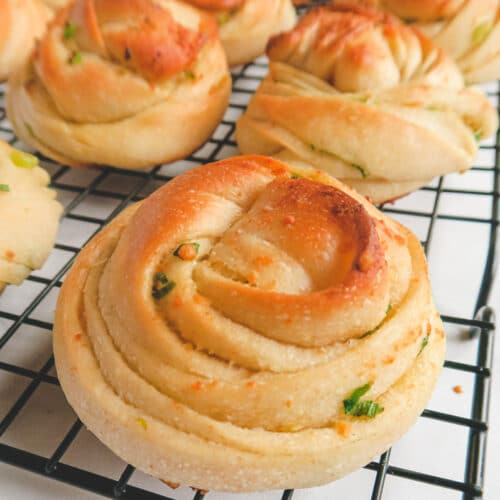
I would like to hear from you! If you make this recipe, please consider leaving a star rating and comment in the section further down the page. Stay in touch by following my Instagram and Pinterest!

Baked Custard Bun (Cream Pan)
Ingredients
Custard
- 2 large eggs
- 1 large egg yolk
- 70 g sugar, ⅓ cup (or more based on your taste)
- 15 g corn starch, 2 tbsp
- 20 g cake flour, 2 tbsp, can be replaced with all purpose flour.
- 300 g milk, 1¼ cup
- 1 teaspoon vanilla paste or extract
- 1 tablespoon unsalted butter
Dough
- 250 g bread flour, 2 cup
- 50 g cake flour, ⅓ cup
- 30 g sugar, 2 tablespoon
- 20 g condensed milk , 1 tbsp, can be replaced with honey
- 80 g cold water, ⅓ cup
- 80 g cold milk , ⅓ cup
- 1 egg, whisked
- 1 teaspoon instant yeast, ideally saf instant yeast
- ½ teaspoon sea salt
- 30 g unsalted butter, 2 tbsp, cut into 4 -6 small pieces
Optional decoration
- pearl sugar
Instructions
Making Custard
- In a heat-proof mixing bowl, whisk eggs, sugar, corn starch and cake flour together until well combined.
- Heat milk in a sauce pan until it just begins to steam. Pour half into the egg mixture, whisking to combine before pouring in the rest and whisking it all together.
- Pour the egg and milk mixture back into the sauce pan, cook with medium low heat and whisk slowly and constantly.
- Once it starts to thicken (it starts to stick on the whisk), then whisk it quicker until it all thickens up.
- Remove the pan from the heat and continue to whisk vigorously for another 30 seconds, this will ensure that you end up with a smooth custard.
- Add vanilla extract and butter; stir to combine.
- Transfer to a bowl, cover with plastic wrap and store it in the fridge.
Making Bun Dough
- Add flour, sugar, condensed milk, milk, water, 25 g of the egg (about half of the egg, store the rest in the fridge for brushing) and yeast into the stand mixer and knead on low speed until the dough is formed.
- Cover the mixing bowl and let it rest for 30 minutes (Store it in the fridge if your room temperature is higher than 80°F). Meanwhile, bring the butter out from the fridge, cut it into 4-6 pieces and leave it on the counter to soften a little.
- When the dough is done resting, add salt and continue to knead for 30 seconds.
- Add butter cubes one piece at a time and knead until the dough is smooth and it passes the windowpane test. (This step takes me about 6-8 minutes, with 5-7 minutes on low speed and 1 minute on medium speed. The actual time it takes you depends on your mixer.)
- Form the dough into a ball (it will be very sticky, but if it's too sticky to handle, then add a little bread flour and knead for another 1~2 minutes) and put it in a lightly greased bowl. cover, and let it rise for 1 to 1.5 hours in a warm place (between 80°F to 90°F) until it doubles in size.
- Transfer the dough onto a working surface and cut it into 8 even pieces. Form each piece into a ball, cover with greased plastic wrap and let it rest for 10 minutes.
Assemble the Buns
- Roll the dough out to a 3"- 4" round, place 30- 40 g ( about 1 scoop / 2 tbsp) of custard in the center of the dough. Lift up two edges (3 and 9 o'clock directions), and quickly pinch them together, do the same thing at the 12 and 6 o'clock directions and then pinch everything else together tightly.
- If you would like to make a semi-circle shaped bun, roll the dough put to a oval that's similar to the size of your hand.
- Place the custard in the middle, lift up the top part of the dough, stretch and quickly (to prevent the custard from flowing to the edge) fold down before pinching the edge tightly. Make some decorative cuts at the edge if desired.
- Put the leftover custard in a piping bag or a zip lock bag for later use.
- Place the buns on a baking sheet lined with parchment paper or a silicone mat, cover with greased plastic wrap and let it rise in a warm place until it almost doubles in side (about an hour).
- In the last 10 minutes of proofing, preheat the oven to 375°F and brush the top of the buns with a thin layer of leftover egg mixture.
- Pipe the custard on the surface in a swirl pattern or, optionally, sprinkle some pearl sugar. You can do some decorative cuts on the edge of the semi-circle buns, but don't cut too deep so that the custard won't come out.
Baking
- When the temperature is reached, put the pan in the oven and bake for 12 minutes or until golden brown. For the ones with custard on top, I would bake for 2 minutes longer with a convection bake function, if available, to achieve a golden brown color.
- Transfer the rolls onto a cooling rack. Let it cool for 10 minutes before enjoying.
Hello. I, like many, was searching for vegetable dish when I came upon these pictures and my kitchen plans took a detour. Pictures look amazing and really motivated me to try a recipe I thought was out of my reach!
I guess I'm assuming this blog is not for Americans as it is metric. The extra step of converting everything was cumbersome and websites were inconsistent. The battery in my scale had apparently died as well. Nevertheless, I tried with the conversions. the amount of flour needed was about double recommended. There was no kneading time recommendations. Also, I just proofed on the counter (didn't say to be warm). I thought maybe this was a sweet dough thing. I'm certainly a sweet dough novice. The dough didn't rise, I gave up, but left it out while I went upon my day. 10 hours later, it had risen.
I switched to another website for the custard which turned out remarkable. The dough actually was very easy to handle and stuff. The buns were quickly devoured by my children and my husband thought it was the best dessert he had in quite sometime. This is high praise as he is from China originally and can be a little precise with how Chinese dishes should be made.
Overall, thanks for providing a start point and the inspiration. As a full-time Mom, extra conversions and not enough guidance made this difficult. If your audience is American, perhaps switching units, maybe having a novice try the recipe and see about outcome and adjust above. Otherwise, love what you are trying to do on this website. I'm not Chinese, but travel often to visit our Chinese family and want my children growing up with as many traditional flavors as possible. Thanks.
Hi Jacquelyn,
Thank you so much for trying this recipe and for providing so much good feedback! I'll definitely go back over the post to see where things could be adjusted to be more clear. For instance, one thing I need to make more clear is where I suggested those new to making Asian style bread/bun to read through my previous two posts about the tips and details for making Asian buns since the method is very different from western style bread.
I didn't want to mention the same thing in every post (because that's a lot of details) that's why I always reference those two links in my bread/bun post. This blog is for Americans and anyone who comes upon it and would like to try out the recipes, I use metric because that is the most accurate way to measure the ingredients. For recipes that require less precision, I use US measurements, which may end up seeming inconsistent (I'm considering adding both now because of your input, though). I went to a baking class here in Michigan and the instructor specifically mentions how important it is to measure your ingredients with a scale, because your one cup can be very different from my one cup, and if you double the recipe, the difference will become even more significant. Regarding the kneading time, I also cover that in my previous posts, it really depends on what kind of machine you have. The goal we are looking for is for the dough to pass the windowpane test, so I can't tell you how long the kneading time is.
Also, if your dough is not rising, it may be an issue with your yeast, are you using active dry yeast or instant yeast? Because 10 hours seems very long even for rising in room temperature... But I'm glad the buns turn out well and your family liked it 🙂 If you have time and would like to try out more Asian style buns, I hope you can read though those two posts I linked to in this post, as they include all the tips and secrets I've learned from my last seven years of making Asian buns. Thank you again for taking time to comment, I'm still a newish blogger and still learning!
I was just wondering why the recipe for the dough calls for cold milk and water? I thought that both must be in warm temperature when making yeasted breads otherwise the dough won’t rise. I am a self taught baker and love to bake yeasted breads and I haven’t came across a recipe calling for cold liquid ingredients, that’s probably why the lady who tried your recipe ended up with a dough that didn’t rise . Thank you and looking forward to hear from you.
Hi Cristina,
That's a good question. I actually explained it in my bread loaf recipe (https://cookinginchinglish.com/2019/10/20/milk-bread-loaf/). Making a good Asian bread requires a lot of kneading in order to achieve the moist, soft and fluffy texture that pulls apart in strands. We often knead the dough until the surface of the dough is silky smooth and able to be stretched into a very thin membrane. All that kneading generates a lot of heat, and if the dough becomes too warm in the kneading process, you will very likely end up with a bread with a rougher texture that gets stale sooner. I know it's a very different concept, but this is now a relatively common practice among professional Taiwanese bakers these days. I hope you can give it a try, and I'm happy to discuss more with you if you have other questions.
Oh, okay, thank you🐸🤗, that’s nice to know since I am just a self taught baker and never bake yeasted breads/rolls with cold ingredients. Yes - I will definitely try this, I love baking with yeasts, very relaxing for me😜
I am very curious to try this recipe. I was originally thinking about piping the custard filling into a baked bun, like you would a custard filled donut. Is there a benefit to the custard when baking it as part of the bun?
Hi Jenn,
Actually I've had some custard buns when I was in Taiwan where they piped the custard in afterwards and they are delicious. I haven't tried doing it that way yet, but I would like to try doing it sometime. If you try it please let me know how it goes! The only benefit of baking the custard with the bun that I know of is that there wouldn't be a hole for the custard to flow out of or to be exposed to the air.
I have an Asian themed potluck coming up and I would love to try these out. I have 2 questions:
1) the condensed milk - sweetened condensed or just condensed? (I’m not familiar with the latter but will find it)
2) if I was to make ahead at what point would I freeze it?
Thanks!
Hi Liz, yes, use sweetened condensed milk. And you can freeze the buns once it's cool. Happy baking!
I’m getting so frustrated! This recipe is DELICIOUS, but about halfway through the bake time I keep having to flip them over because the bottom is browning too fast. Could it be my pan? Or is it my oven? Unsure of what to do with the next batch.
Hi Emily, what kind of oven do you have? Base on my experience, that usually happen when the tray is too close to the bottom of the oven. You can try to set the rack higher, and put an empty tray on the rack below to block the heat coming from the bottom. Let me know if that help, if not, we can try other methods. 🙂
The dough doesn't need the condensed milk, turns out fine without it.
Hi Frank, yes, it's optional, but it does add a nice milky flavor to the bun that I really like 🙂
Hi, I was wondering if this recipe is possible if I don’t have a stand mixer for the kneading? And if so any suggestions on how I should go about kneading it without one?
Hi Anne, yes, you can knead by hands, just it would be a bit challenged as the dough is quite sticky. Mix half of the dry ingredients with wet ingredients first, mix well before adding in the rest of the dry ingredients. Make sure you do the 30 minutes rest before adding salt and butter.
I made a double batch of these buns and followed the recipe exactly, they were delicious! Wrapping the bun dough around the custard was a bit tricky since it was my first time making buns like this, but I read through all the tips in the post a few times and it was super helpful! Thank you for this recipe! Ill definitely be making more buns in the future and will probably try some different fillings. Also, as an FYI I'm an American and has zero issues using the metric system ingredient amounts. I think that given how specific baking is anyone looking to bake breads should invest in a basic food scale. Thanks again, love this recipe!
Thank you so much Jess!! Your comment made my day 😀
I’ve tried to follow the recipe to a tea and use kitchen scales and I always am needing to add more flour when initially kneading the dough because otherwise it’s liquidy and will not form into a dough? Any reason why this could be?
Hi Flo, do you knead the dough by hands or in a stand mixer? The dough will be very sticky at first, by after kneading for a while until the gluten developed, it shouldn't be as sticky as when you first start kneading it.
Hello Edwina!
Is this recipe like the Milk Pudding bread from 85°C Bakery? I live far from 85 and I've been craving their Milk Pudding bread. Thank you in advance! And Happy Thanksgiving to you and yours!
Yes!! It's a classic Taiwanese sweet bun 🙂
How long can these sit out room temperature?
Hi Emily, since it has custard inside the buns, I usually won't leave it out for more than half day.
I’ve made this recipe about 5 times and it turns out wonderful every time. Thank you for it!
Thank you Mallory! I'm so happy to hear that 😀
Delicious! But the custard filling almost disappear after baking. I filled it well - used all of the custard for 8 buns. It did not ooze out and I can taste the flavour in the bun - just can’t see it. I would like to see the custard filling like in your pictures. What could I have done wrong?
Hi Lina, that's very interesting! I'm not sure what's going on, is there a air pocket inside the bun? If you have a picture can you send it to me so I can take a look?
Hi I followed this recipe and they’re tasty but dense and not light and fluffy , do you know where I might have gone wrong?
Hi Rosalie, unfortunately it's hard for me to tell which step went wrong without seeing the making process, but one possible reason is that you probably didn't proof the bread enough before baking?
Hi Edwina! Thank you so much for this recipe, finding you in 2024 after moving to a non-asian community!
Would you happen to know how to make a different type of custard sometimes used in Chinese &Taiwanese bakeries? It is almost like a solid crumbly texture until you bite into it and it smoothes out in your mouth? Maybe more butter involved? I had it recently inside a pineapple bun filling.
Thank you so much for any ideas!
Hi Julie, welcome to my blog! I think the one you are talking about is milk butter bun, I have a recipe that I make it into a twisted bun https://cookinginchinglish.com/taiwanese-milk-butter-buns/ , but you can always wrap the milk butter inside the bun like what I did in this recipe.
Yes that is the one!!!! Thank you so much, many happy future bellies 😆
No problem!! Milk butter bun is my favorite among all the Taiwanese buns, I also like adding chopped cranberries in the filling, the flavors go together very well 😀
Hi Edwina! I tried making the custard bun and had a question for you, please! I noticed that the silky custard became what appeared to be curdled or grainy after baking it in the bun. I’m wondering if that means that I overheated it in the initial process? However, my custard appeared creamy before baking. Also, like the other comment, after baking, the custard seemed to disappear a bit and became a thin layer inside the bun. It didn’t look like photos of yours where the custard is silky, smooth and full of filling inside. Do you have any recommendations or tips you could offer me to improve my next attempt? Thank you in advance!
Hi Sue, you can try whisking the custard before using, and try to seal the bun tighter to prevent the custard from coming out when baking. It's not easy to fold custard in the dough, especially when you want to put a bit more in it, it took me lot's of practice as well 🙂
Hi! If I wanted to make this with active dry yeast instead of instant, could I warm the milk slightly and use it to activate the yeast before mixing it with the dough? If not, what are some other ways? I know you said explicitly to use cold, so I just wanted to check.
Hi Katy, I would warm a bit of milk just to dissolve the dry yeast before adding all other ingredients. Happy baking!