In this recipe I combined the flavor of cinnamon rolls and cardamom buns with soft and fluffy sweet buns using Asian bread dough as a base. The result is so delicious -- great for breakfast/brunch or a snack to go with your tea or coffee. What's best is that it uses a lot less butter and sugar than regular cinnamon rolls or cardamom buns. Plus, your entire house will smell amazing until the next day!
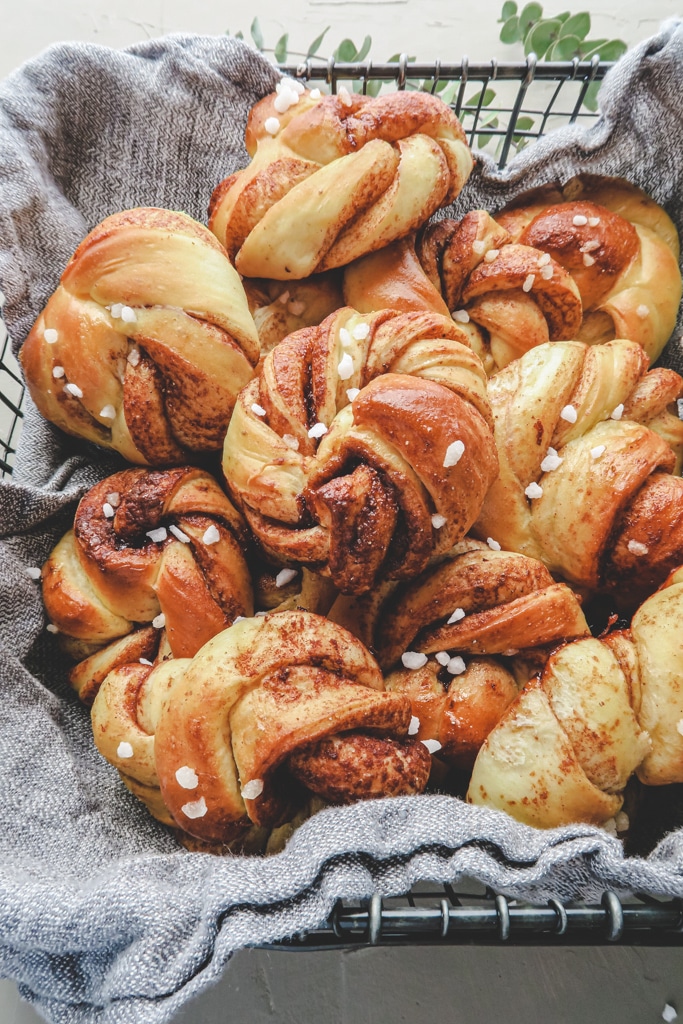
I remember my first time trying Swedish cardamom buns was when I attended a baking class at Zingerman's bakehouse. We made chocolate Babka, Povitica and Swedish cardamom buns that afternoon, and all three of them were super delicious. Since that baking class ended, I've found that, out of the three dessert breads, the cardamom bun is the only one that I continue to make regularly after I came home. I think this is because, not only are those buns super yummy, they're also easy and fun to make!
Since I make it quite often, I felt that I need to come up with a healthier version of it. After several tweaking and testing the recipe several times, I found that the best result came from using my basic Asian bread dough with a bit of modification.
Here are some tips for this recipe:
Start with cold liquid
I know many of you may be skeptical with this one — aren’t we supposed to use warm water to activate the yeast? Will the dough rise if I use cold liquid? Let me explain. When you are making bread, instant (rapid-rise) yeast is your best friend. It doesn’t need to be pre-activated with warm water, just adding it directly into the mixture with other ingredients will do. I highly recommend using Saf instant yeast, as I was surprised by how much better my bread tasted after I began using it.
In order to achieve a dreamy bun texture, a lot of kneading is required. We need to knead the dough until the surface of the dough is smooth and the can pass the windowpane test (meaning that you should be able to stretch the dough into a smooth and nearly see-though membrane). Kneading generates heat, and we don’t want our dough to become too warm (ideally never going above 82°F) during the kneading process.
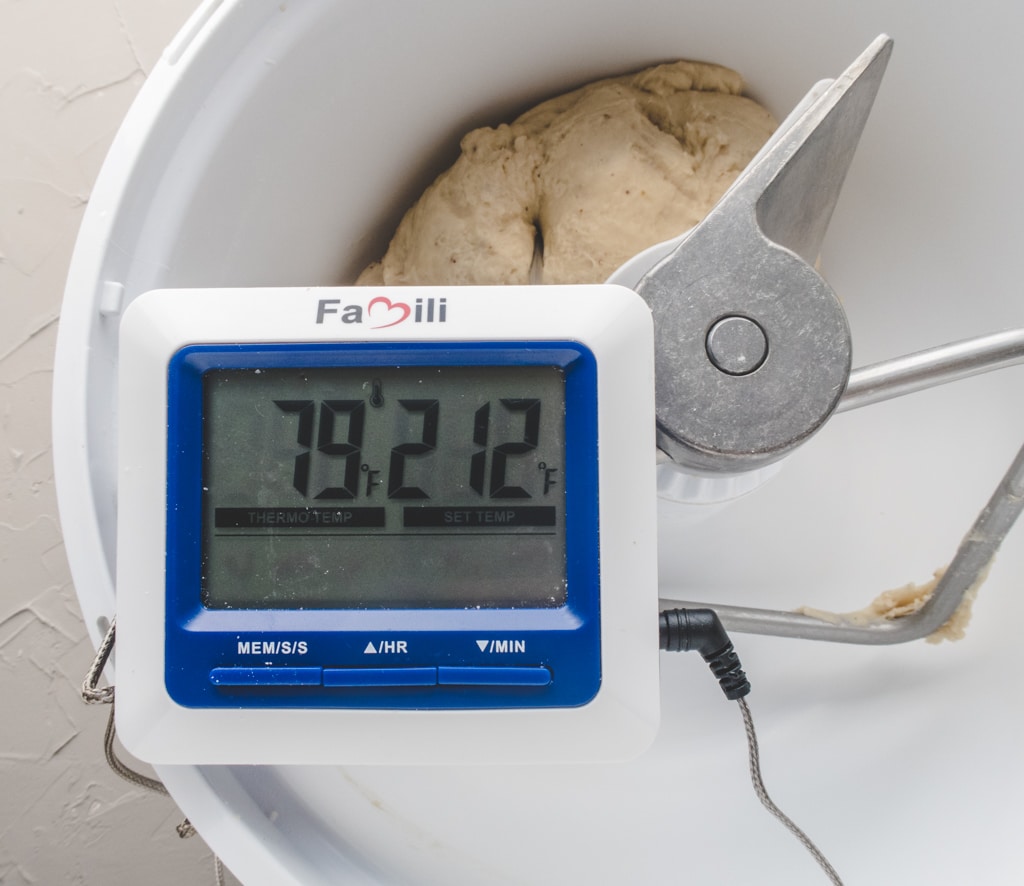
If the dough ever gets too warm, then (1) the flavor of the resulting bread will suffer, the bread itself will (2) have a rougher texture and will (3) be prone to getting stale quickly. That’s why we want to start with using a cold liquid. I learned this technique relatively recently from some professional bakers in Taiwan, and it really leveled up the texture of the Asian breads that I make.
Try the Autolyse method
I highly recommend trying the Autolyse method. This method simply consists of allowing the dough to rest for 30 minutes for the gluten to develop right after forming the dough and before adding salt and butter. Using the Autolyse method is almost like cheating on your (windowpane) test, as it really makes developing the proper dough for this recipe nearly fool-proof. This is why the instructions in the recipe box includes this resting step.
Use a scale
It’s important to weigh your ingredients with a scale instead of using a measuring cup, since the cup of flour I measure will easily be different than the cup of flour you measure due to differences in how we handle the measurement. Making Asian buns/breads requires a higher accuracy than normal bread, and it is how I developed this recipe. I used this OXO kitchen scale that’s recommended by Cook’s Illustrated, but any cheaper one will work just fine!
Variation
In Zingerman's baking class, they add chopped candied ginger in the cardamom buns and I absolutely love this combination! You should definitely give it a try. However, if you are not a fan of ginger, you can also try raisins, dried cranberries, or even some nuts like pecan or walnut, which will all work beautifully.
Storing and reheating
If you are not eating these on the first day, I would recommend storing them in the freezer once they’re cool in order to maintain the best texture. When you want to eat them, just bake in the oven at 350°F (180°C) for about 6 minutes and it will be as good as when it's fresh. Don’t store these in the fridge, or else they will become dry and stale.
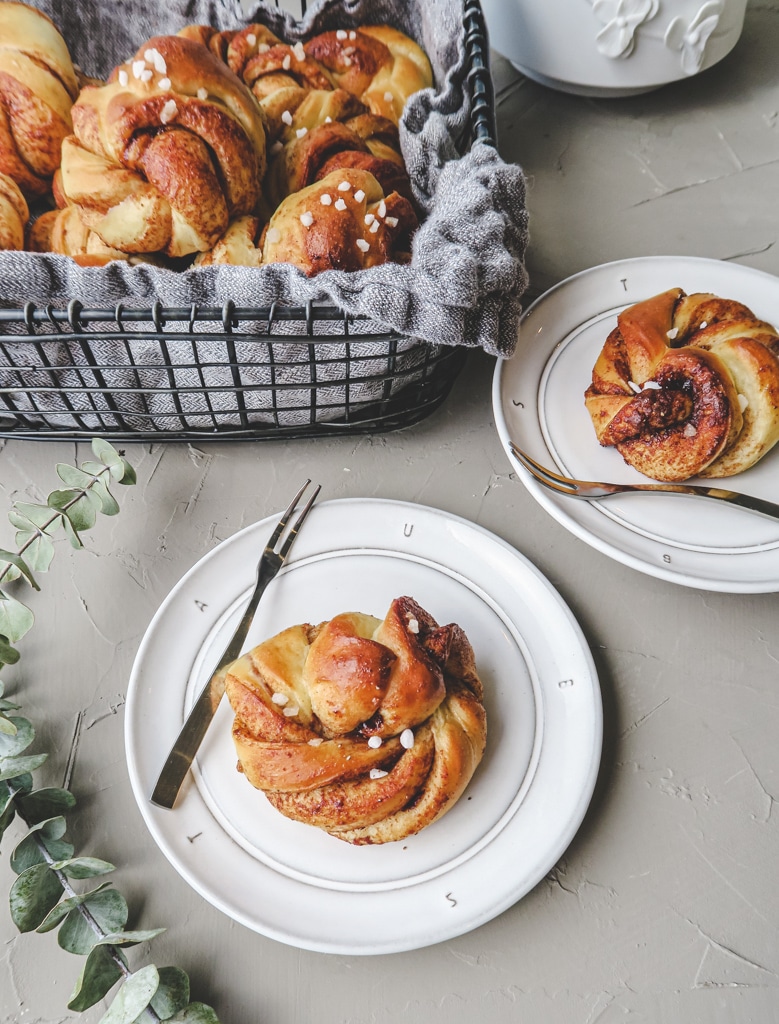
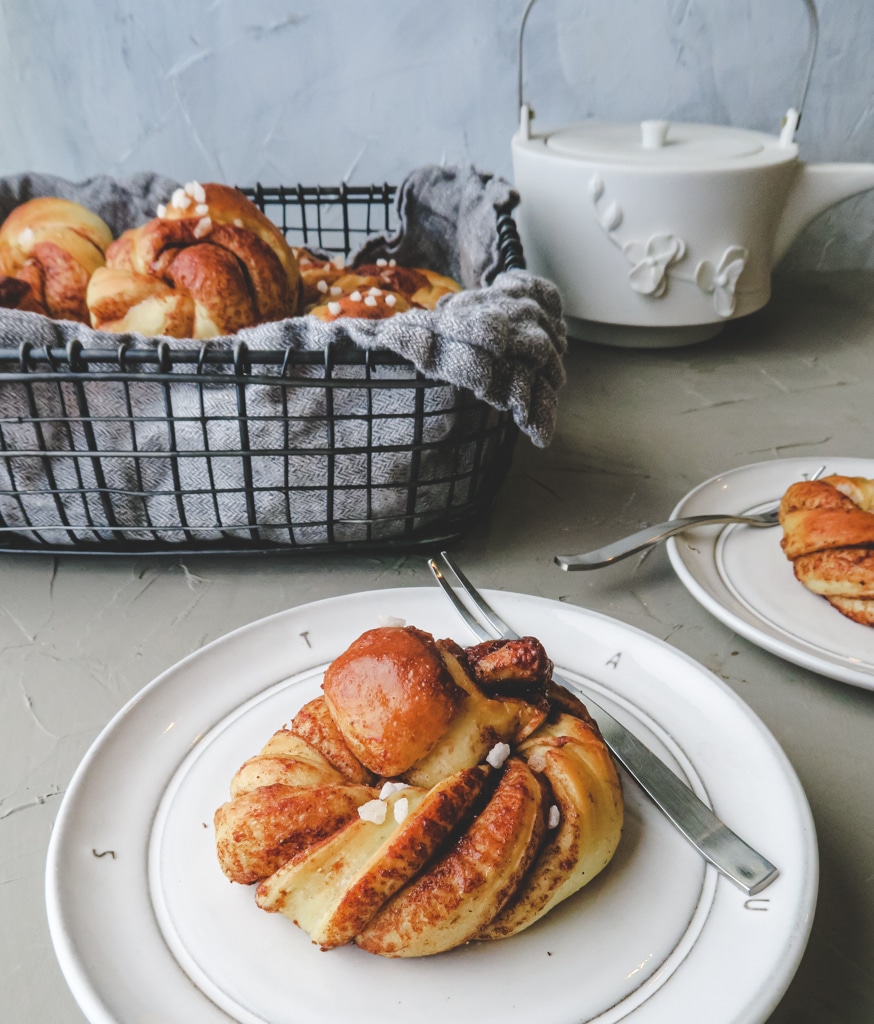
Please give it a try and tell me how you like these buns!
I would like to hear from you! If you make this recipe, please consider leaving a star rating and comment in the section further down the page. Stay in touch by following my Instagram and Pinterest!
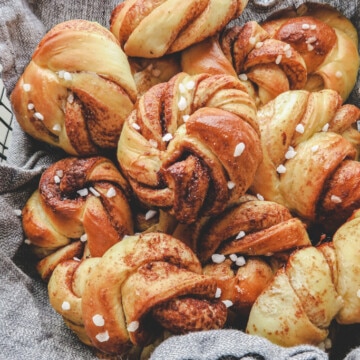
Healthier Cardamom Cinnamon Buns
Ingredients
For the dough
- 300 g bread flour , 2½ cup
- ½ tsp ground cardamom, preferably freshly ground, see note
- 30 g sugar, 2 tablespoon
- 20 g condensed milk , 1 tablespoon + 1 tsp
- 80 g cold water , ⅓ cup
- 80 g milk (preferably whole milk) , ⅓ cup
- 1 egg yolk
- 1 tsp instant yeast (rapid rise yeast), preferably SAF instant yeast
- 4 g sea salt , ½ tsp
- 30 g unsalted butter, 2 tbsp, cut into 6 pieces
For the filling
- 3 tbsp dark brown sugar , I used Muscovado sugar
- 1 tablespoon ground cinnamon
- 1 teaspoon ground cardamom, preferably freshly ground
- 1 pinch salt
- 2 tbsp melted butter
Topping
- pearl sugar , optional
- ½ tablespoon melted butter
Instructions
First make the dough
- Add flour, ground cardamom, sugar, condensed milk, milk, water, egg yolk and yeast into the stand mixer and knead on low speed until the dough is formed.
- Cover the mixing bowl and let it rest for 30 minutes.
- When it's done resting, add salt and continue to knead the dough for 30 seconds.
- Add butter cubes and knead until the dough is very smooth and passes the windowpane test. (This step usually takes me about 6 minutes, with 5 minutes on low speed and 1 minute on medium speed. The actual time it takes you depends on your mixer.)
- Form the dough into a ball (it will be very sticky but still workable. If it's too sticky to handle, then add a little bread flour and knead for another 1~2 minutes) and put it in a lightly greased bowl. Cover, and let it rise for 1 hour to 1.5 hours in a warm place (between 82°F to 90°F) until it doubles in size.
Shaping the buns
- Mix dark brown sugar, ground cinnamon, ground cardamom and salt in a small bowl and set it aside.
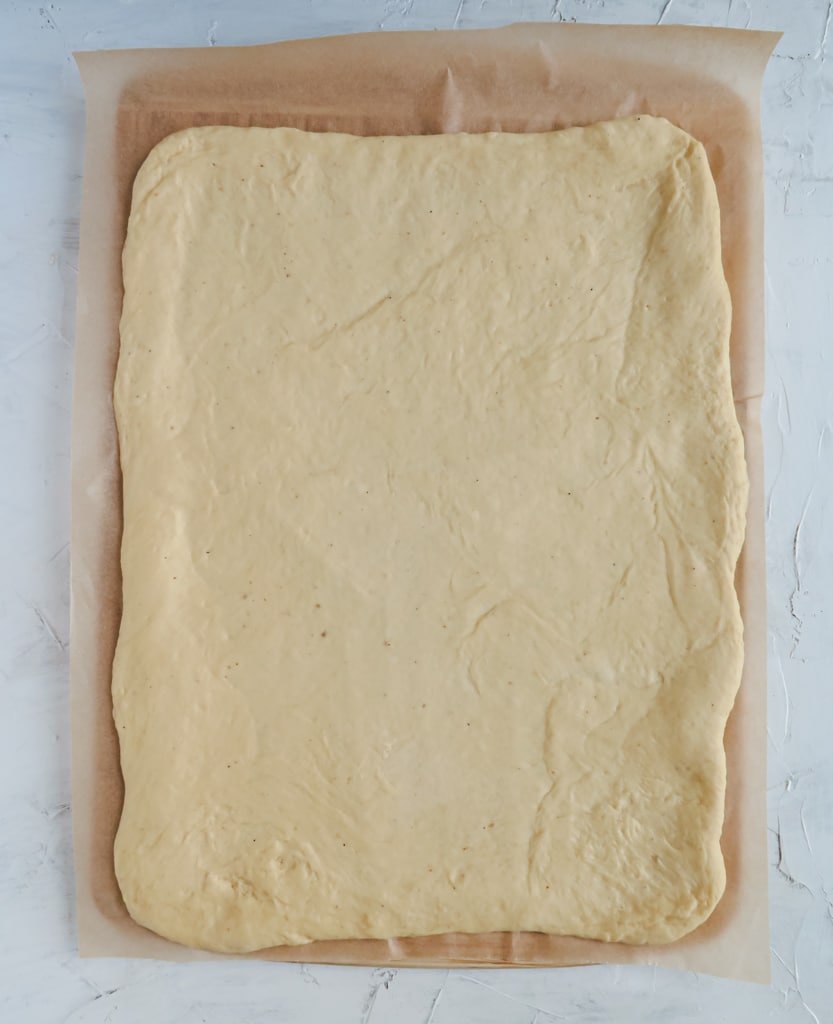
- Transfer the dough onto a lightly dusted working surface. Roll it into a rectangle with a rolling pin, about 11" x 16" (28 cm x 40 cm). If it's difficult to roll, cover and let it rest for 5 minutes before rolling again.
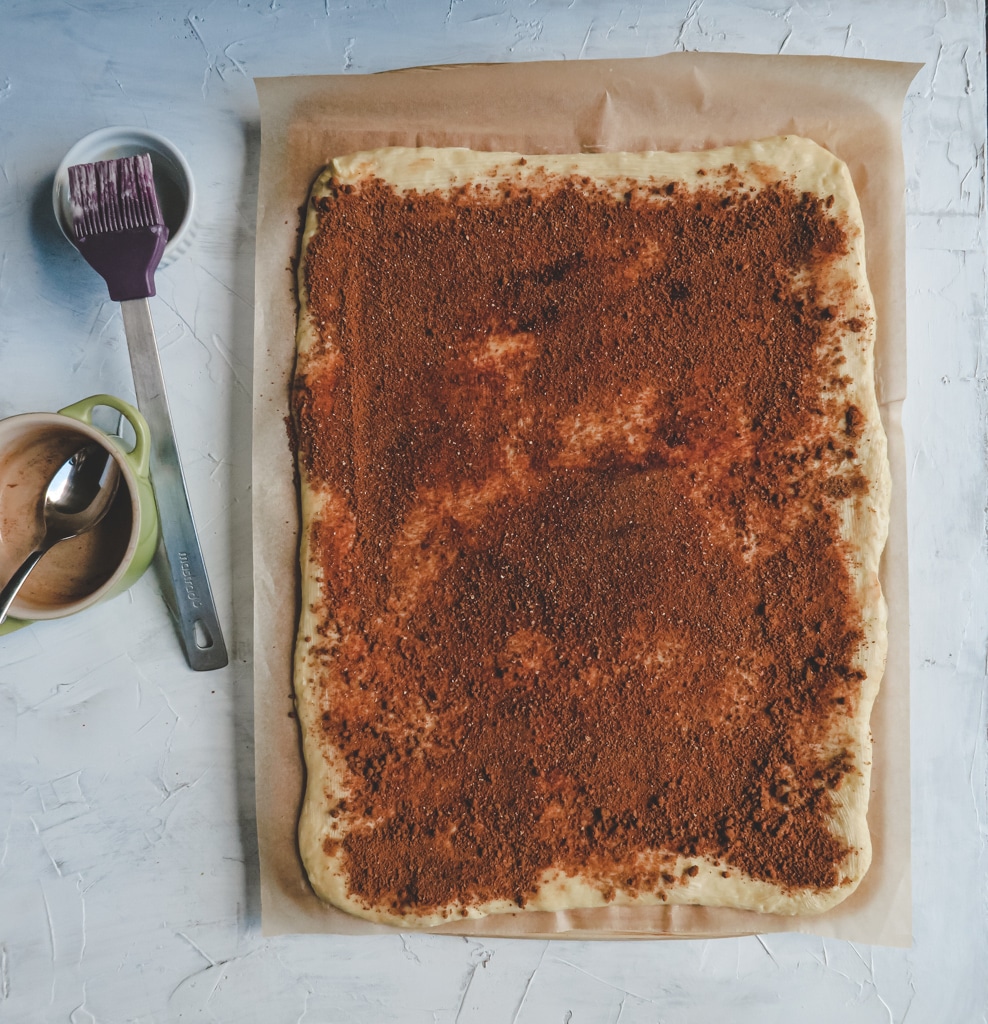
- Brush the surface with melted butter before dusting the sugar spice mixture evenly on the rolled out dough.
- With the dough in "portrait" orientation, fold the top ⅓ of the dough down and the bottom ⅓ up. Gently roll it again to eliminate any air.
- This step is optional - to make the dough easier to cut and shape, cover it with a damp towel and chill it in the fridge for 10 minutes. You can also skip this step and continue to the next step.
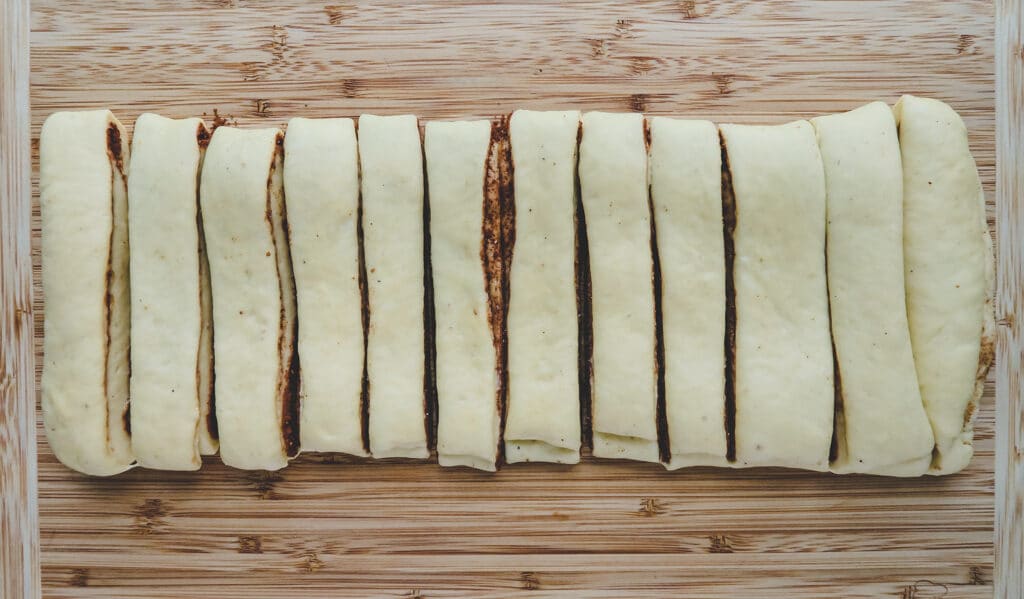
- With the dough in "landscape" orientation, cut the folded dough into 12 equal pieces.
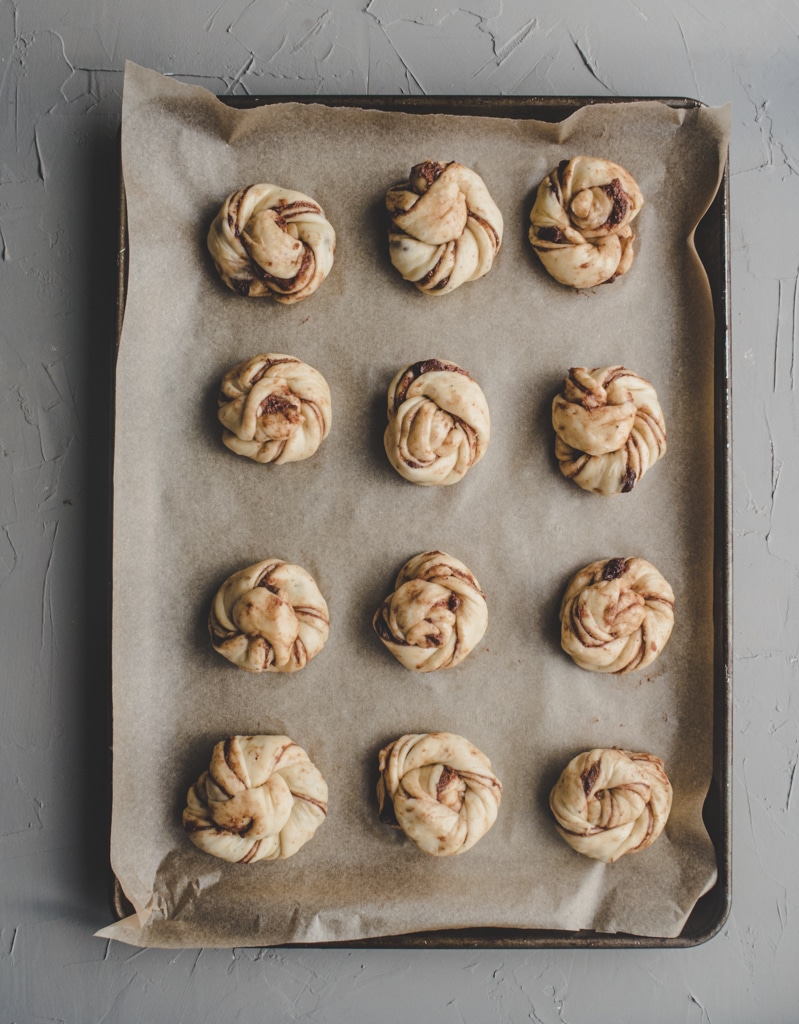
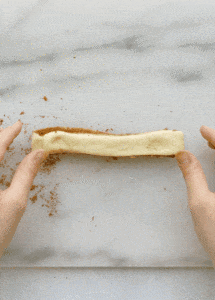
- Take one piece of dough, twist two times before forming it into a spiral shape and tuck the end into the bottom. Please see the gif for a demonstration. Repeat the same thing for the other strips of dough and place them on a lined baking sheet.
- Cover the buns with greased plastic wrap and let it proof at room temperature for about 50 - 60 minutes until it looks puffy and the layers started to separate. Sprinkle some pearl sugar at this point if you're using it.
Baking
- Preheat the oven for 375°F (190°C) in the final 20 minutes of proofing. When the temperature is reached, put the pan in the oven and bake for 12 minutes or until golden brown.
- Brush the top with melted butter and transfer the rolls onto a cooling rack. Let it cool for 10 minutes before enjoying.
Storing and reheating
- If you are not eating these on the first day, store them in the freezer once they’re cool. When you want to eat them, bake in the oven at 350°F (180°C) for about 6 minutes and it will be as good as when it's fresh. If you want a softer buns, simply spray some water on it before baking.


Leave a Reply