

These butternut squash milk bread rolls are pillowy, soft and sweet like Hawaiian rolls, but with more character and flavor. The squash isn't obtrusive or even obvious in this recipe, rather, it harmonizes perfectly with the other flavors of the roll. If you love milk bread rolls and butternut squash is in season, you owe it to yourself to try this recipe!
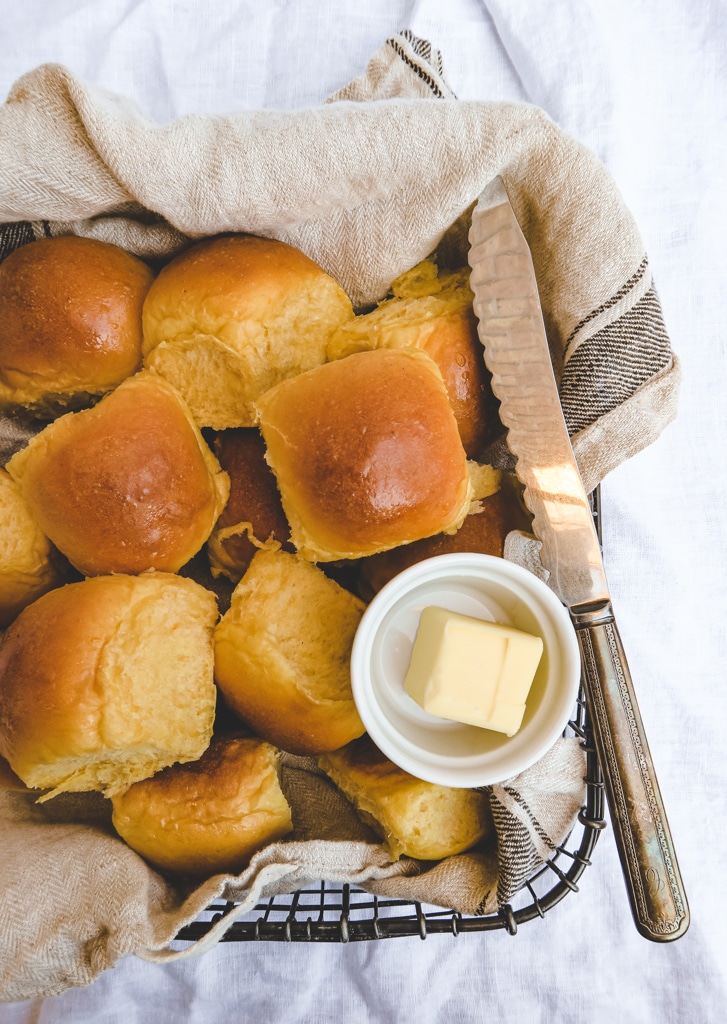
Why you should try making these butternut squash rolls?
They taste amazing!
These rolls disappear very quickly in my family. My kids love eating them straight without even needing anything else.
Adding butternut squash makes the rolls healthier.
I love looking for ways to make my cooking healthier without compromising on taste, especially when I'm giving it to my family. At first I was just trying to hide the butternut squash in the rolls since my older daughter doesn't like it. It turns out these rolls taste so good that she enjoys them even more than the regular ones! She even asked me what I added into the rolls to make them taste so good!
Butternut squash improves the texture of the rolls and extends their shelf life.
Usually I like to use tangzhong method when making Asian style buns to get a better texture. But I found, amazingly, that adding butternut squash actually has the same effect on improving the texture of the buns.
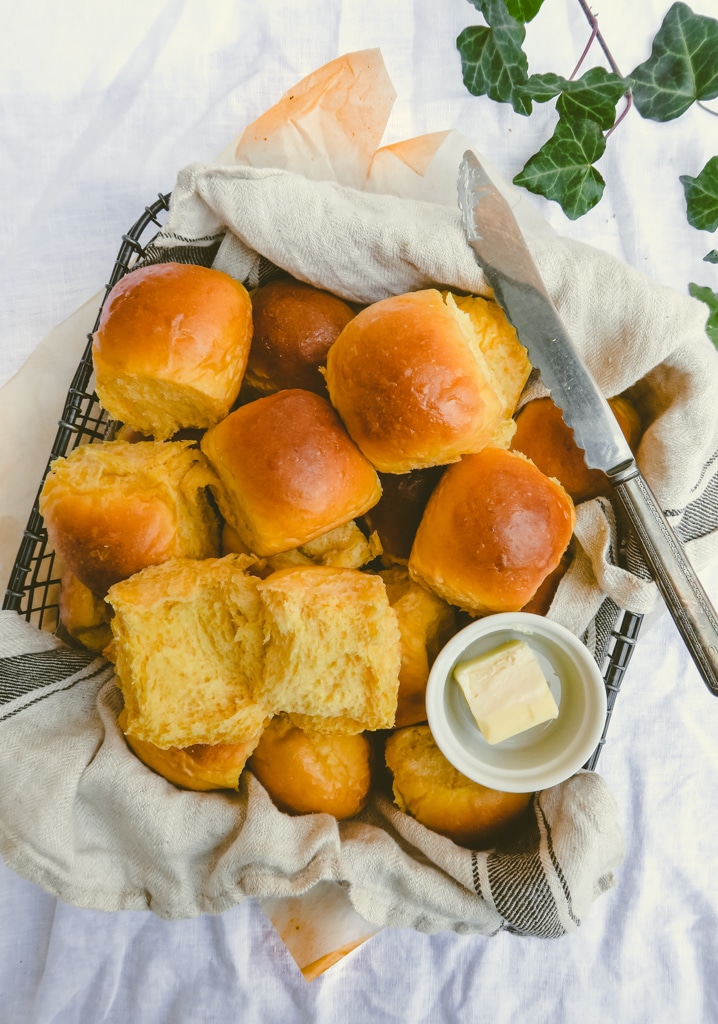
Tips of making great tasting milk bread
Start with cold liquid
I know many of you may be skeptical with this one — aren’t we supposed to use warm water to activate the yeast? Will the dough rise if I use cold liquid? Let me explain. When you are making bread, instant (rapid-rise) yeast is your best friend. It doesn’t need to be pre-activated with warm water, just adding it directly into the mixture with other ingredients will do.
I highly recommend using Saf instant yeast, as I was surprised by how much better my bread tasted after I began using it. I tried both regular and gold one and both work very well.
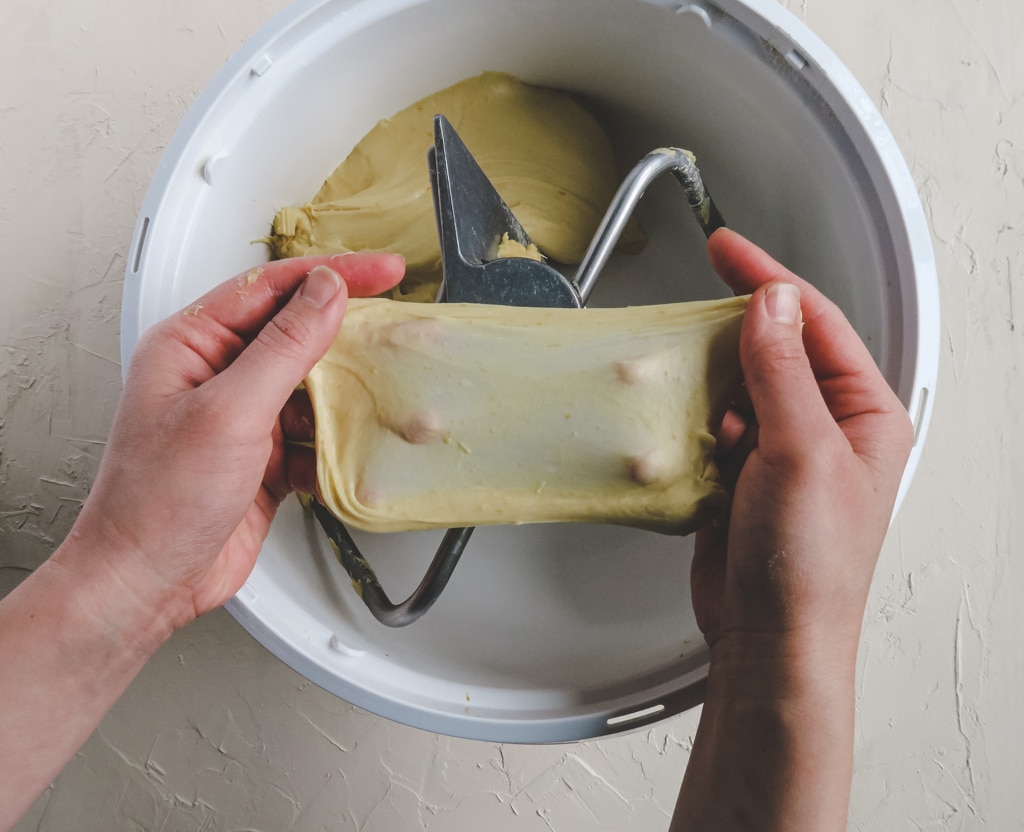
In order to achieve a dreamy bun texture, a lot of kneading is required. We need to knead the dough until the surface of the dough is smooth and can pass the windowpane test (meaning that you should be able to stretch the dough into a smooth and nearly see-though membrane).
Kneading generates heat, and we don’t want our dough to become too warm (ideally never going above 82°F) during the kneading process. If the dough ever gets too warm, then (1) the flavor of the resulting bread will suffer, the bread itself will (2) have a rougher texture and will (3) be prone to getting stale quickly. That’s why we want to start with using a cold liquid. I learned this technique relatively recently from some professional bakers in Taiwan, and it really leveled up the texture of the Asian breads that I make.
Try the Autolyse method
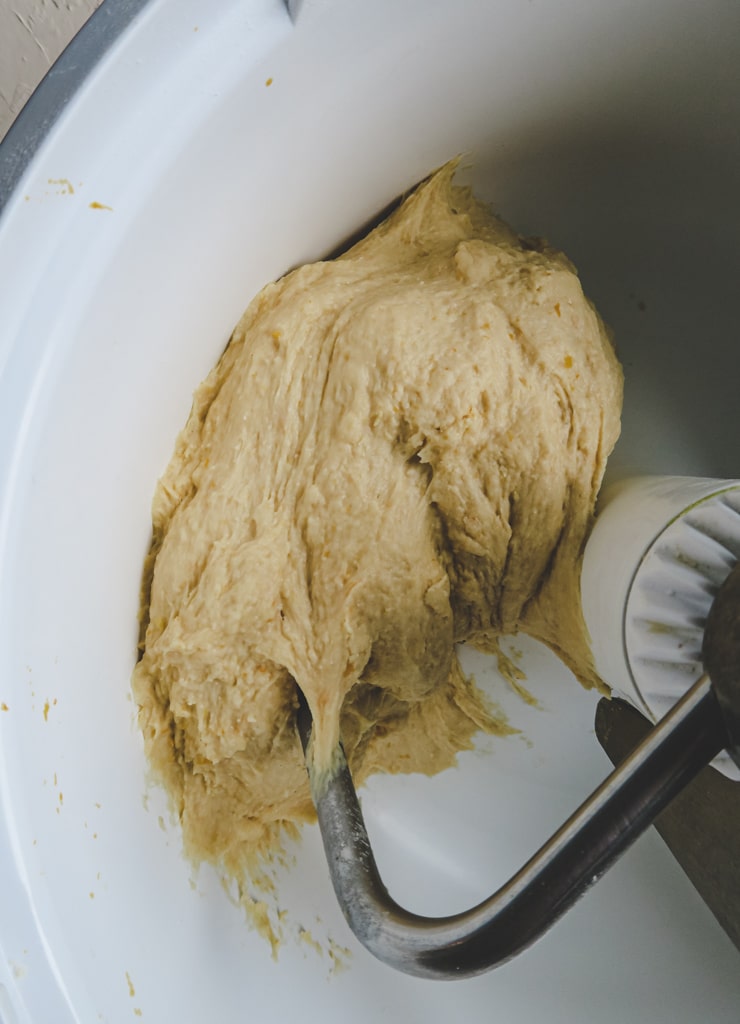
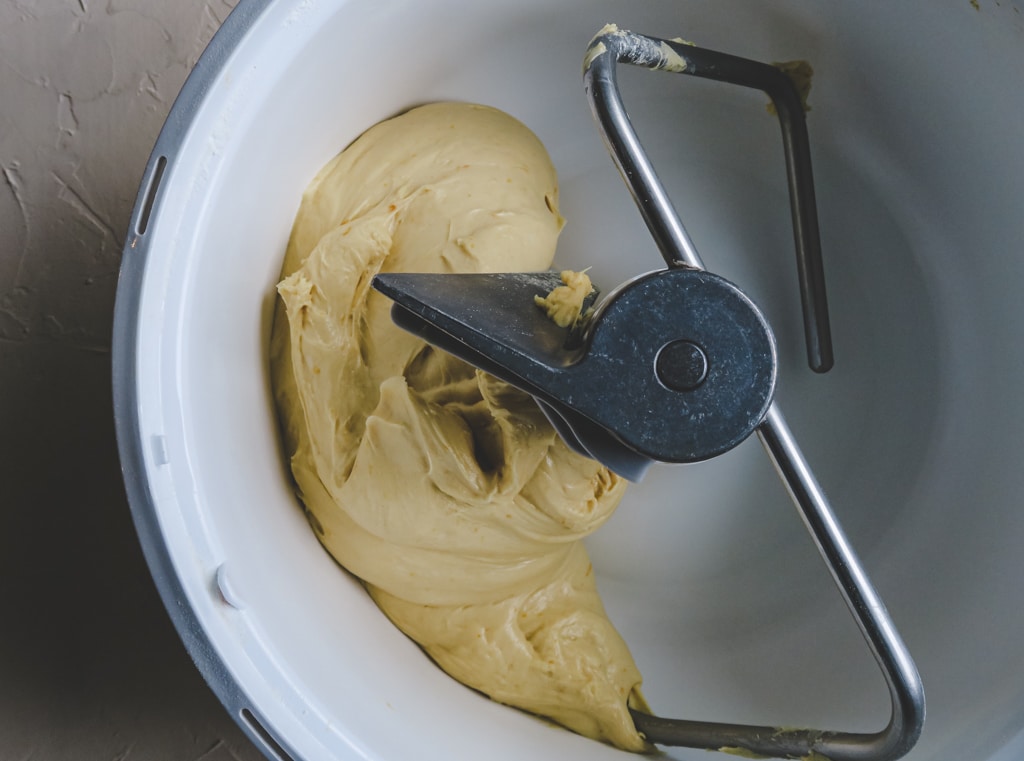
I highly recommend trying the Autolyse method. This method simply consists of allowing the dough to rest for 30 minutes for the gluten to develop right after forming the dough and before adding salt and butter. Using the Autolyse method is almost like cheating on your (windowpane) test, as it really makes developing the proper dough for this recipe nearly fool-proof. This is why the instructions in the recipe box includes this resting step.
Weigh the ingredients
It’s important to weigh your ingredients with a scale instead of using a measuring cup, since the cup of flour I measure will easily be different than the cup of flour you measure due to differences in how we handle the measurement. Making Asian buns/breads requires a higher accuracy than normal bread, and it is how I developed this recipe. I used this OXO kitchen scale that’s recommended by Cook’s Illustrated, but any cheaper one will work just fine!
Store and reheating
These rolls can last for two days in room temperature and still be soft and yummy; however, If you are not eating these on the first day, I would recommend putting them in a freezer bag and storing them in the freezer once they’re cool in order to maintain the best texture. When you want to eat them, just bake in the oven at 350°F (180°C) for about 5 minutes and it will be as good as when it’s fresh. Don’t store these in the fridge, or else they will become dry and stale.
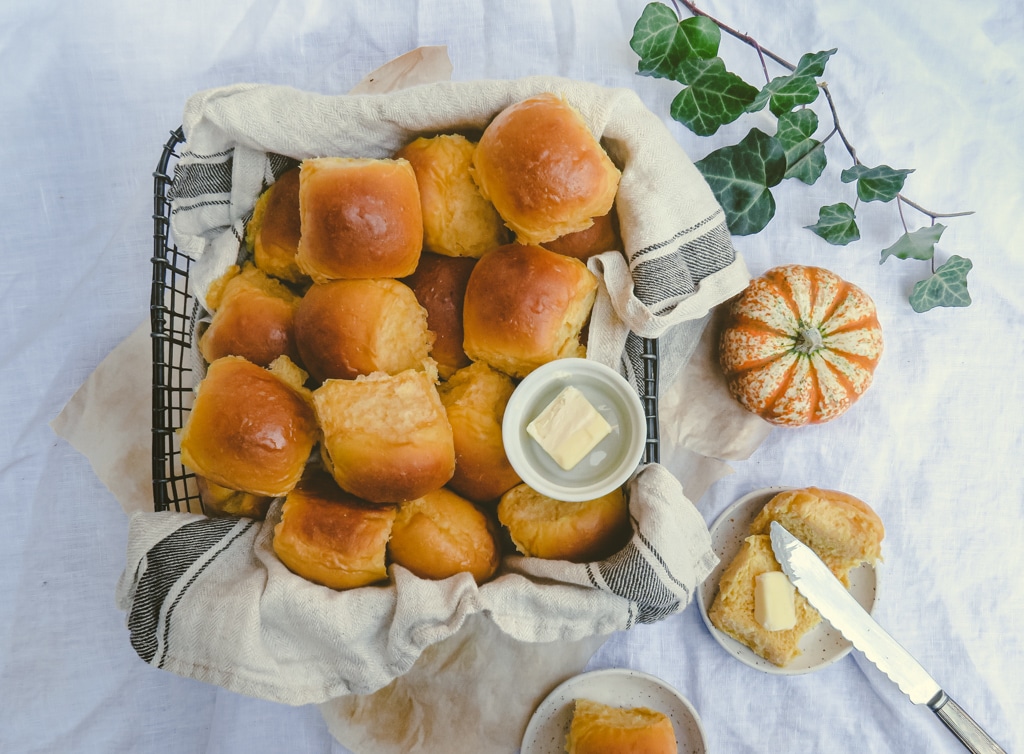
Happy baking and wish you all have a wonderful holiday season!
Make sure you also try
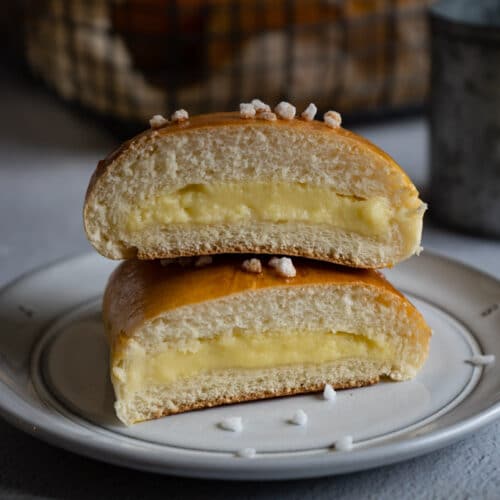
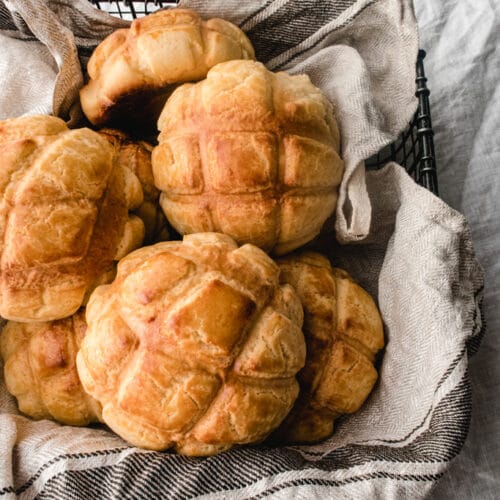
I would like to hear from you! If you make this recipe, please consider leaving a star rating and comment in the section further down the page. Stay in touch by following my Instagram and Pinterest!
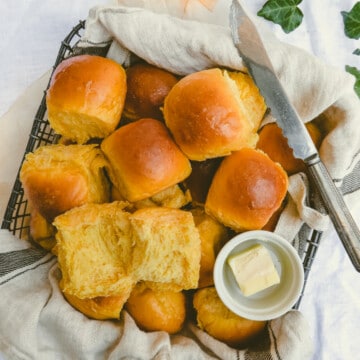
Butternut Squash Milk Bread Rolls (Dinner Rolls)
Ingredients
For the dough
- 200 g butternut squash , ¾ cup after steamed and mashed
- 185 g cold milk, ¾ cup
- 1½ teaspoon instant yeast, preferably saf instant yeast
- 450 g bread flour, 3½ cup
- 50 g cake flour (see note), ⅓ cup
- 45 g fine sugar, 3 tbsp
- 20 g honey or sweetened condensed milk , 1 tbsp
- ¾ teaspoon sea salt
- 45 g unsalted butter, 3 tbsp
Brushing
- ½ tablespoon melted butter
- ½ tablespoon maple syrup , optional
Instructions
Prepare butternut squash
- Cut butternut squash into cubes and steam for 20 minutes until it's completely softened. I prefer to use the part near the seeds for better flavor as it's sweeter.
- Mash the squash with a fork and let it cool completely before using. You should end up with ¾ cup. If you have time, chill the squash in the fridge for a few hours.
Dough
- Add mashed butternut squash and milk in a stand mixer, mix them with a spatula to roughly combine.
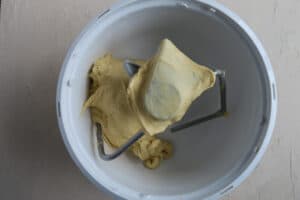
- Add yeast, bread flour, cake flour, sugar and honey (or sweetened condensed milk) into the stand mixer, mix with medium low speed until it forms a rough dough (see the picture in the post). Cover and let it rest for 20-30 minutes.
- Meanwhile, take the butter out from the fridge and cut it into 6 pieces and set it aside.
- When it's done resting, add salt and continue to knead the dough for 1 minute.
- Add butter cubes one at a time and knead until the dough is silky smooth and passes the windowpane test. (This step takes me about 8 minutes on medium speed. The actual time it takes you depends on your mixer.) Since the dough is very sticky, you probably need to scrape down the dough on the sides of the mixing bowl one or two times in the mixing process.

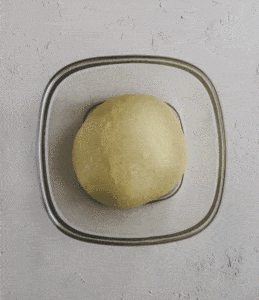
- Form the dough into a ball (it will be very sticky, but if it's too sticky to handle, then add a little bread flour and knead for another 1~2 minutes) and put it in a lightly greased bowl. Cover, and let it rise for about 1 hour in a warm place (between 80°F to 90°F) until it doubles in size.

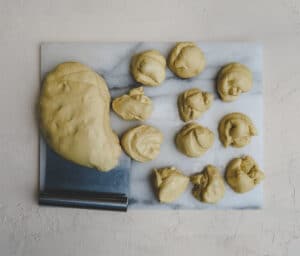
- Transfer the dough onto a working surface and cut it into 20 (or less if you prefer the roll to be a bit bigger) even pieces. Cover and let them rest for 5 minutes.

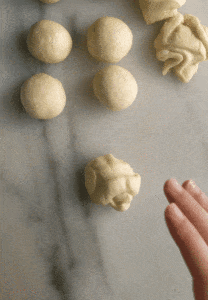
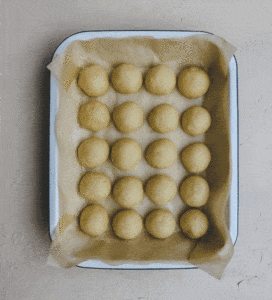
- Form each piece into a ball and place them in a lined baking pan with ¼-½" apart.

- Cover with greased plastic wrap and let it rise in a warm place (between 80°F to 90°F) until it doubles in size (about an hour).

Baking
- In the last 20 minutes of proofing, preheat the oven to 350°F. When the temperature is reached, put the pan in the oven and bake for 16 minutes.
- Meanwhile, mix the melted butter and maple syrup (if using) and set it aside.
- Take the pan out, quickly brush with a layer of butter/maple syrup and put it back to the oven and bake for another 2-3 minutes.
- Transfer the rolls to a cooling rack. Let it cool for 10 minutes before enjoying. The flavor is better after it cools completely.
Yum! Taste is good, texture is good even when I left some for next day. My best bake so far. Thanks Edwina for the details write up.
Awesome! So happy you enjoy it 🙂
These are wonderful!
When frozen, do I need to thaw them before putting into 350 degree oven?
Thank you Jean! I'm so happy to hear that! 🙂
For the best result, thaw the buns for around 10 minutes before reheating, but honestly I usually don't have the patient to wait whenever I want to eat, so I just bake directly and let it sit in the oven for few more minutes until the center is heat through.