

Fresh, springy, tender and chewy - the unique texture of handmade wheat noodles instantly elevates any noodle dish. The great thing is, It only requires 3 ingredients and a few simple steps! Even the pasta maker is optional!
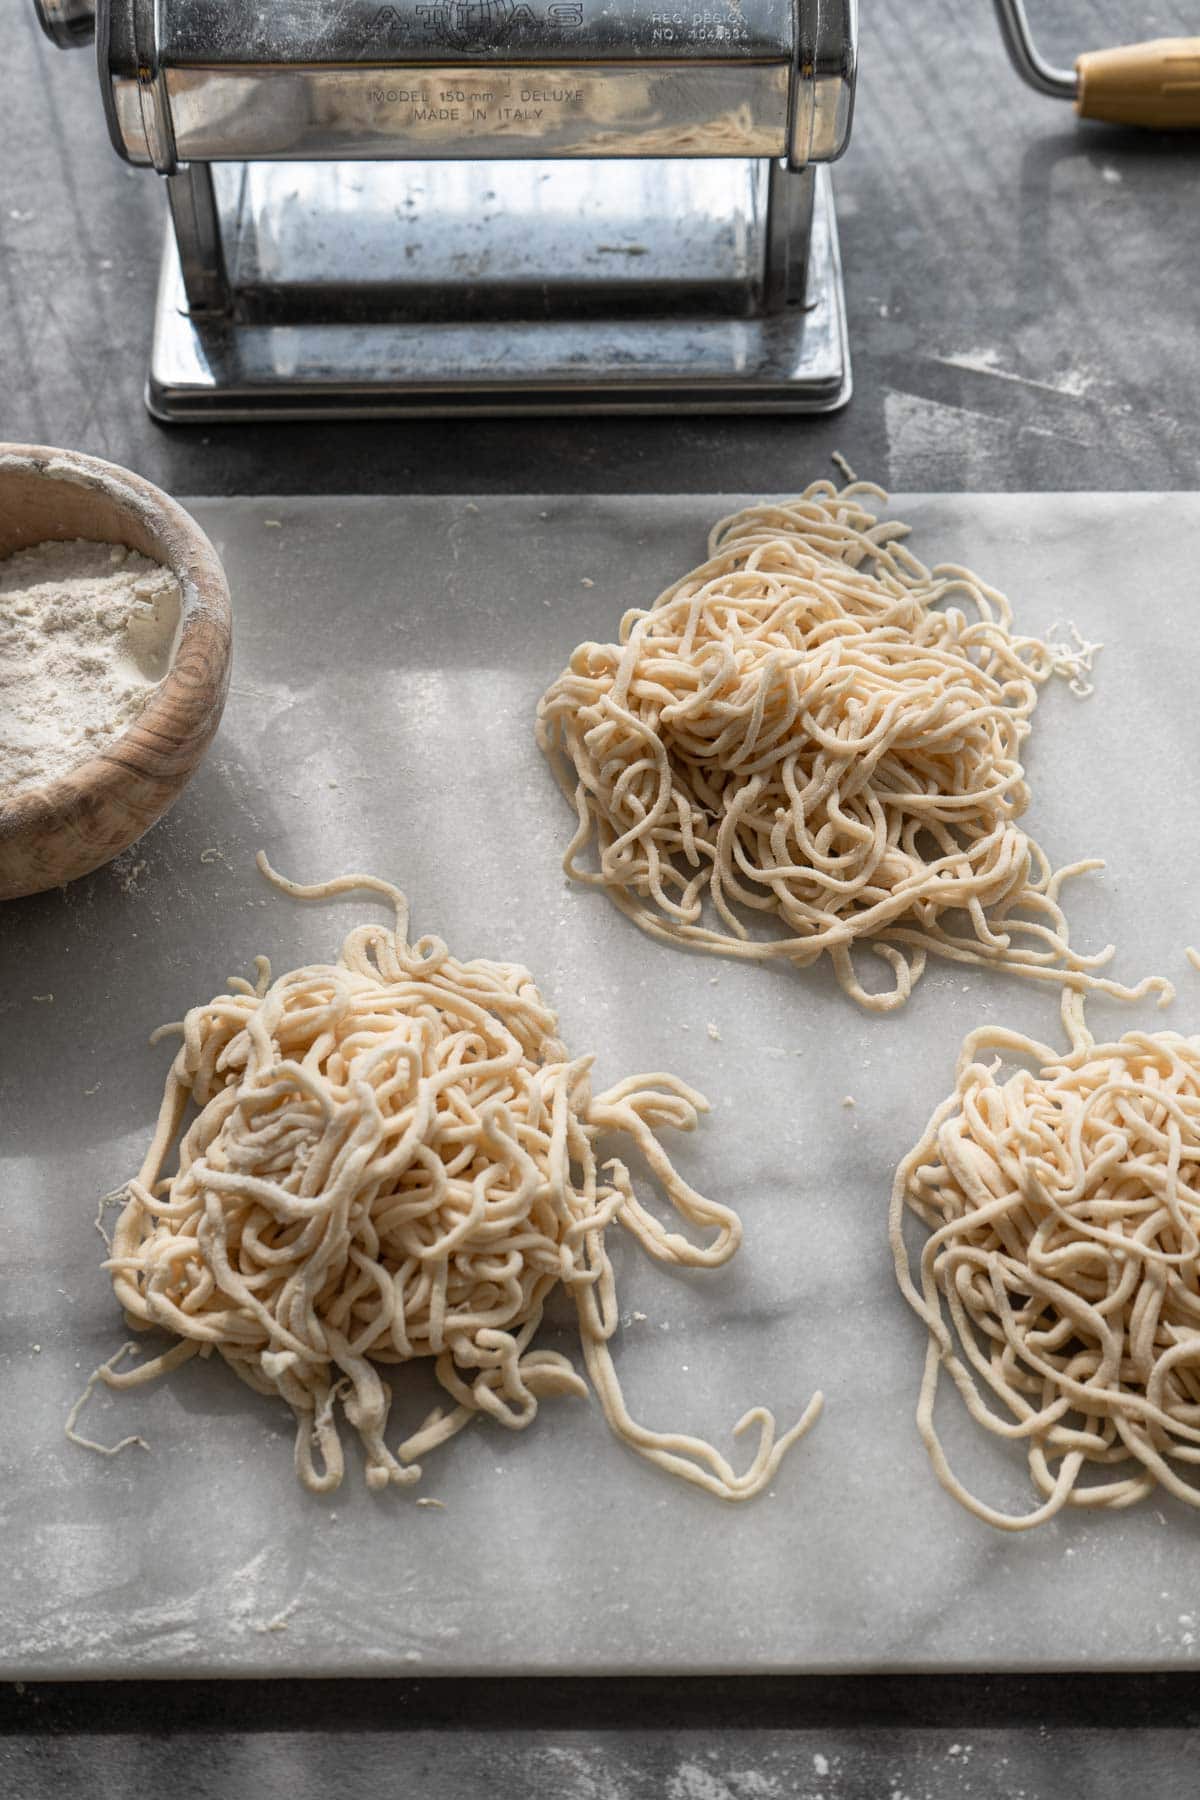
I love fresh handmade noodles. When I'm eating a bowl of Taiwanese beef noodle soup, to me, the noodles and beef are equally important. No matter how flavorful and tender the beef is, if the noodle is soggy or lacks that springy bite, the dish is a failure.
When I was in college back in Taiwan, I would wake up early and go get fresh noodles from the open market (菜市場). Whenever I wanted to make a quick meal, I just quickly boiled some noodles, added some blanched leafy greens along with a big scoop of Taiwanese minced pork that my mom made for me. To this day, this is still one of my favorite dishes.
Why You Should Try This Recipe
- Handmade noodles are so delicious and satisfying!
- You only need three ingredients to make it.
- You can make it with or without pasta maker.
- The instructions and video below will make this a breeze.
What You'll Need
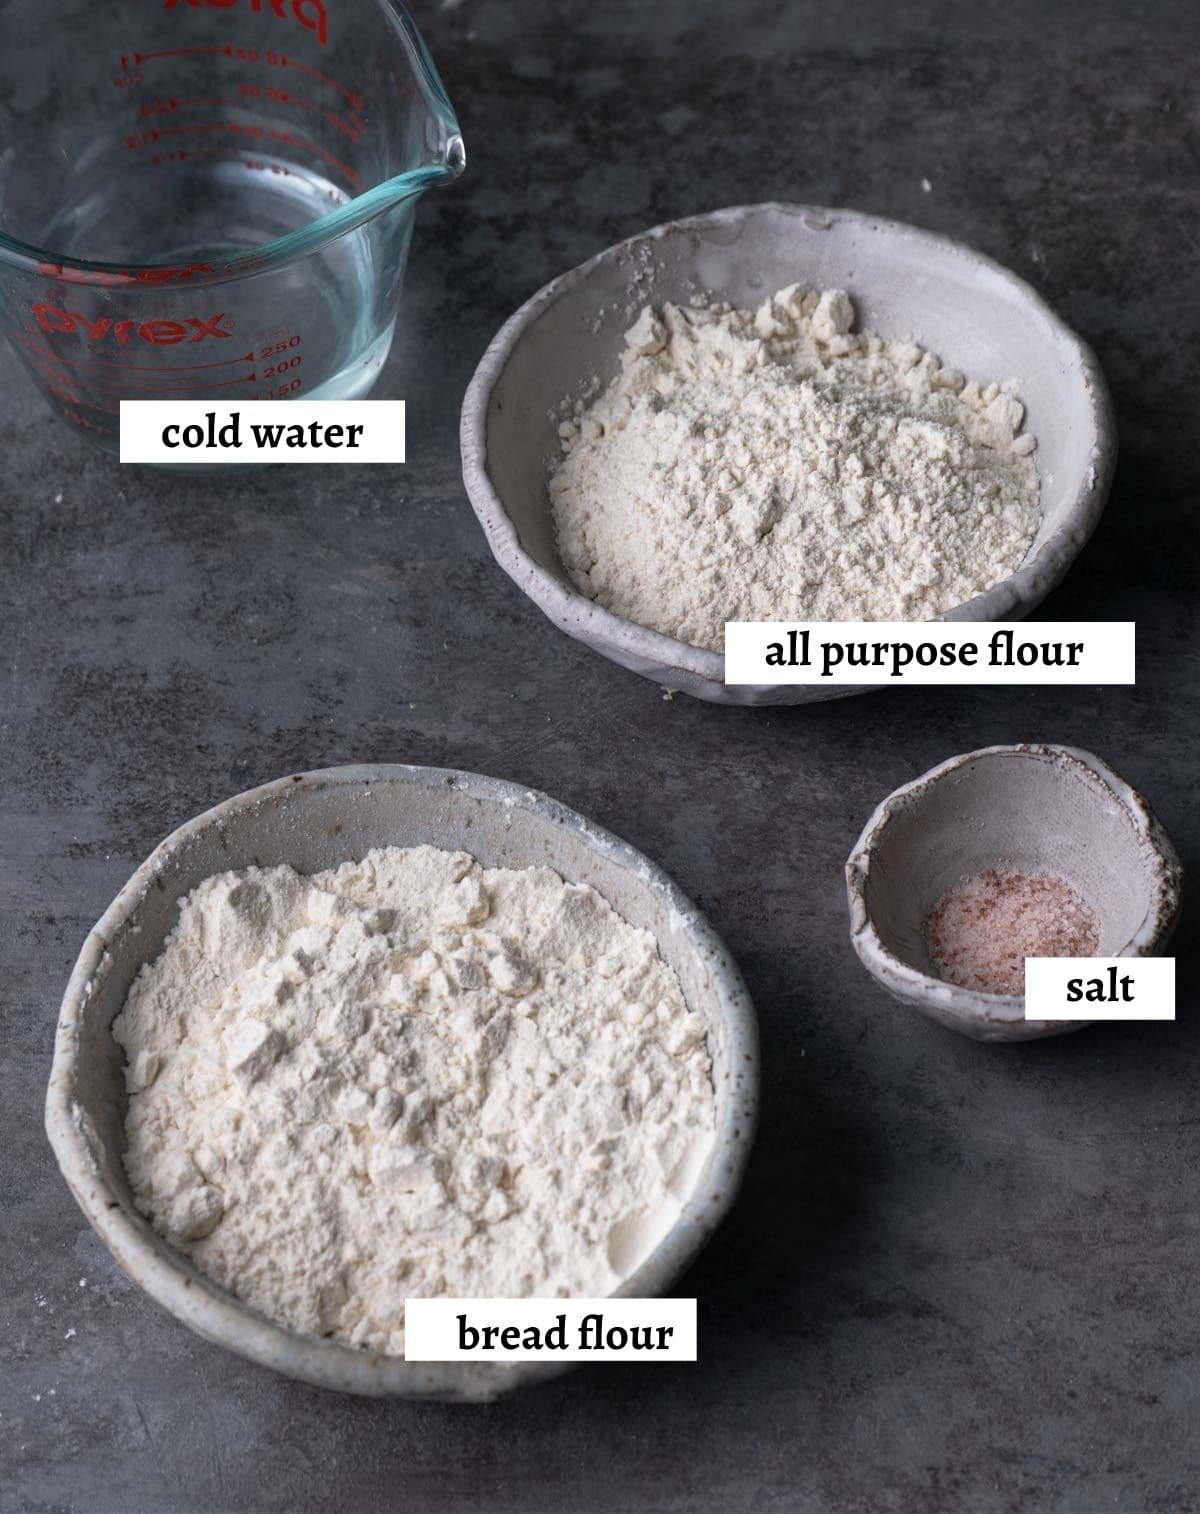
note
- bread flour - you can replace this with all purpose flour. The noodles will be a bit less chewy but it will still tastes very good.
How to make this Recipe
Step 1 - In a mixing bowl, stir flour, salt and cold water together and knead until a stiff and rough ball is formed. Place it in a ziploc bag or an airtight container to rest for 10 minutes.
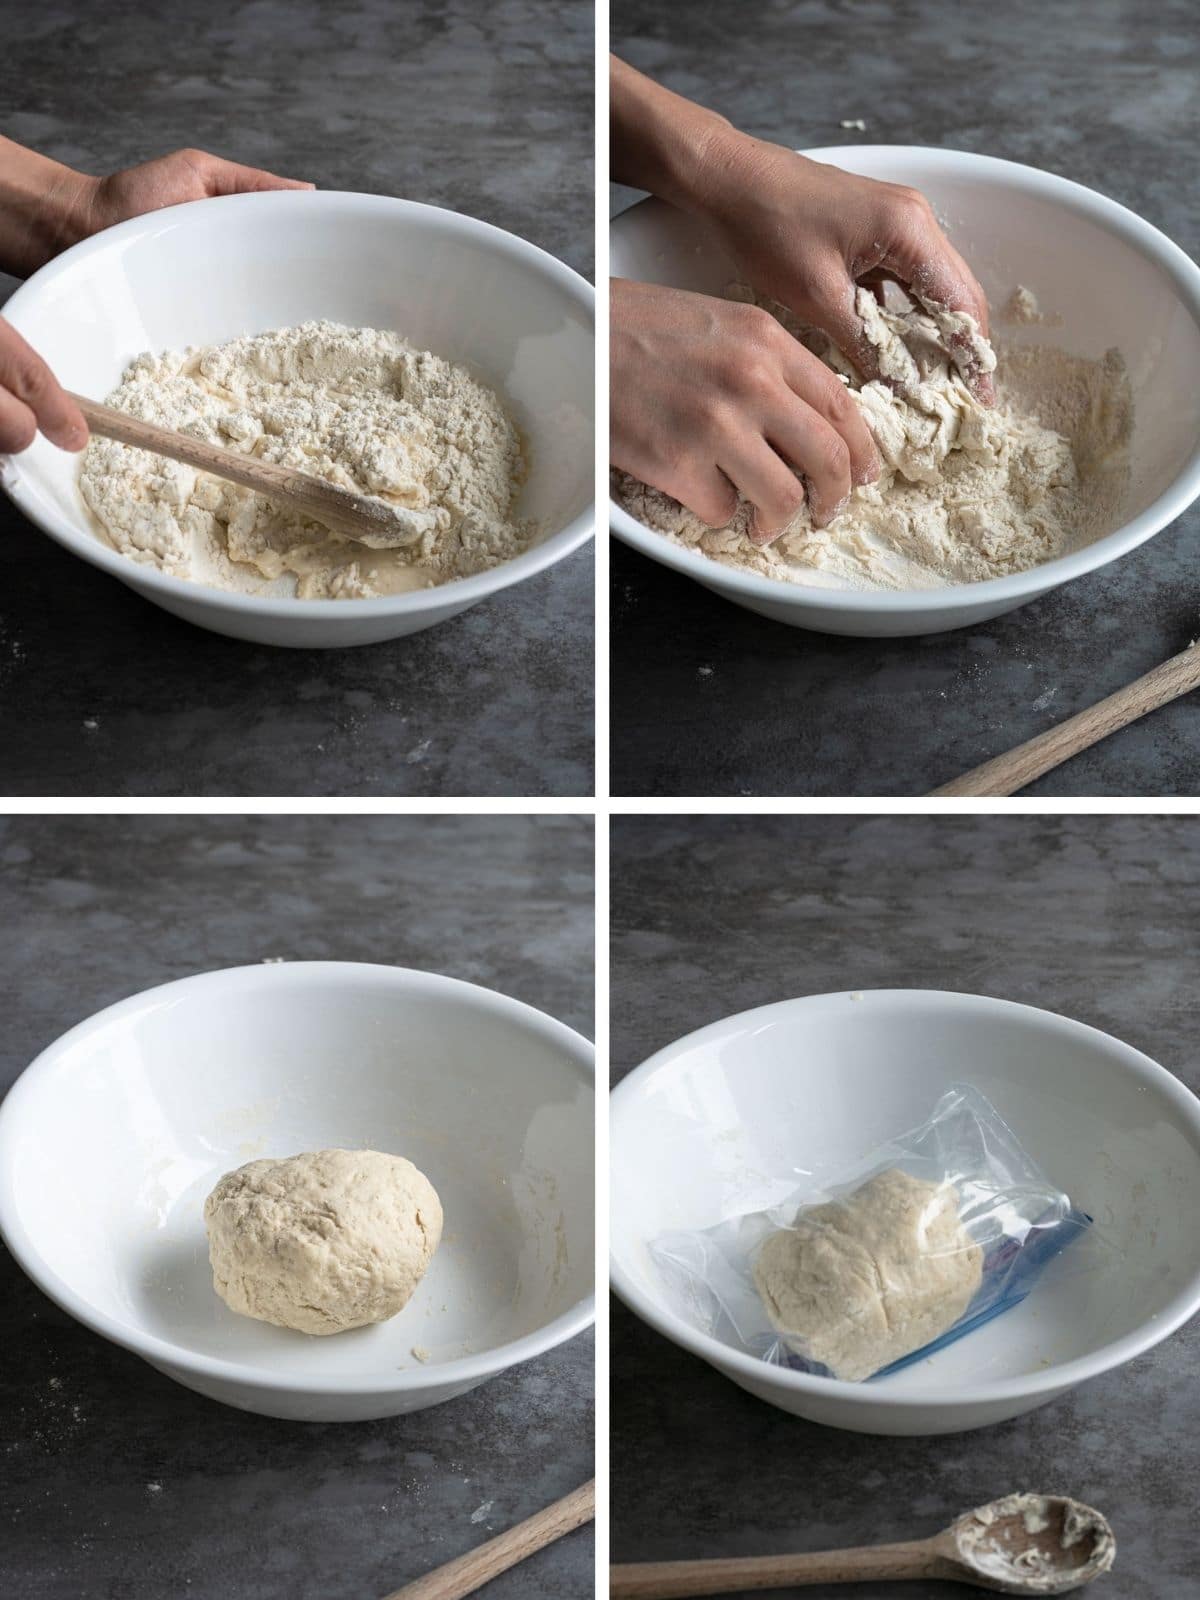
Step 2 - Transfer the dough onto a working surface, knead for 1 minute until a smooth surface is formed. Place it back into the ziploc bag/container and let it rest for 40 minutes or up to 2 hours.
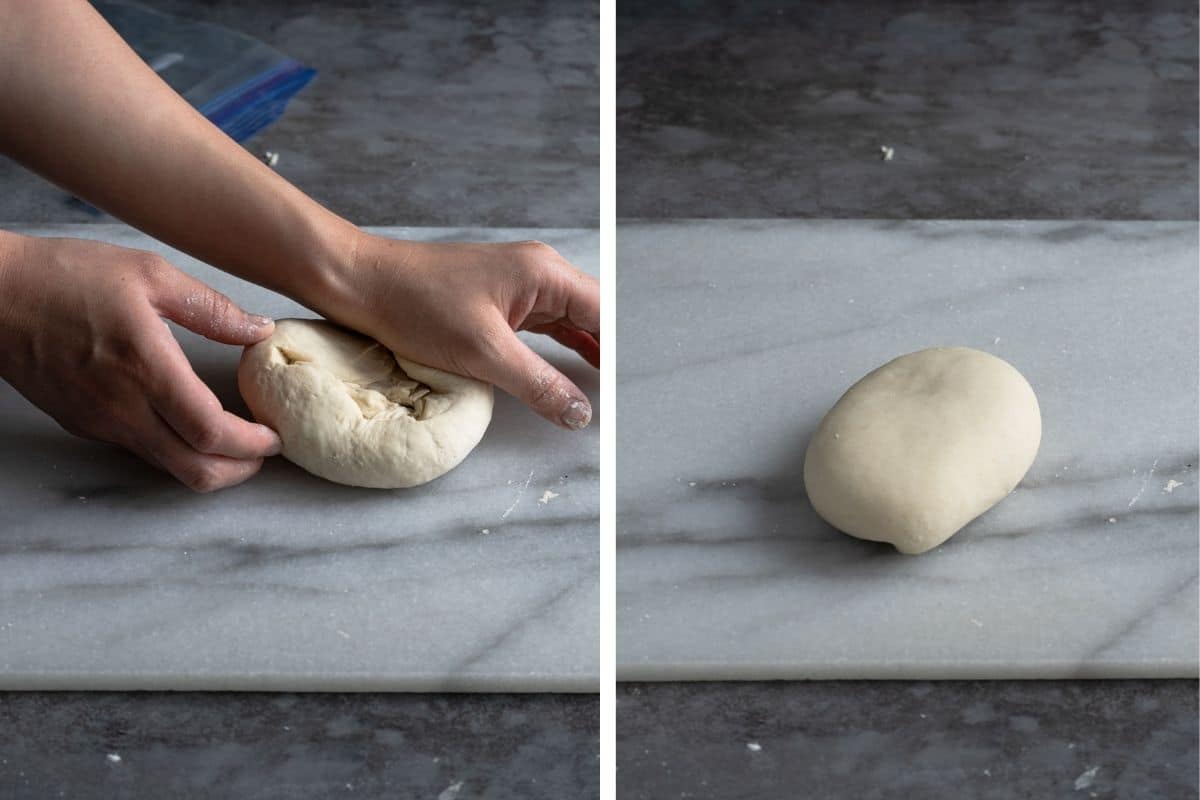
Step 3 - Divide the dough in half, use a rolling pin to flatten it a bit so it can fit into the pasta maker (reference section below if you don't have a pasta maker). Set the pasta maker to a thickness setting of 1 and roll the dough through it. Fold the dough into half, roll it through the pasta maker again and repeat this step 2-3 more times. This will make the noodle chewier.
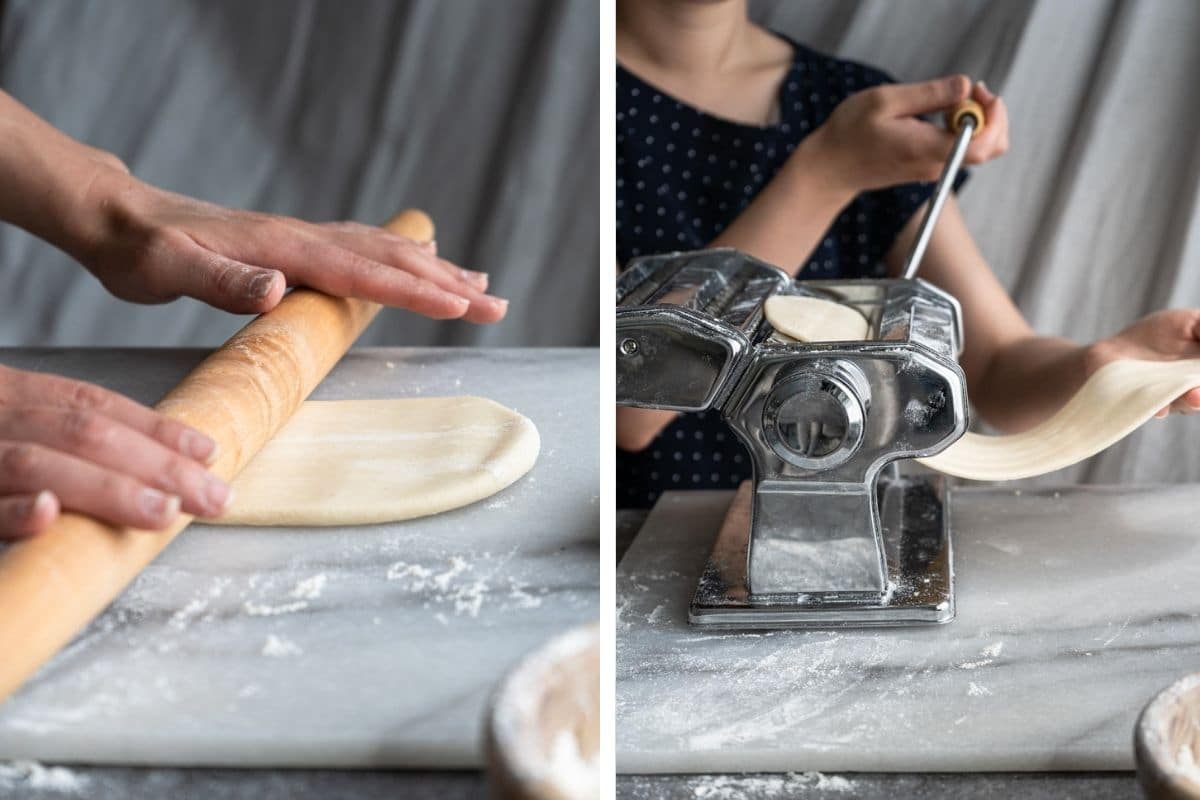
Step 4 - Switch the thickness setting to 2 before rolling the dough through. Continue to roll the dough with subsequent thickness settings until reaching your desired thickness. I usually roll it until 4, but this is totally a matter of preference.
Step 5 - Coat both sides of the dough sheet with generous amounts of flour before cutting it into noodles with your pasta maker. Toss the noodles with more flour to prevent them from sticking.
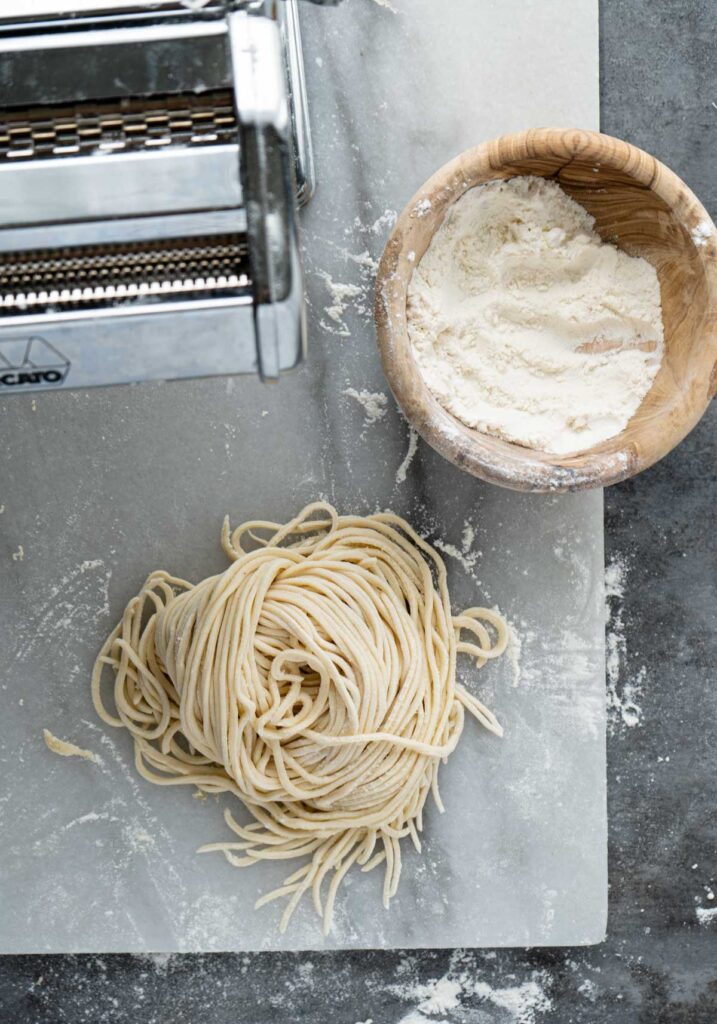
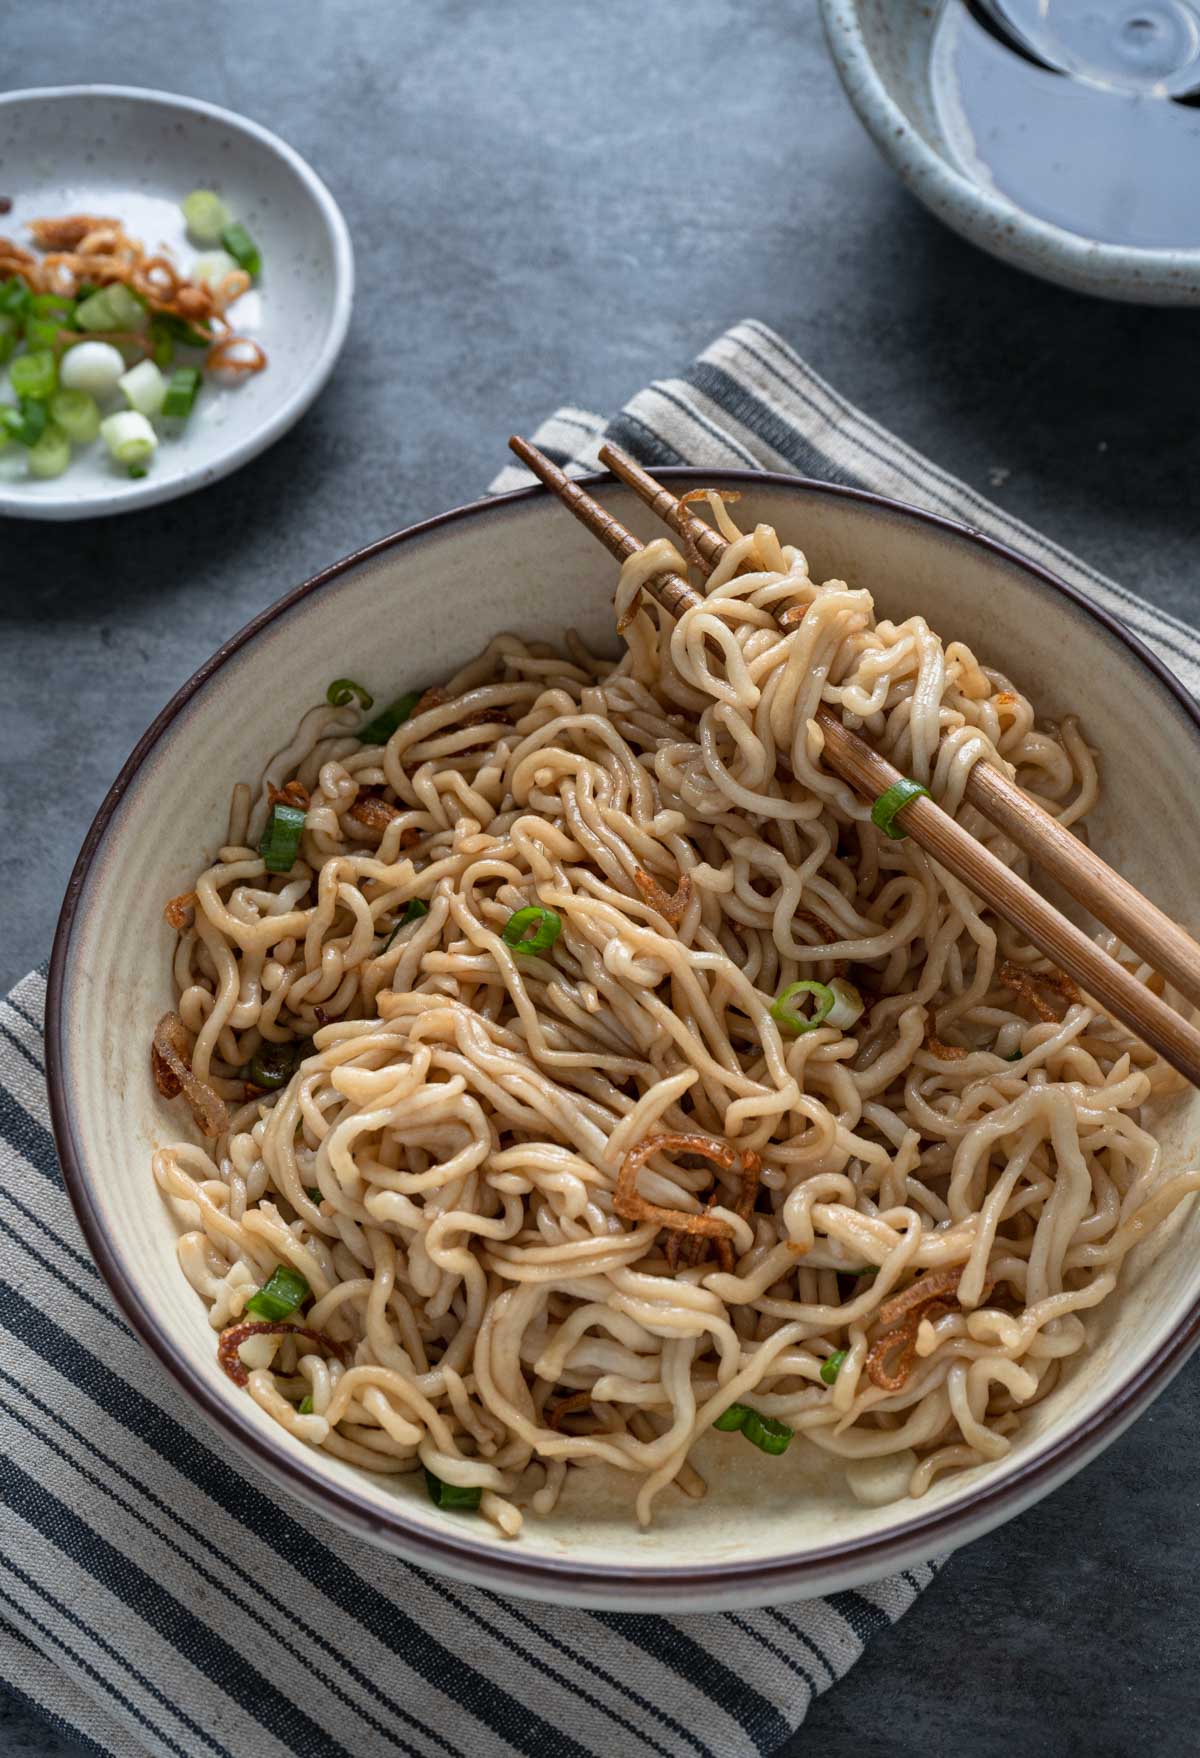
Step 6 - To cook the noodles, bring a big pot of water to boil and cook the noodles until they float, about 1 minute. Drain, season and enjoy!
Hand Cut Method
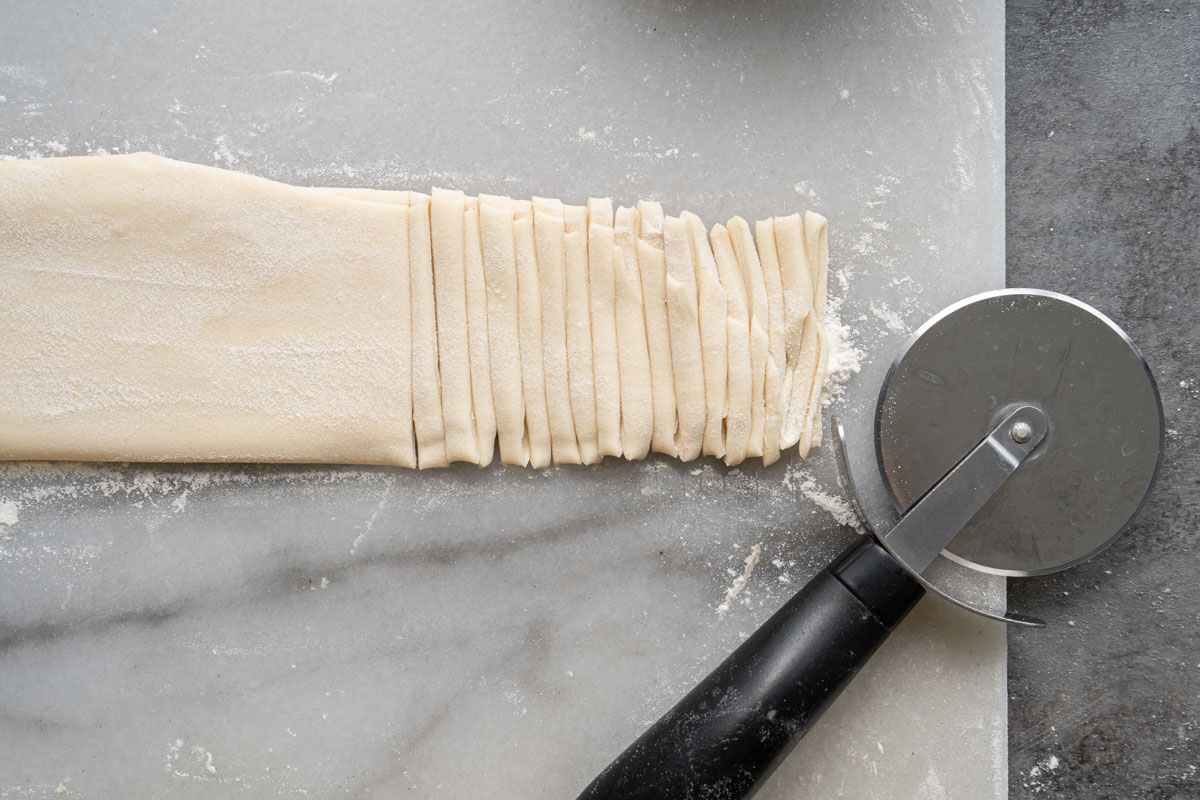
If you don't have a pasta maker, instead of rolling the dough through the pasta maker, roll it out with a rolling pin until it reaches the desired thickness (remember it will expand after cooking), coat both sides with a generous amount of flour before folding the top third of the dough down and bottom third up.
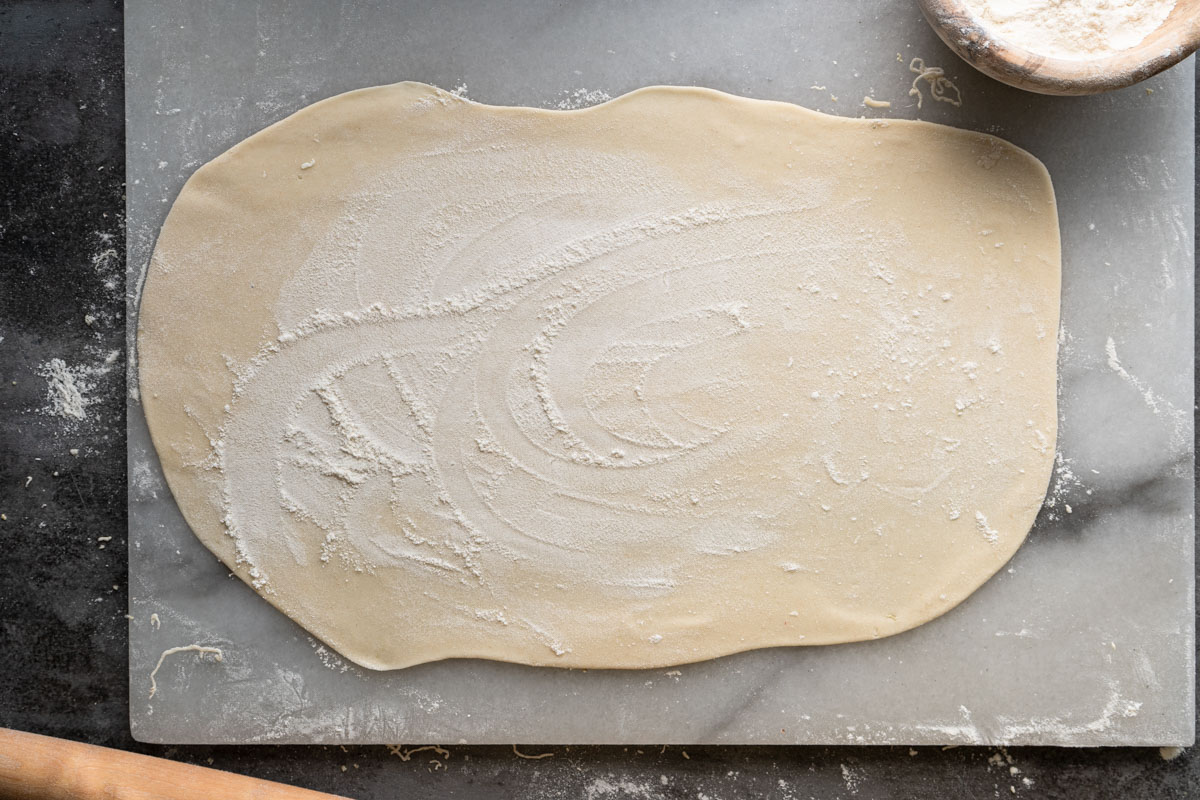
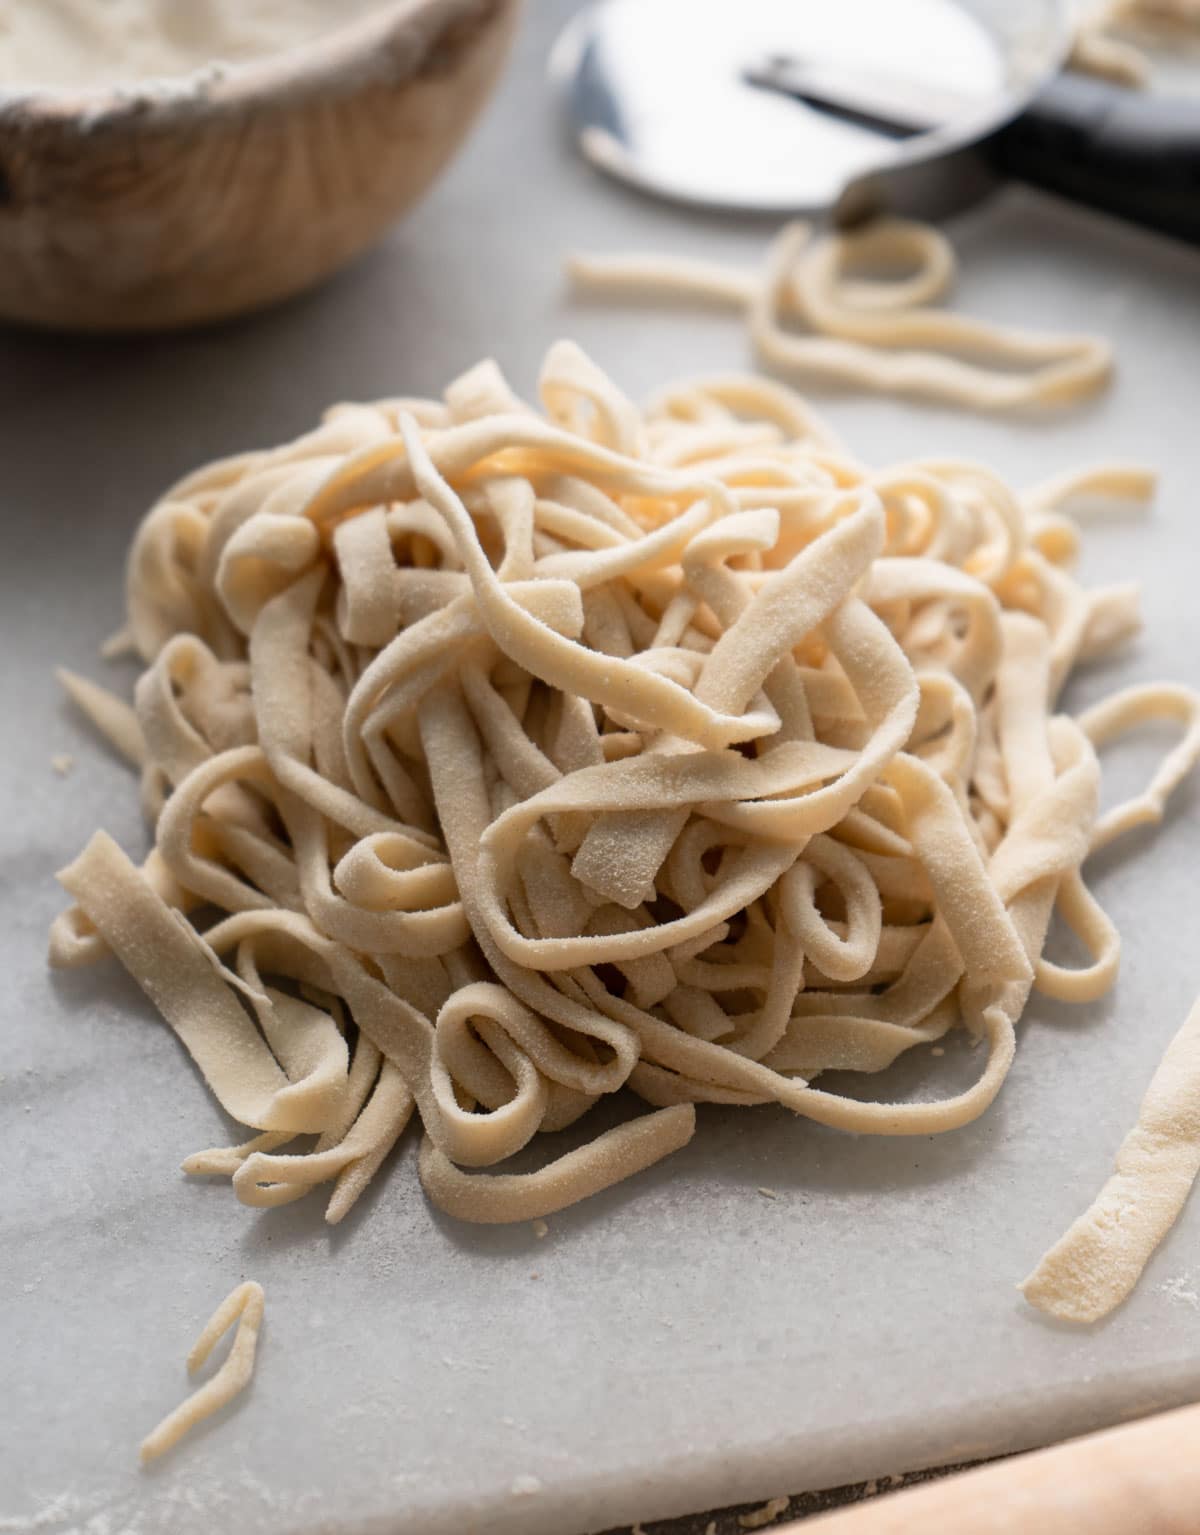
Finally cut the dough into the desire width and you have your handmade noodles!
Tips and Tricks
- Using half bread flour and half all purpose flour makes the noodle chewier than only using all purpose flour. After making it once, you can adjust the proportion of the flour based on your preferred texture.
- A scale is highly recommended in order to get the right consistency for the dough.
- When forming the dough, it will seem very dry at first, almost like it's impossible to incorporate all the dry flour. An easier way to incorporate all the flour is to fold the dry flour into the dough before flipping the center part of the dough out to stick more flour onto it.
- The dough will get softer and more moist as you roll it through the pasta maker, don't hesitate to coat with more flour whenever it's needed.
- Repeating the process of "folding and rolling" through the pasta maker can help develop more gluten, which will result in chewier noodles.
- Before cutting the noodles, check the length of the dough sheet to make sure it's the length that you want.
- Cook the noodles right after they're cut. I usually start boiling the water when I'm rolling the dough through the pasta maker. You can store the noodles in the freezer if you decide to cook it later.
Recipe FAQs
Since the dough is very stiff, I don't recommend using a stand mixer.
I have a Marcato Atlas 150 Pasta Machine.
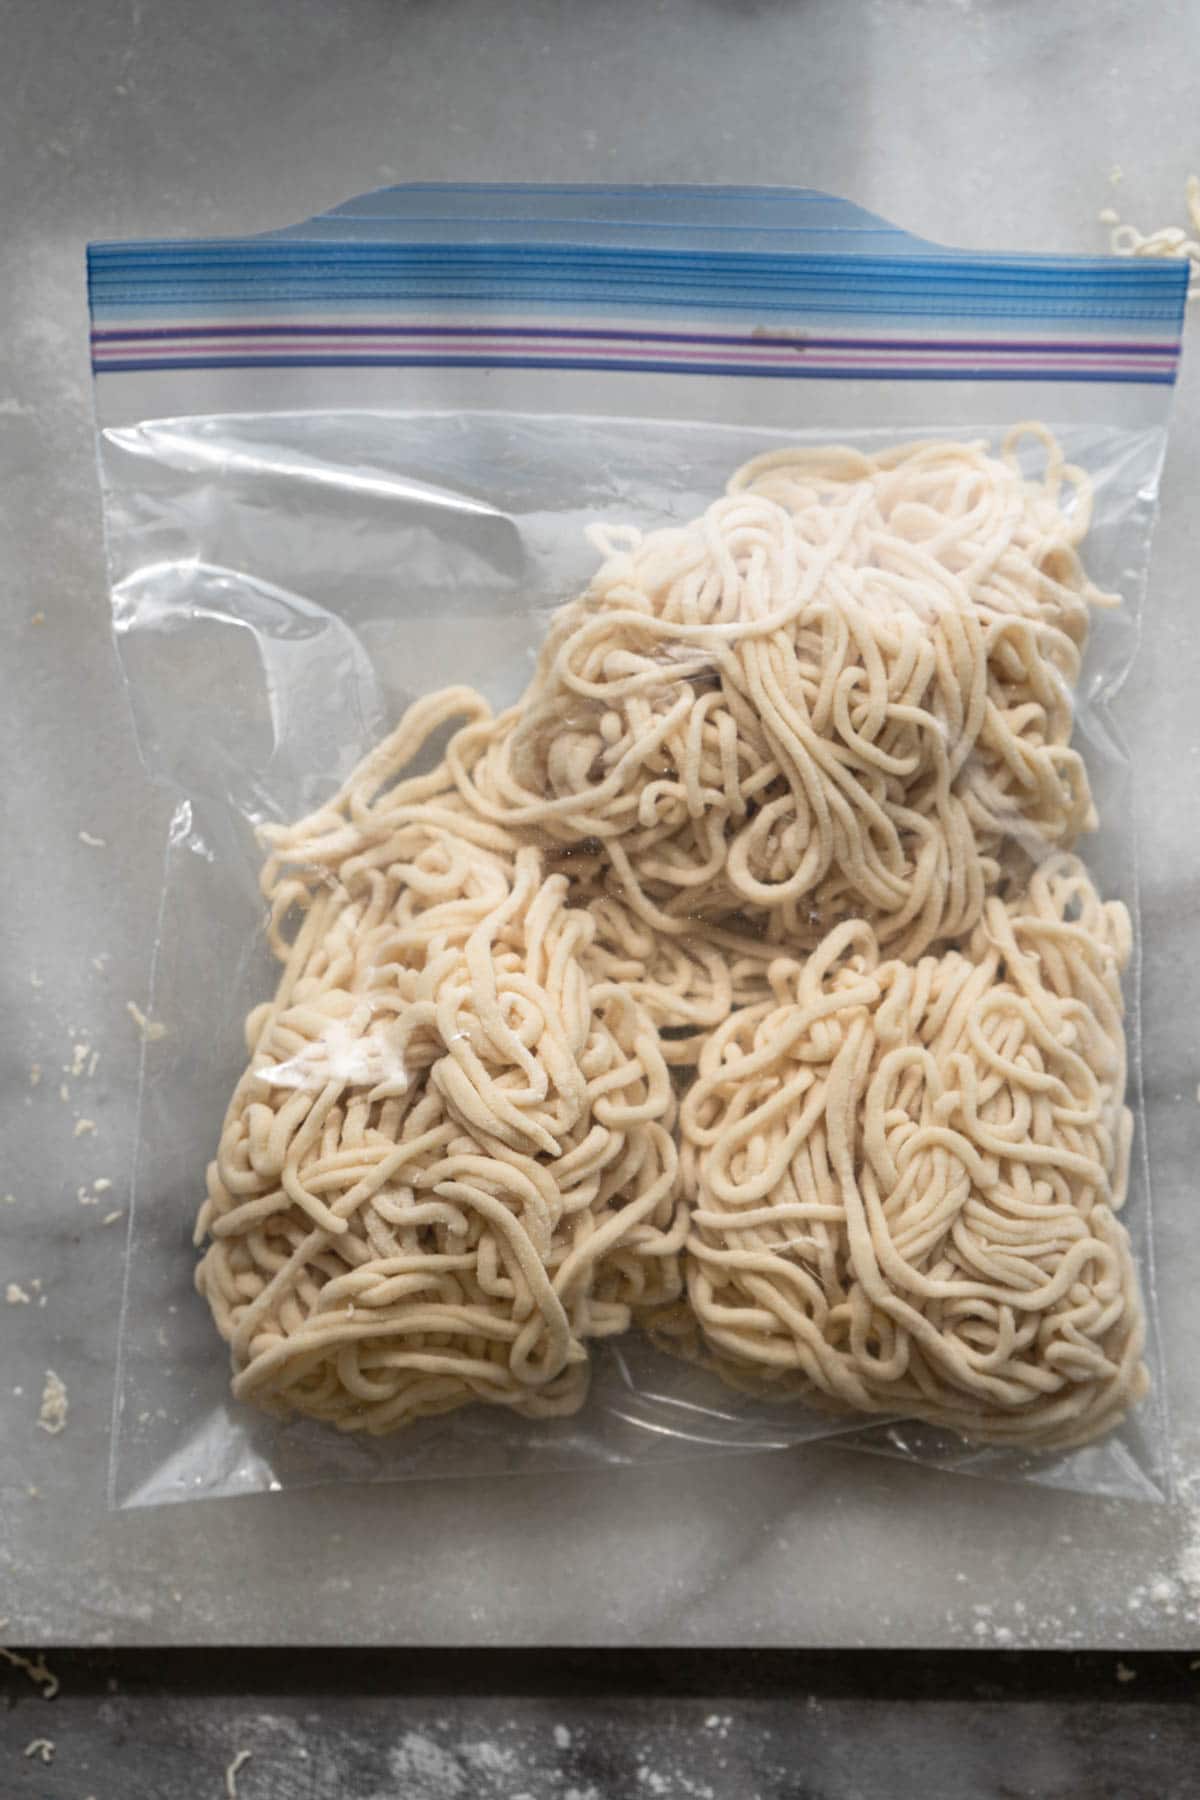
Of course! Separate the noodles into portion sizes you would like to cook each time before gently fold the noodle together. Place them in a ziploc bag and store it in the freezer.
They might be overcooked. Also, if you didn't use enough water, the cooking time will become too long since the temperature of the water will drop more when adding noodles if there isn't enough water.
Related Recipes

I would like to hear from you! If you make this recipe, please consider leaving a star rating and comment in the section further down the page. Stay in touch by following my Instagram and Pinterest!
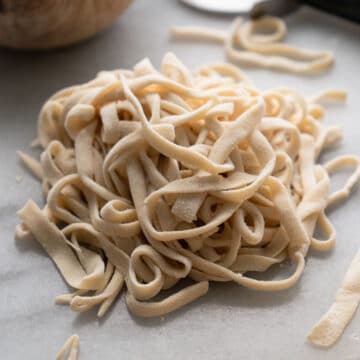
Easy Handmade Noodle (With or Without Pasta Maker)
Equipment
- pasta maker (option)
Ingredients
- 100 g all purpose flour, ¾ cup + 1 tbsp, plus more for coating
- 100 g bread flour, ¾ cup +1 tbsp
- ½ teaspoon sea salt, use half if using table salt
- 90 g cold water, ⅓ cup + 1 tbsp
Instructions
Make Noodle Dough
- In a mixing bowl, stir flour, salt and cold water together and knead until a stiff and rough ball is formed. Place it in a ziploc bag or an airtight container to rest for 10 minutes.
- Transfer the dough onto a working surface, knead for 1 minute until a smooth surface is formed. Place it back into the ziploc bag/container and let it rest for 40 minutes or up to 2 hours.
Make Noodles Using Pasta Maker
- Divide the dough in half, use a rolling pin to flatten it a bit so it can fit into the pasta maker.
- Set the pasta maker to a thickness setting of 1 and roll the dough through it. Fold the dough into half, roll it through the pasta maker again and repeat this step 2-3 more times. This will make the noodle chewier.
- Switch the thickness setting to 2 before rolling the dough through. Continue to roll the dough with subsequent thickness settings until reaching your desired thickness. I usually roll it until 4, but this is totally a matter of preference.
- Coat both sides of the dough sheet with generous amounts of flour before cutting it into noodles with your pasta maker. Toss the noodles with more flour to prevent them from sticking.
Hand Cut Method
- On a surface dusted with flour, roll the dough out with a rolling pin until it reaches the desired thickness (remember it will expand after cooking)
- Coat both sides with a generous amount of flour before folding the top third of the dough down and bottom third up.
- Cut the dough into the desire width and you have your handmade noodles!
Cook the Noodles
- Bring a big pot of water to boil and cook the noodles until they float, about 1 minute. Drain, season and enjoy!
Video
Notes
- Using half bread flour and half all purpose flour makes the noodle chewier than only using all purpose flour. After making it once, you can adjust the proportion of the flour based on your preferred texture.
- A scale is highly recommended in order to get the right consistency for the dough.
- When forming the dough, it will seem very dry at first, almost like it's impossible to incorporate all the dry flour. An easier way to incorporate all the flour is to fold the dry flour into the dough before flipping the center part of the dough out to stick more flour onto it.
- The dough will get softer and more moist as you roll it through the pasta maker, don't hesitate to coat with more flour whenever it's needed.
- Repeating the process of "folding and rolling" through the pasta maker can help develop more gluten, which will result in chewier noodles.
- Before cutting the noodles, check the length of the dough sheet to make sure it's the length that you want.
- Cook the noodles right after they're cut. I usually start boiling the water when I'm rolling the dough through the pasta maker. You can store the noodles in the freezer if you decide to cook it later.
I really want to try to make these. Just got my Atlas 150. Which cutting attachment did you use for your lo mein noodles with your Atlas 150? I just have the one attachment it came with that can cut lasagna, fettuccine and tagliolini. Should I get a spaghetti attachment to make something closer to lo mein sized noodles?
Hi Bev, both fettuccine and tagliolini will work, it's all depends on your preference. Usually, if I use a wider cutter like fettuccine, I roll the dough thinner before cutting, and vice versa.
Thank you for the recipe and clear instruction! it was a good noodle, much much better than the store bought. I tried several recipes from other websites but it always failed me. I almost got discouraged to make my own noodle ’til I found your recipe and gave it a try. It was a success 👍 Thank you Edwina!
Thank you Sherly, I'm so happy to hear that! Homemade noodles are the best!
My dough is coming out very dry and crumbly during the initial mixing and I have to add more water to get it into a ball of dough. Are you sure only 1/3 cup and a tablespoon is enough water?
Hi Jessica, that's the amount of water I add when I'm making this recipe, but depends on the type of flour you use, you might need a bit more water.
Hi I love chewy noodles, but am on a tight space and financial budget. Can I do all bread flour? Thx
Yes you can!