

A good Taiwanese turnip cake is satisfyingly crispy on the outside with a wonderfully subtle aroma of daikon, shallots, dried shrimp, and rice. This recipe uses basmati rice to ensure a fresh and pure rice fragrance that you just can't get from using packaged rice flour.
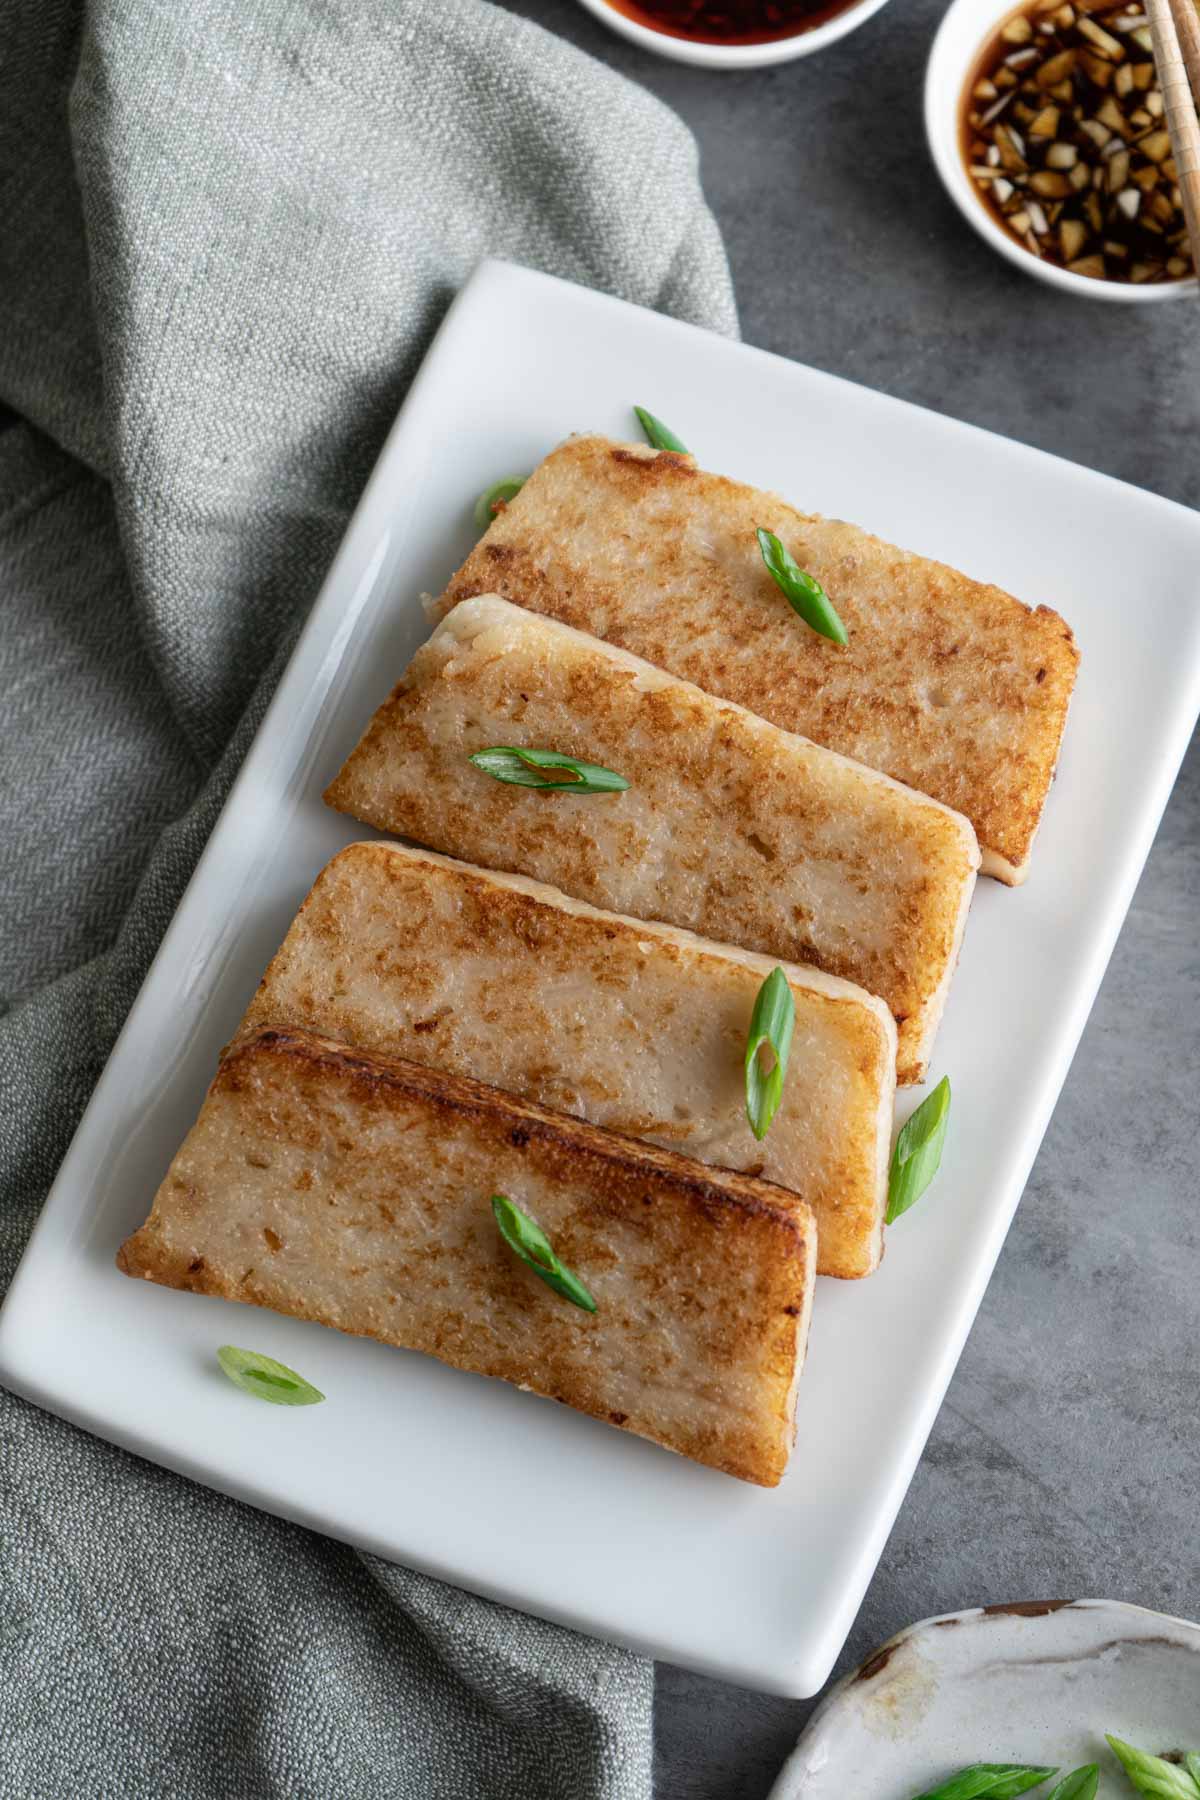
When you mention turnip cake (蘿蔔糕), most people immediately think of the Cantonese style turnip cake that's served dim sum restaurants. However, Taiwan has it's own unique version of this popular dish.
Unlike the Cantonese turnip cake that's soft and filled with many aromatic ingredients, Taiwanese turnip cake is more firm and satisfyingly springy. The Taiwanese version also usually has less filling, opting instead to highlight the pure and simple flavor of rice and radish, with complementing flavors taking a backseat.
Taiwanese turnip cake is traditionally eaten in Chinese New Year, as radish in Taiwanese sounds similar to luck or fortune. It's also a popular breakfast food that you can get from breakfast venders. If you like Cantonese turnip cake, then you should definitely give this recipe a try!
Why You Should Try This Recipe
- Taiwanese turnip cake is a classic and popular dish that's very easy to make at home.
- Using basmati rice gives the turnip cake a fresh rice aroma that you can't get from using packaged rice flour.
- This recipe can easily be adapted to be vegan, see ingredient notes for more detail.
Ingredients You'll Need
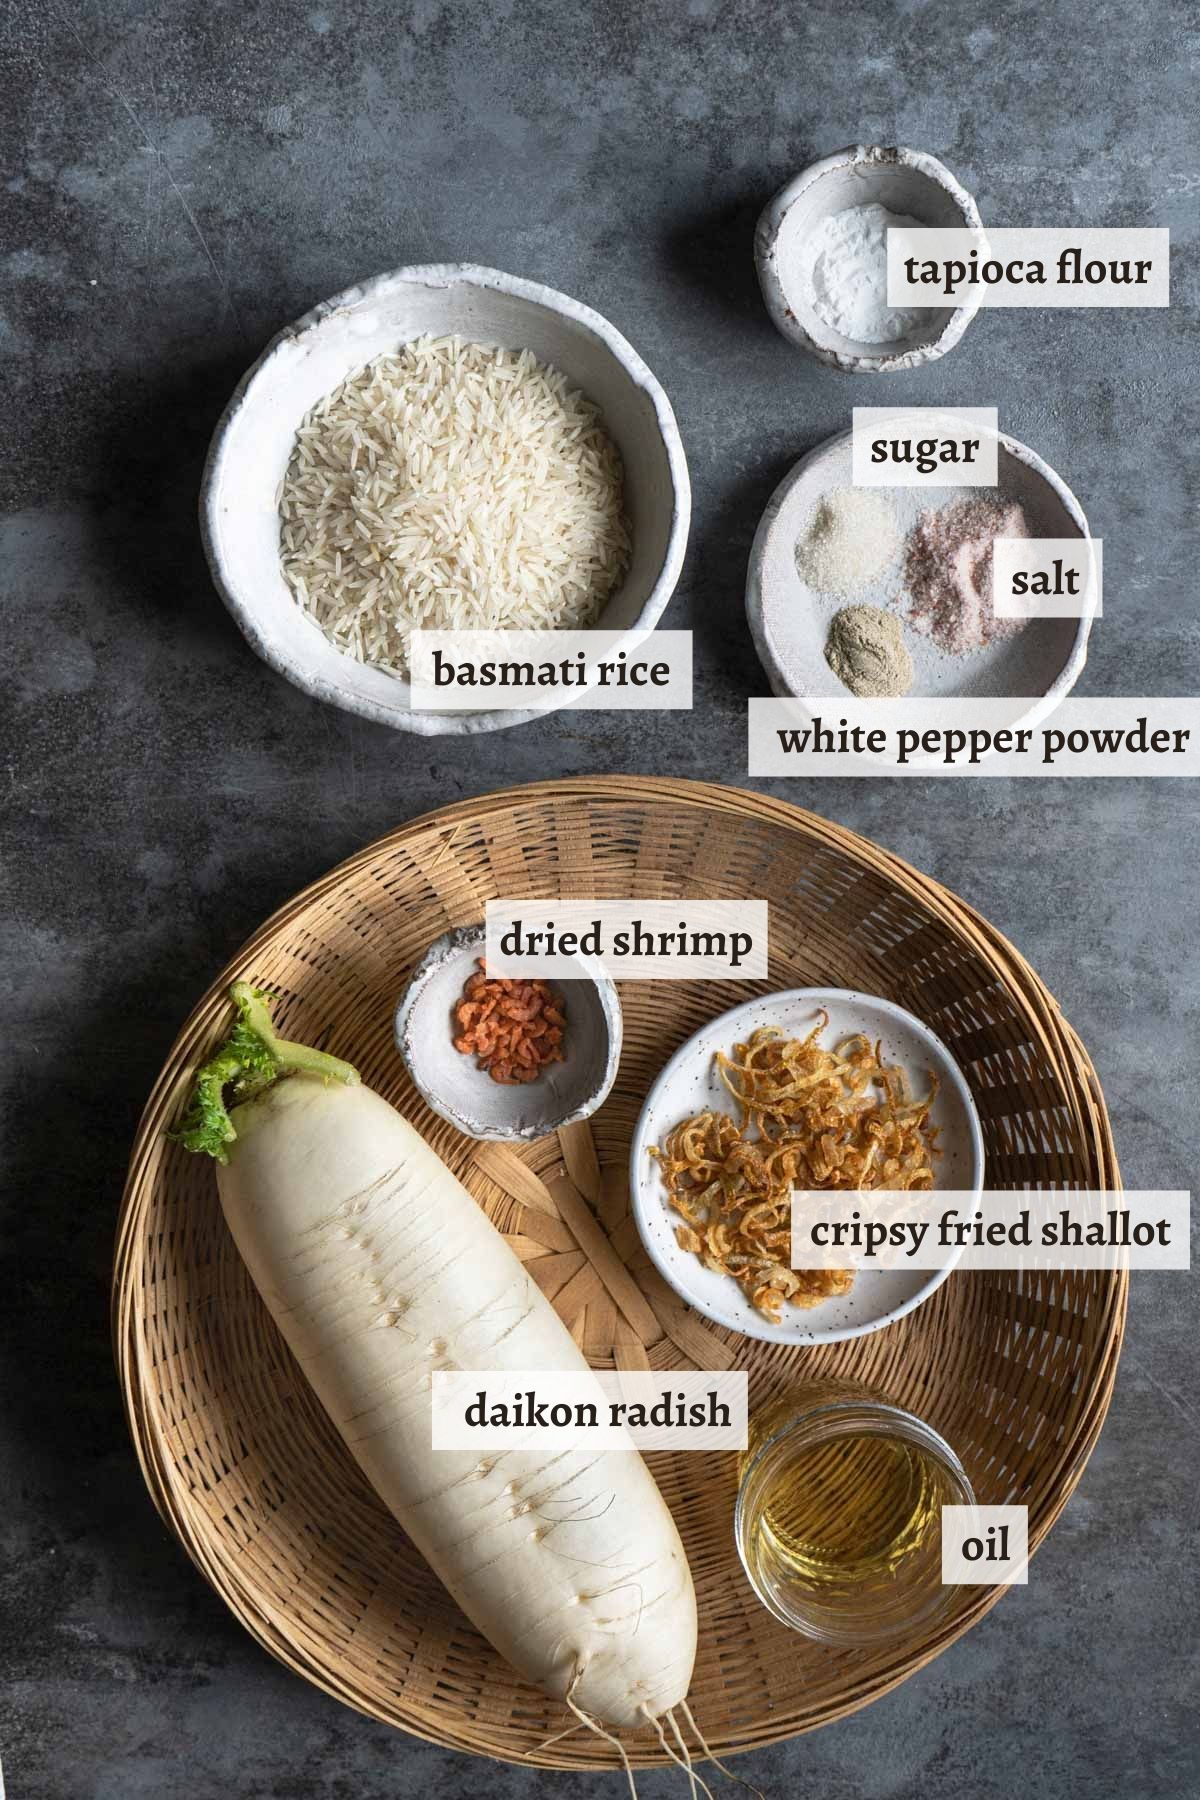
notes
- Basmati rice - You can also use long grain rice, but don't use Jasmine rice or any other kind of short grain rice, as the texture will be too sticky and gooey.
- Daikon radish - When buying daikon radish, look for one that's plump and heavy with smooth skin. Fresher and juicier daikon will result in a better turnip cake.
- Crispy fried shallot - Check out my recipe to learn how to make your own crispy fried shallots at home, or you can just buy some from the store.
- Dried shrimp - A little bit of dried shrimp adds a hint of umami flavor, but if you are vegetarian/vegan, you can replace this with 3-4 shiitake mushroom (soaked and diced) or just omit it altogether.
Step by Step Instructions
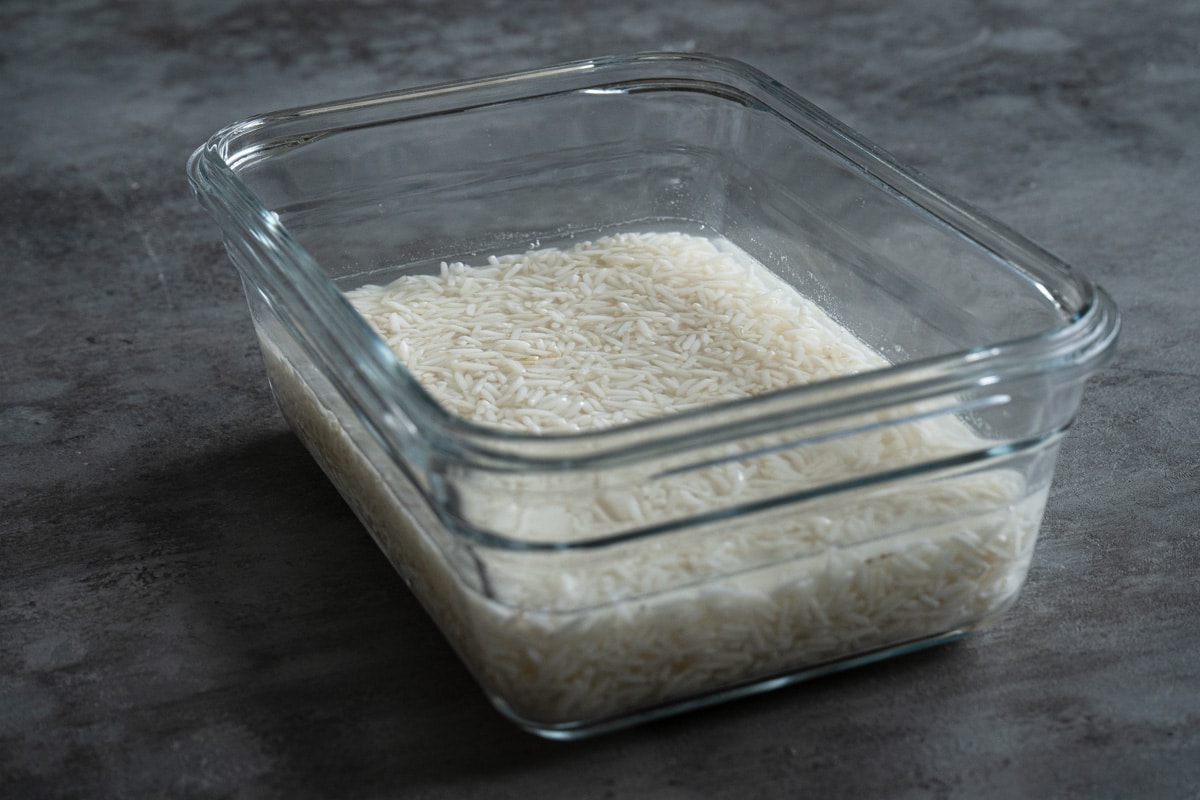
Step 1 - Rinse and soak the basmati rice overnight in the fridge.
The total weight of rice and water should be around 420-450g.
Step 2 - Prepare radish and rice mixture.
Peel the radish, cut off a small piece (around 60-70 gram) and grate the rest. You can also use a food processer with a shredding disc.
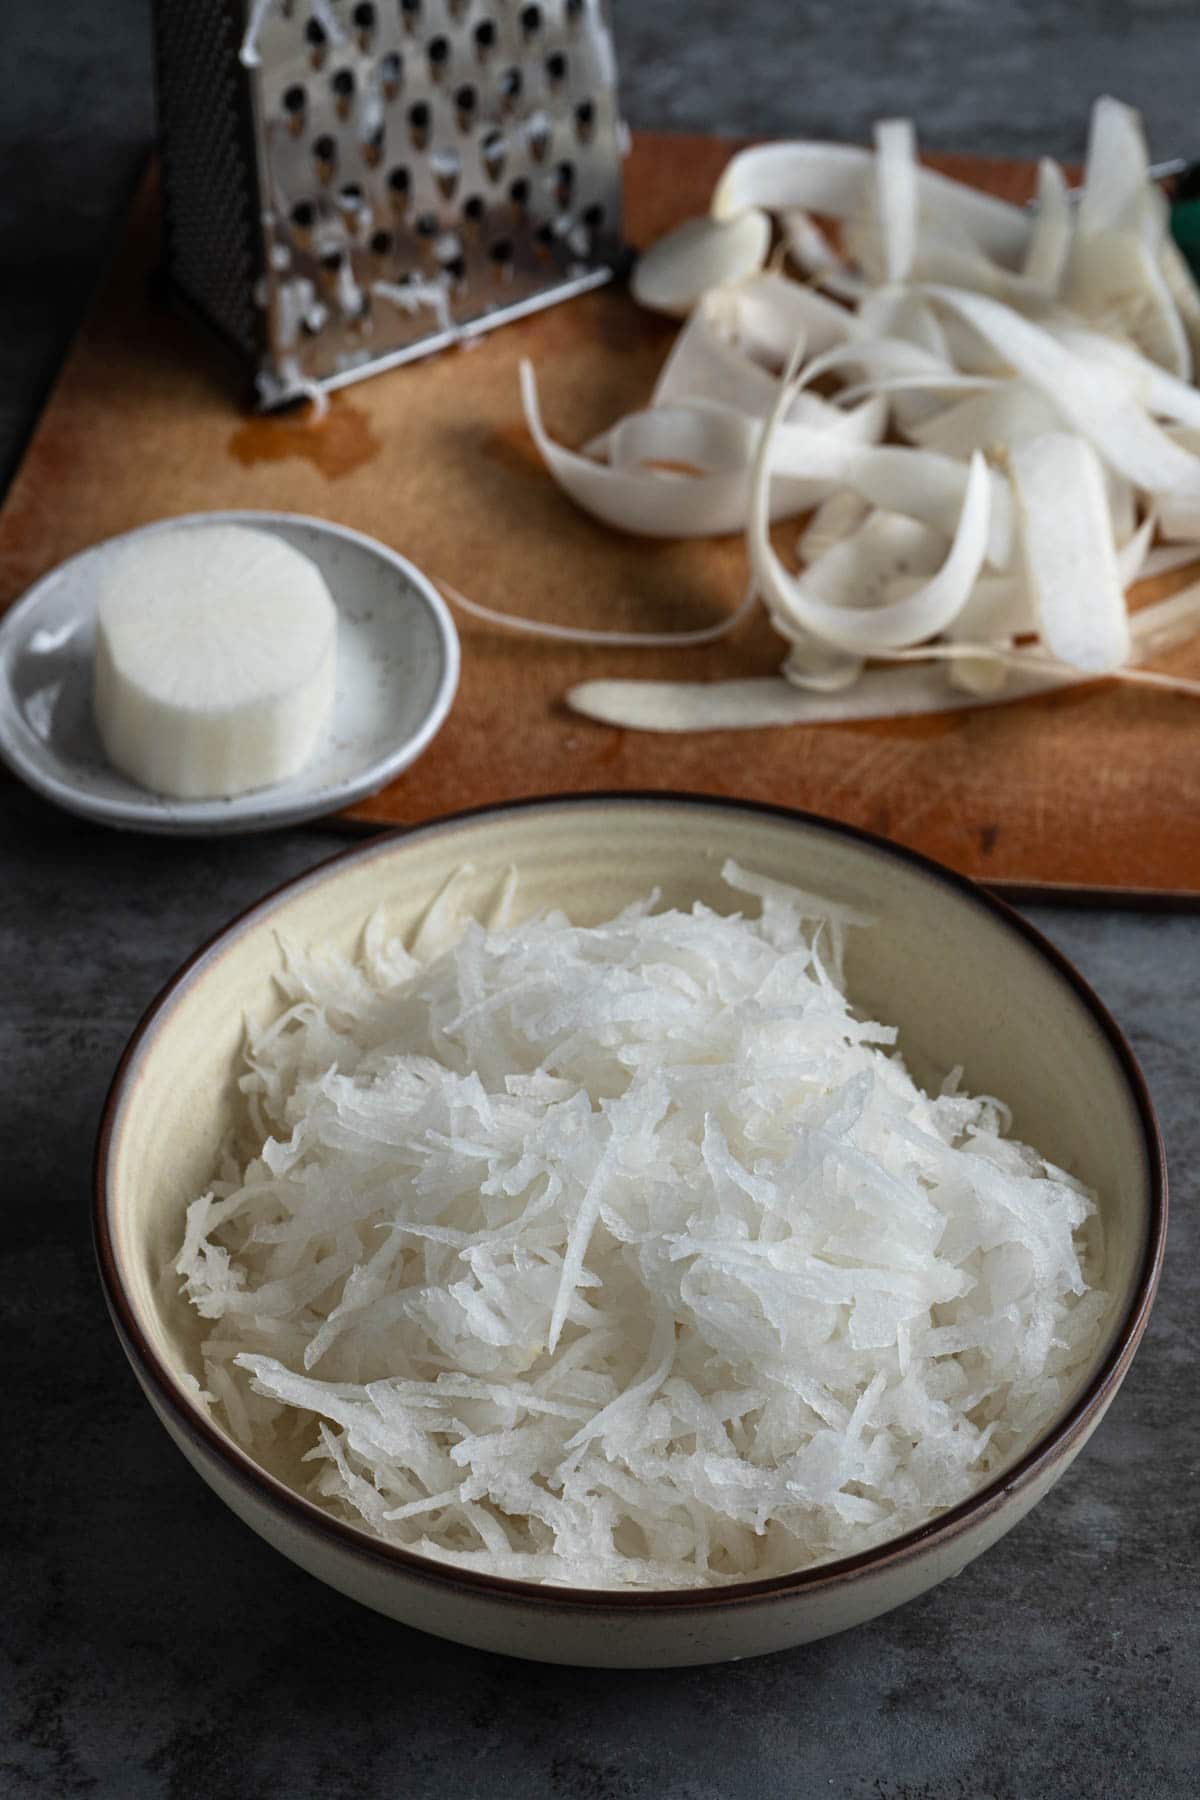
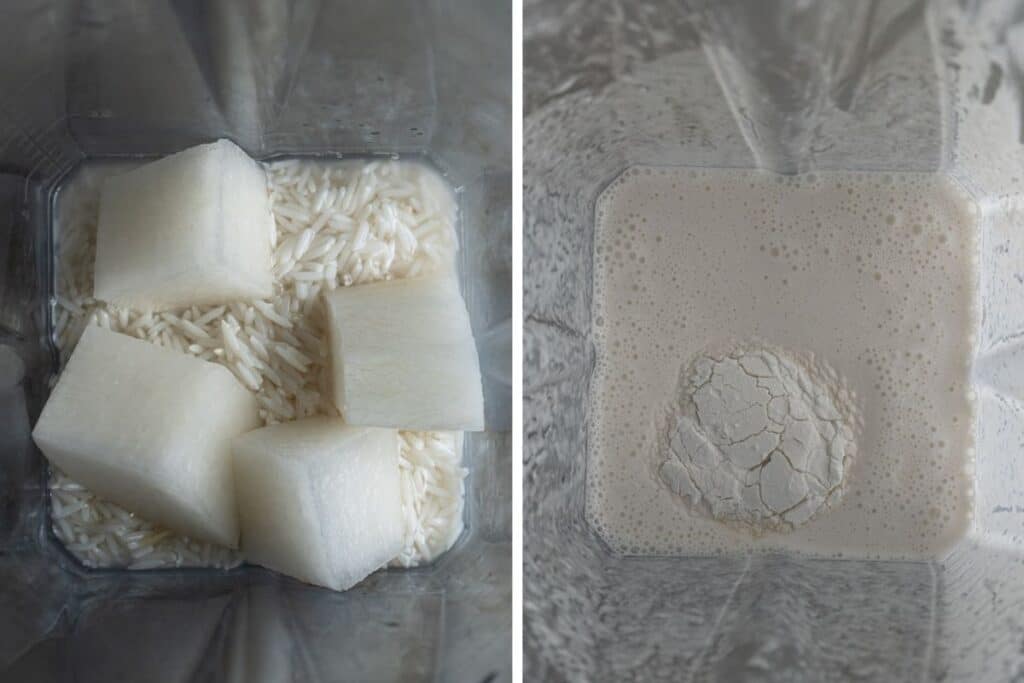
Cut the saved piece of radish into 4 portions and blend with rice and the soaking water until very smooth, about 60-90 seconds on high. A powerful blender like Vitamix or Blendtec is recommended for this recipe.
Add tapioca starch and blend for another 30 seconds on medium speed.
Step 3 - Make the turnip cake batter.
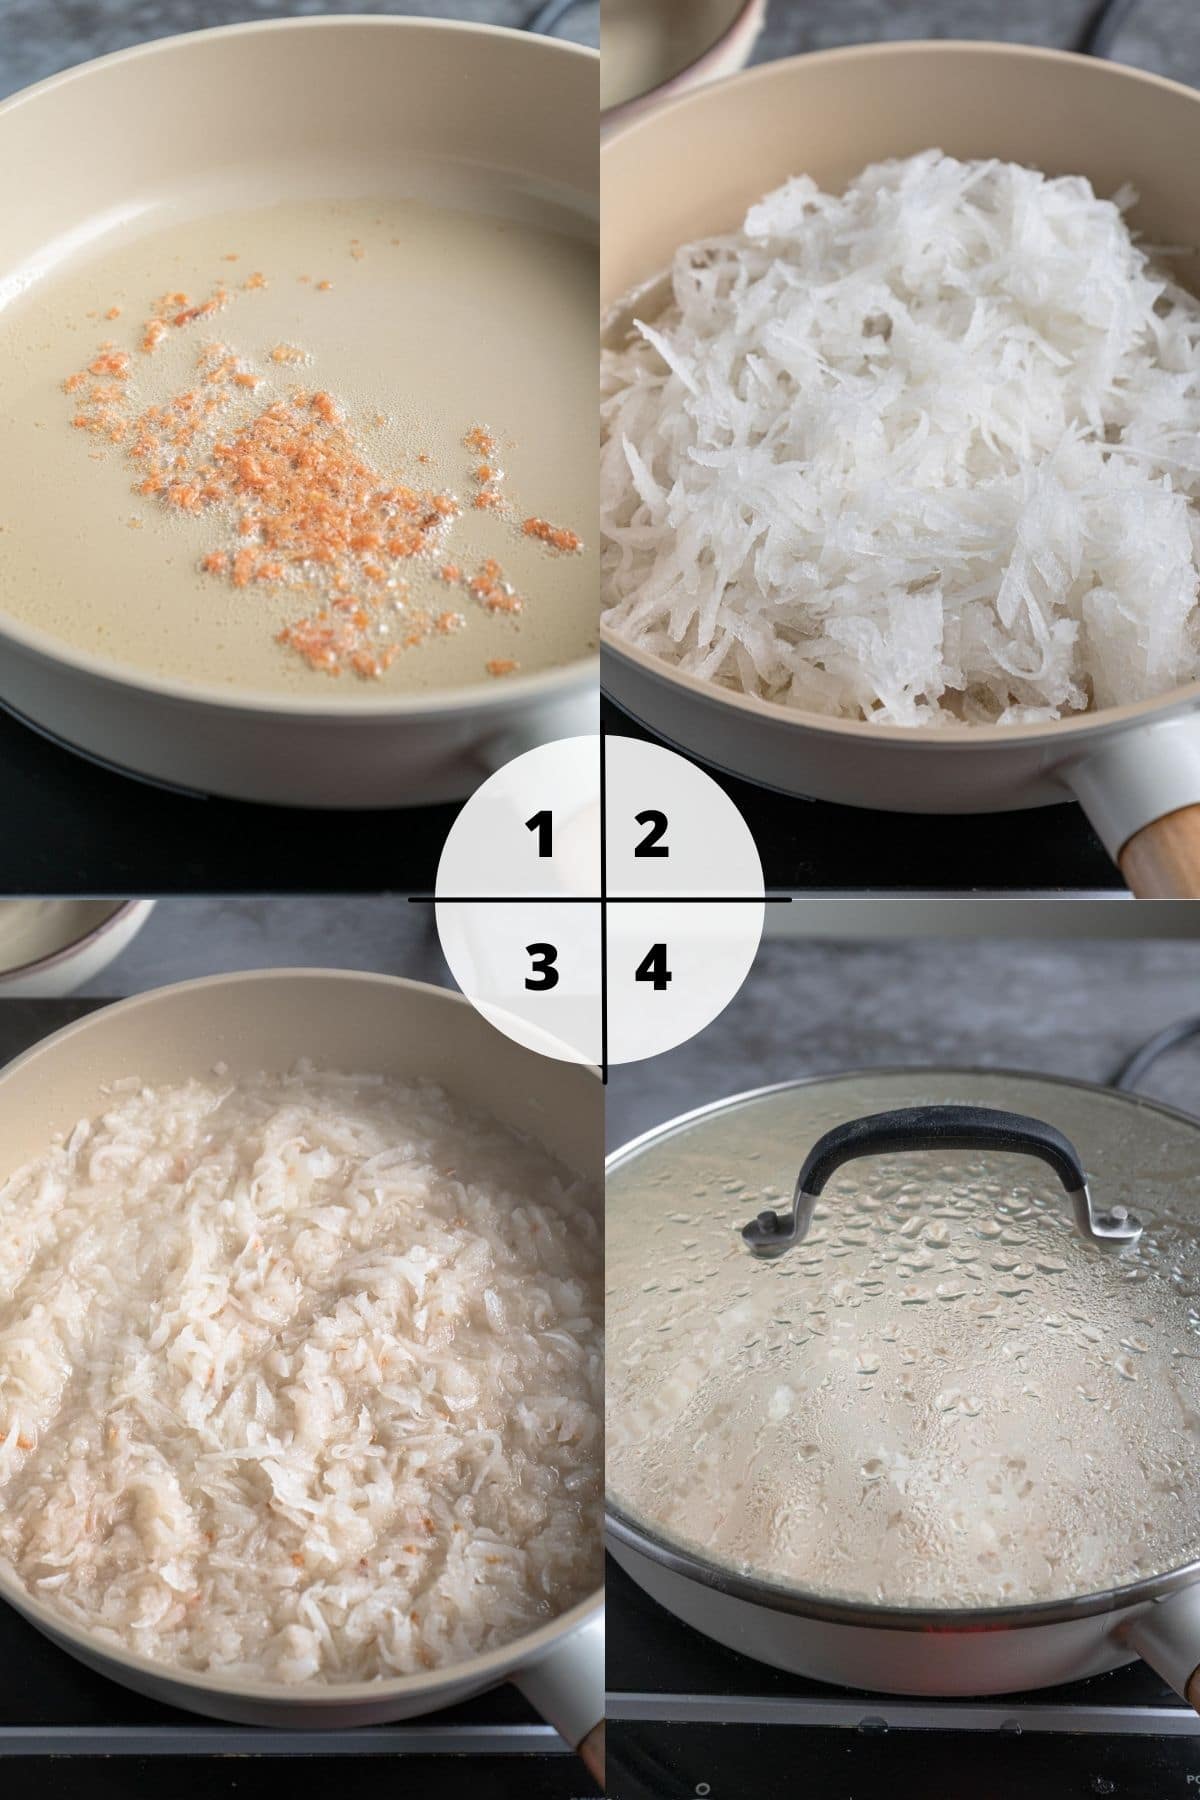
Heat oil in a nonstick frying pan with minced dried shrimp over medium heat until the oil is bubbling before adding grated daikon into the pan.
Stir and cook until the water comes out before adding salt, sugar, white pepper powder and crispy fried shallot. Stir until well combined. The radish mixture should be very watery at this point, but if it's not, add some water until the radish is mostly soaked in water.
Turn the heat down to low, cover, and let it cook for 5-7 minutes until the radish is cooked through.
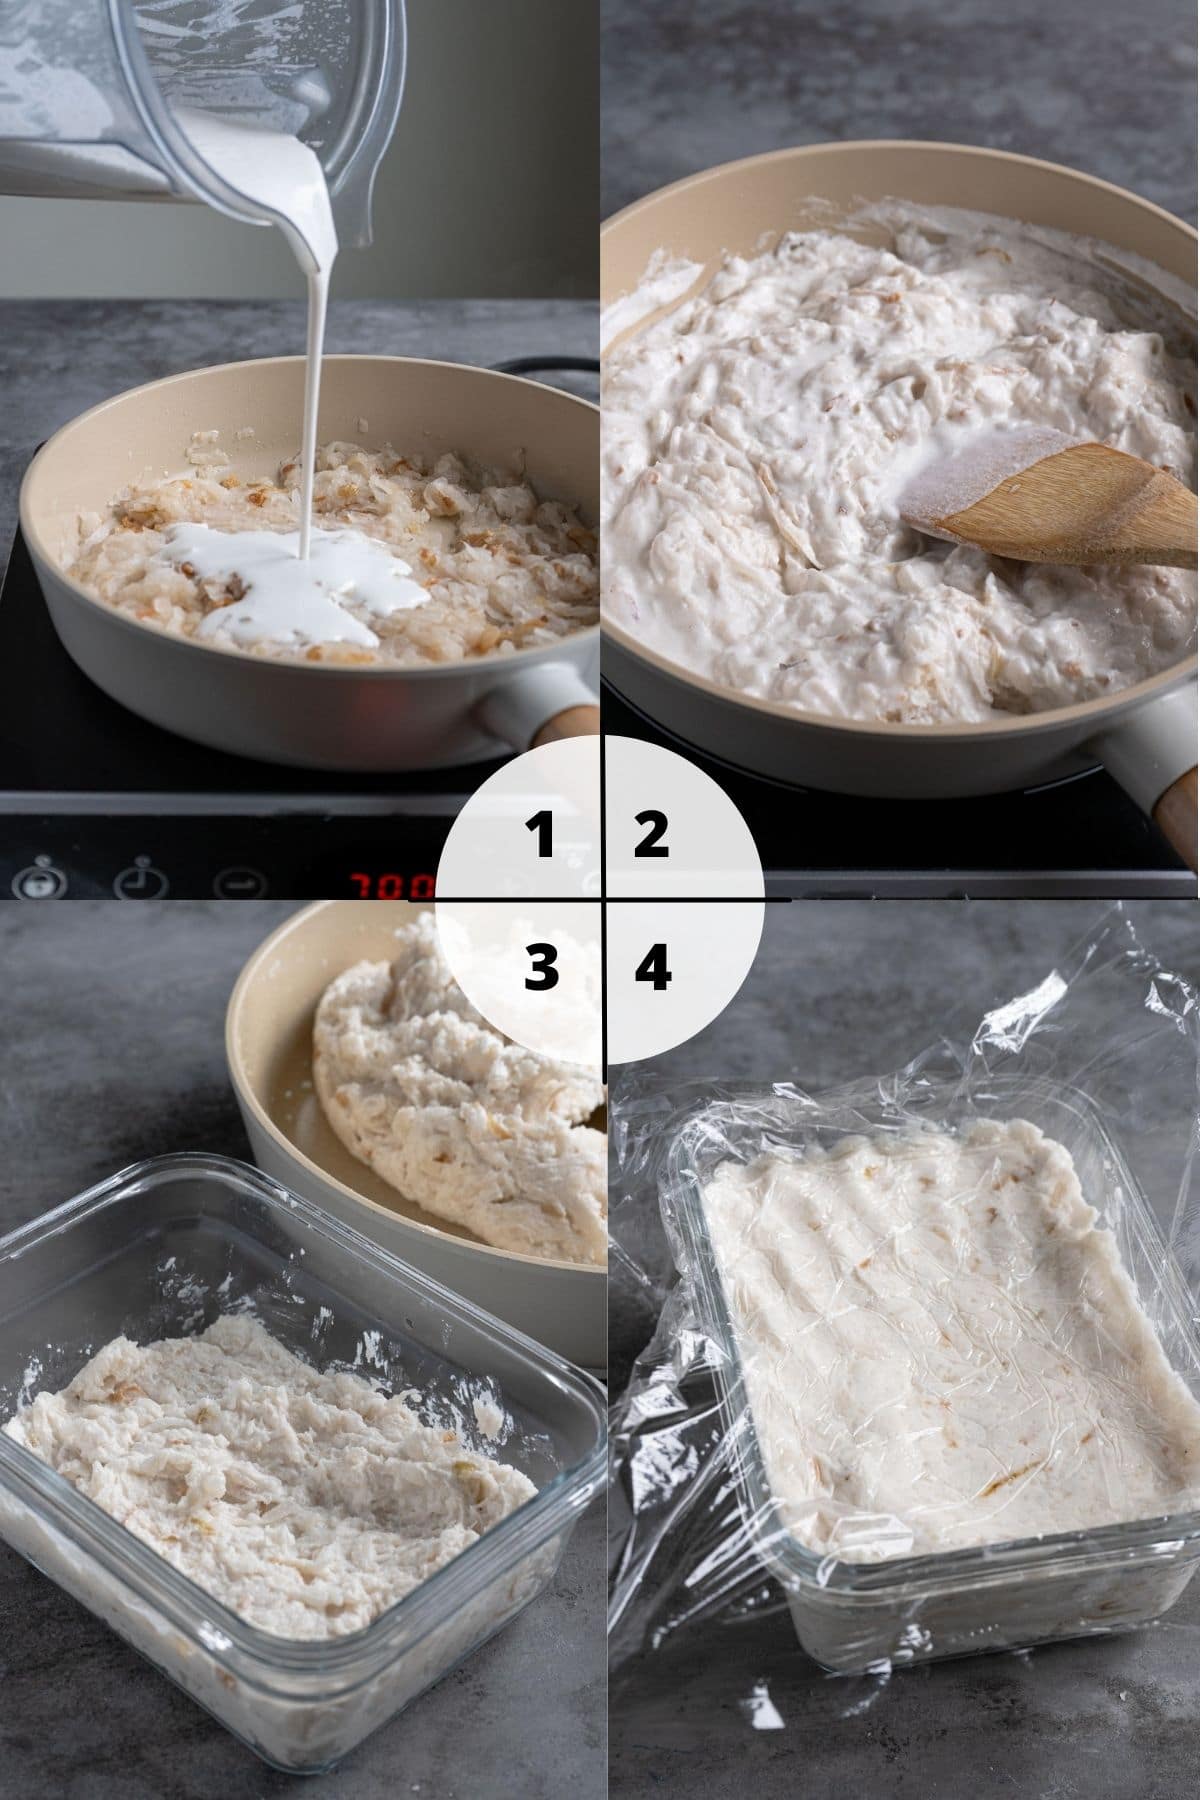
Stir the rice mixture before pouring into the pan. Stir and fold with a spatula until the batter sticks together and becomes one large lump.
Fill the batter in a glass container (the one I use is 6.5"W x 4.5"L x 2.5"H) or any kind of heat resistant container that can fit into your steamer. Cover the top with a piece of plastic wrap and press the batter down before smoothing out the surface.
Step 4 - Steam the turnip cake.
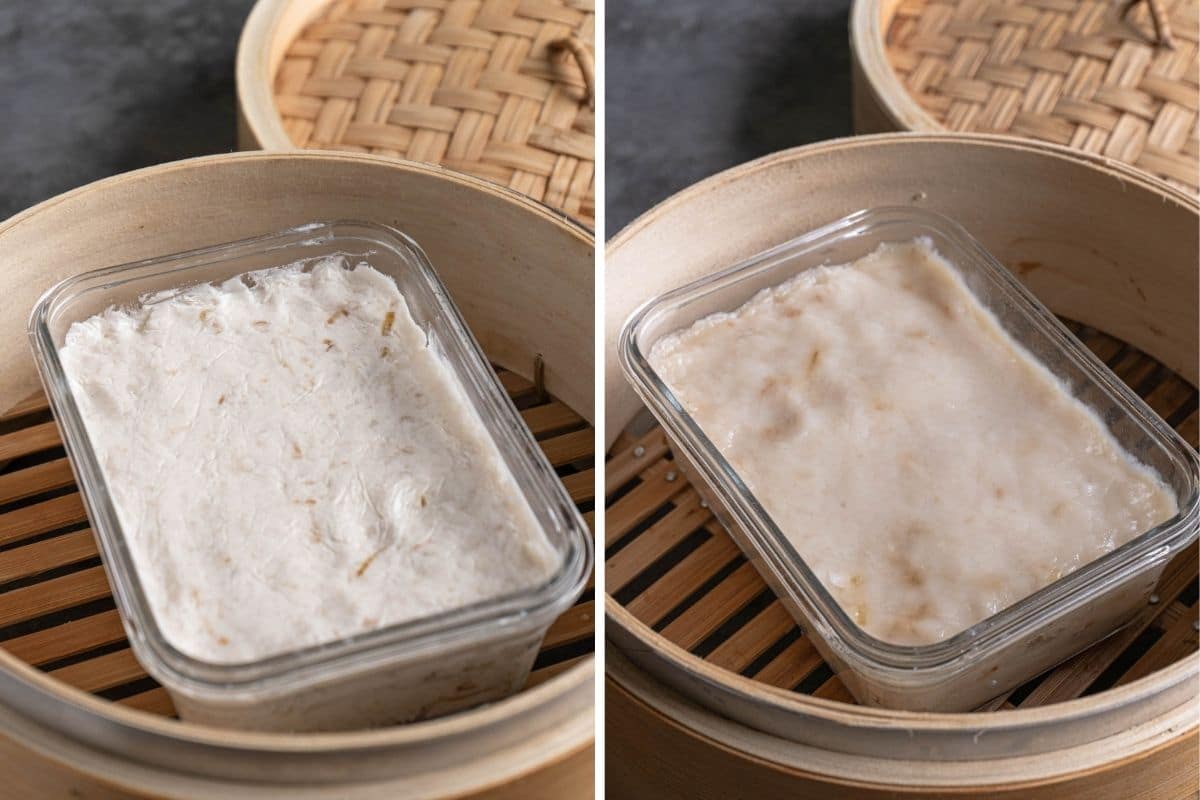
Boil at least 10 cups of water in a pot that you are going to use for steaming the turnip cake. When the water is boiling, set your steamer over the pot and steam for 60 minutes over medium high heat.
Step 5 - Pan fry the turnip cake and serve.
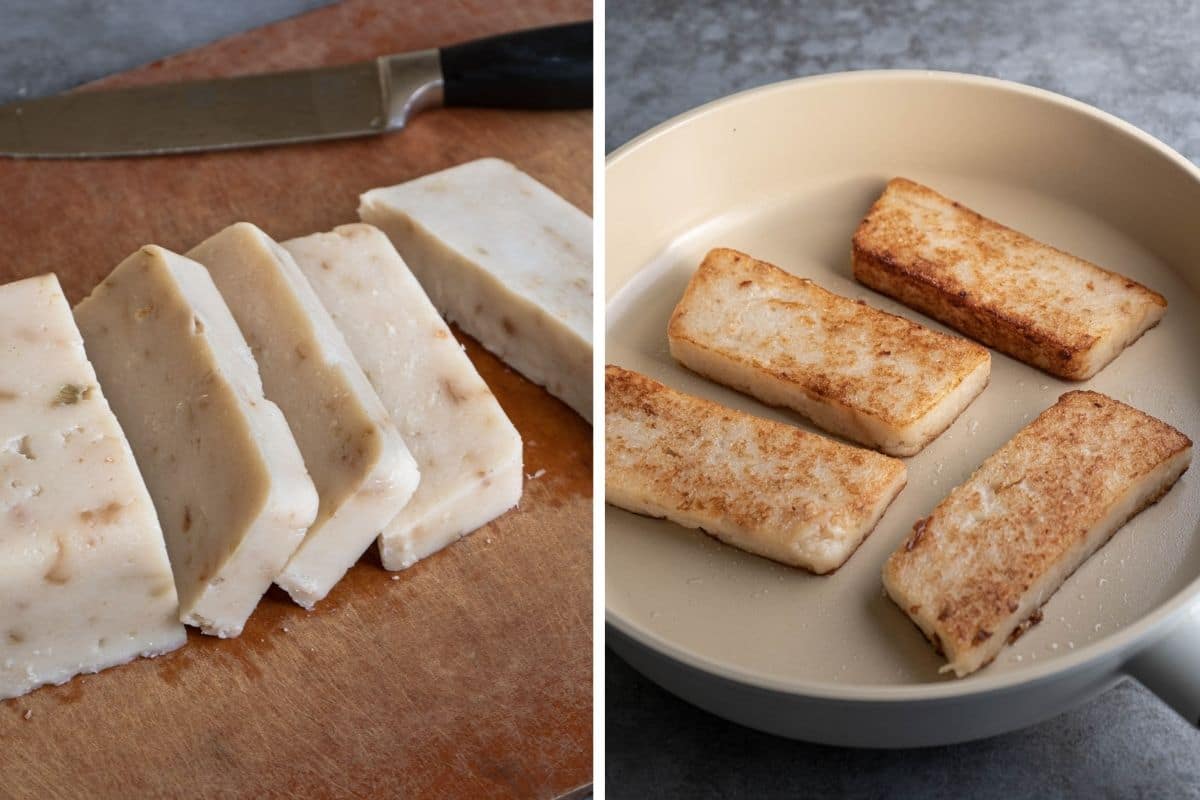
After the turnip cake is done steaming, let it cool down completely before chilling in the fridge overnight. This allows it to firm up for easy slicing.
Heat a frying pan over medium heat with 3-4 tablespoon of cooking oil, when the oil is hot, place the sliced turnip cake in the pan and cook until both sides become golden brown.
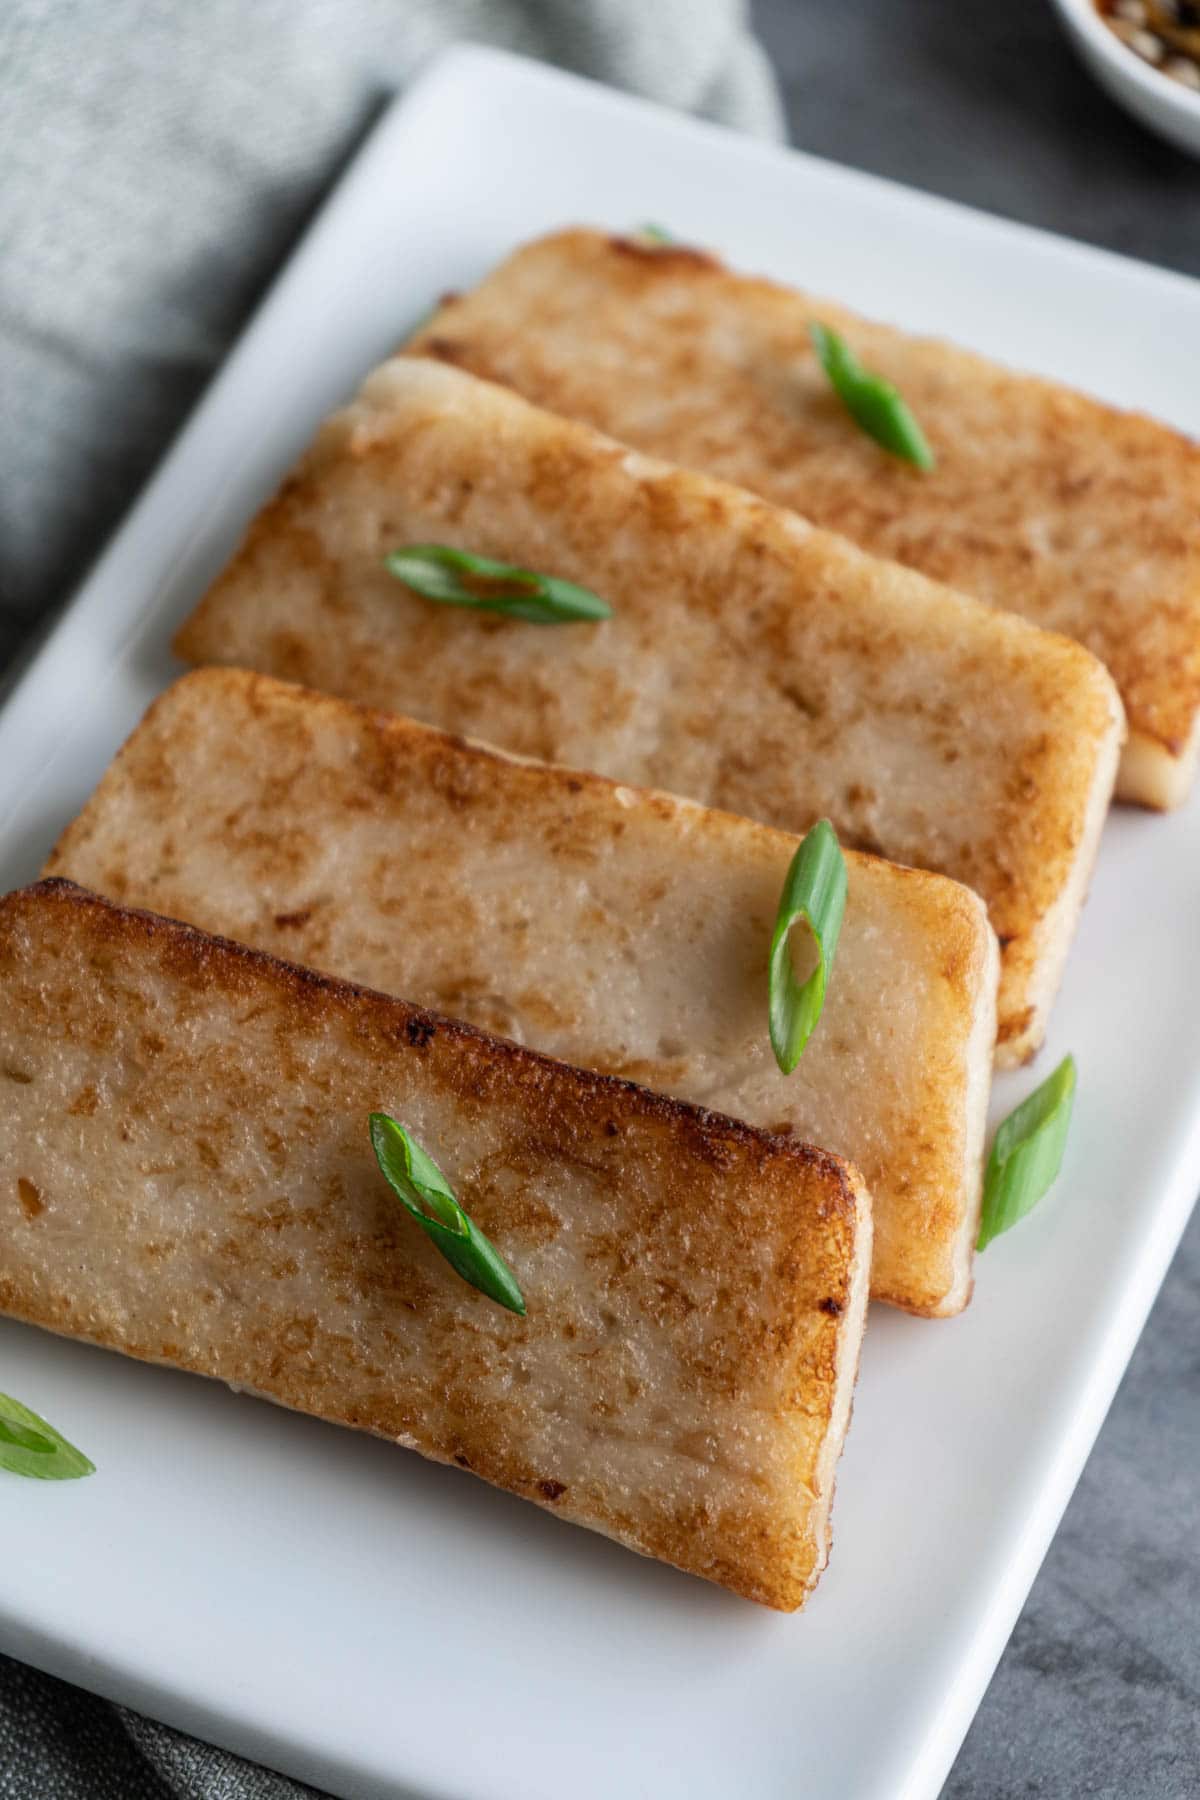
In Taiwan, we like to serve this with garlic soy dipping sauce. You can find the recipe for this sauce in the recipe box below.
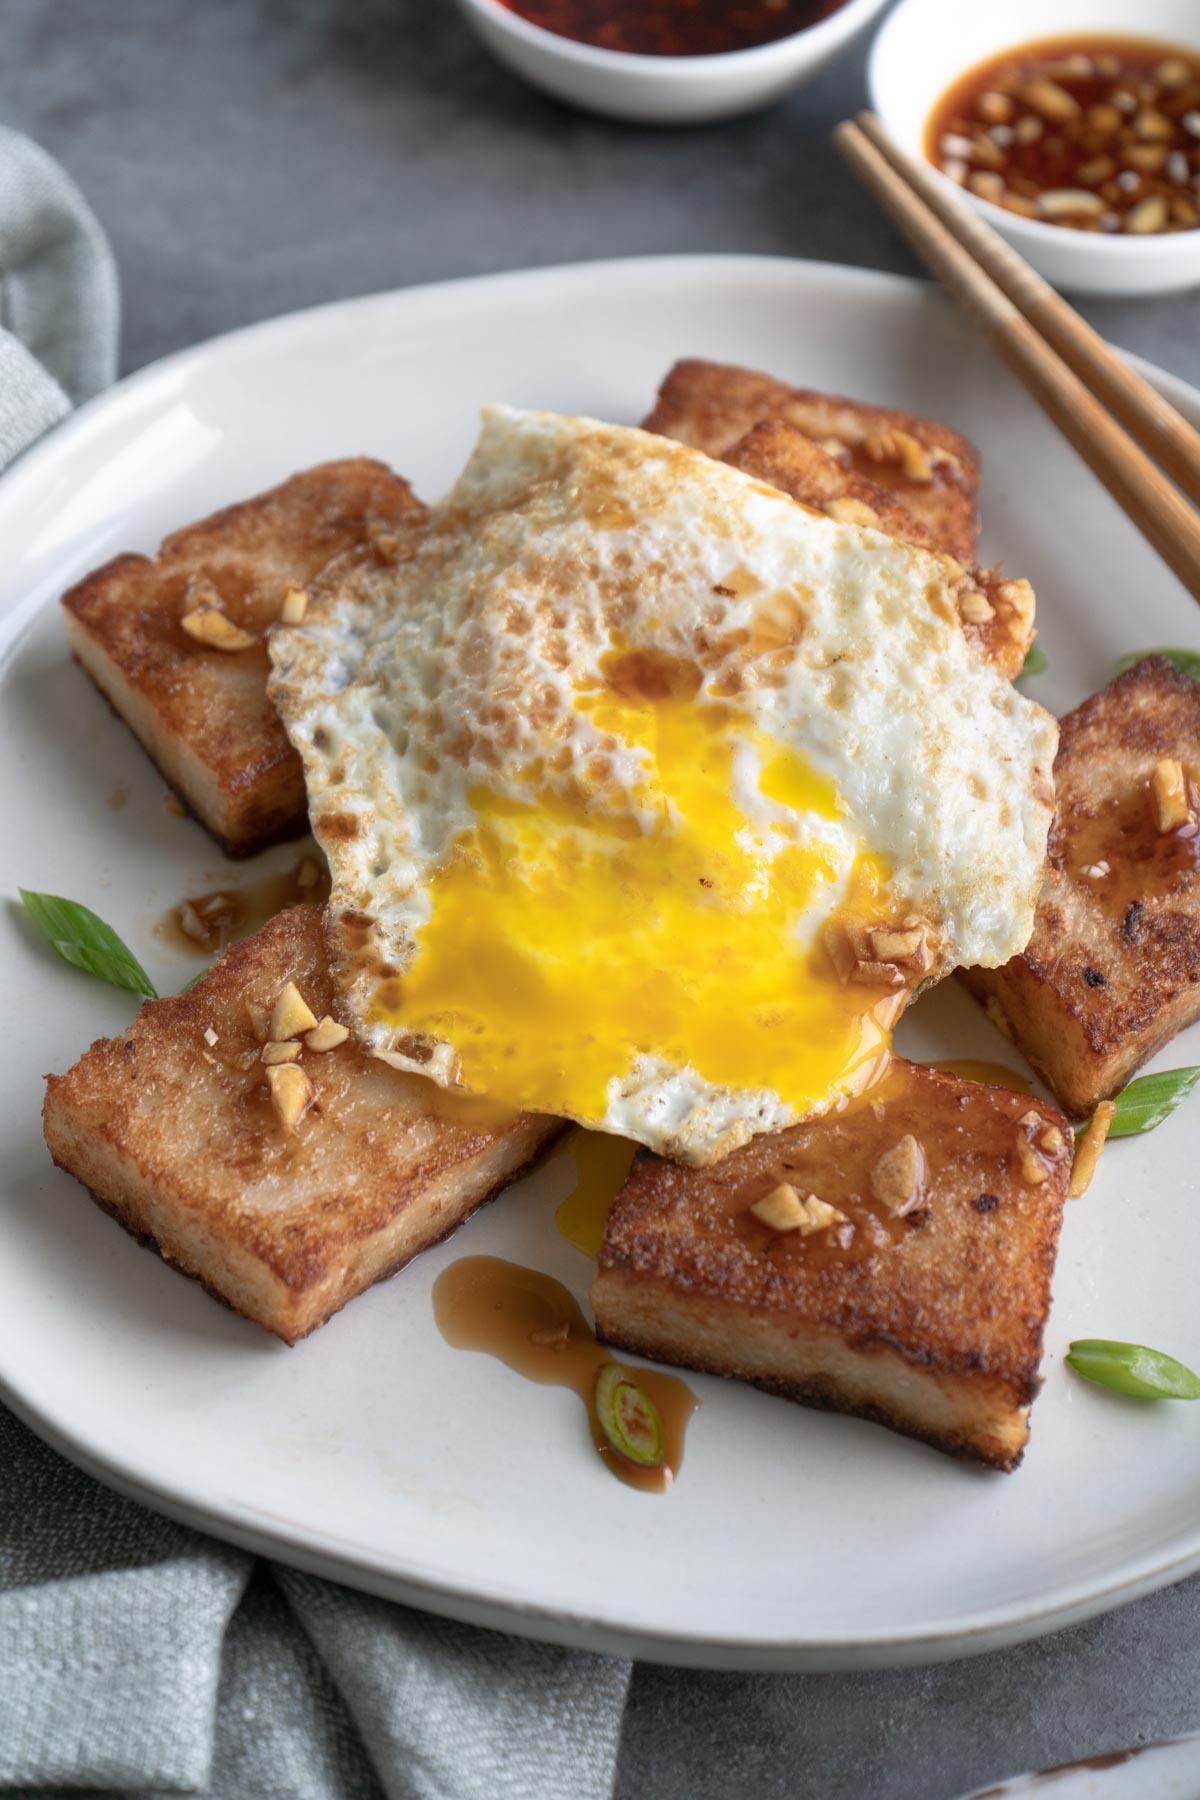
For breakfast, many people like to add a fried egg on top of some crispy golden brown turnip cake cut into smaller pieces, drizzle with garlic soy sauce and enjoy with a cup of soy milk or milk tea.
More Taiwanese Breakfast Recipes:
Tips and Tricks
- The firmness of the turnip cake depends on the amount of water you add. I would recommend following the recipe for the first time and then adjust the amount of soaking water based on your own preference.
- When peeling the radish, peel two layers to help remove the bitter taste from the daikon radish.
- Make sure you add enough water in the steaming pot. If the steaming water dries up in the middle of the steaming process (Steam is no longer coming out of the top), add some more boiling water into the pot.
Recipe FAQs
No, make sure you use daikon radish when making turnip cake.
You can test by inserting a skewer into the turnip cake. If it's fully cooked, it should only have a little bit of batter clinging to the skewer. If the skewer is coated by the batter, then it means it's not cooked though.
You can store it in an airtight container in the fridge for up to seven days. However, I highly recommend finishing it within three days for the best taste.
I would not recommend doing this, as the texture won't be the same after defrosting. However, if you really need to, slice it before storing in the freezer.
Don't Forget to Try These Recipes
I would like to hear from you! If you make this recipe, please consider leaving a star rating and comment in the section further down the page. Stay in touch by following my Instagram and Pinterest!

Taiwanese Turnip Cake (Made With Basmati Rice)
Equipment
- grater
- blender
- Steamer
Ingredients
- 200 g basmati rice
- 200 g water
- 450 g daikon radish, weigh after peeling
- 1.5 tablespoon tapioca starch, or corn starch
- 3 tablespoon cooking oil
- ½ tablespoon dried shrimp, minced
- ¾ teaspoon sea salt
- ½ teaspoon sugar
- ¼ teaspoon white pepper powder
- 3 tablespoon crispy fried shallot
Garlic Soy Dipping Sauce
- 1-2 clove garlic, minced
- 1 tablespoon soy sauce
- 1 tablespoon water
- 1 teaspoon sugar
Instructions
Prepare Rice
- Rinse basmati rice and drain very well with a strainer.
- Soak the rice in water overnight in the fridge. The total weight of rice and water should be around 420-450g (see note).
Prepare Radish and Rice Mixture.
- Peel the radish (see note), cut off a small piece (around 60-70 gram) and grate the rest. You can also use a food processer with a shredding disc.
- Add tapioca starch and blend for another 30 seconds on medium speed.
Make the Turnip Cake Batter
- Heat oil in a nonstick frying pan with minced dried shrimp over medium heat until the oil is bubbling before adding grated daikon into the pan.
- Stir and cook until the water comes out before adding salt, sugar, white pepper powder and crispy fried shallot. Stir until well combined. The radish mixture should be very watery at this point, but if it's not, add some water until the radish is mostly soaked in water.
- Turn the heat down to low, cover, and let it cook for 5-7 minutes until the radish is cooked through and becomes translucent.
- Stir the rice mixture before pouring into the pan. Stir and fold with a spatula until the batter sticks together and becomes one large lump.
- Put the batter into a glass container (the one I use is 6.5"W x 4.5"L x 2.5"H) or any kind of heat resistant container that can fit into your steamer.
- Cover the top with a piece of plastic wrap and press the batter down before smoothing out the surface.
Steam the Turnip Cake
- Boil at least 10 cups of water in a pot that you are going to use for steaming the turnip cake (see note).
- When the water is boiling, set your steamer over the pot and steam for 60 minutes over medium high heat.
Pan fry the turnip cake and serve
- After the turnip cake is done steaming, let it cool down completely before chilling in the fridge overnight. This allows it to firm up for easy slicing.
- Heat a frying pan over medium heat with 3-4 tablespoon of cooking oil, when the oil is hot, place the sliced turnip cake in the pan and cook until both sides become golden brown.
Dipping Sauce
- Mix minced garlic, soy sauce, water and sugar together until well combined.
Notes
- The firmness of the turnip cake depends on the amount of water you add. I would recommend following the recipe for the first time and then adjusting the amount of soaking water based on your own preference.
- When peeling the radish, peel two layers to help remove the bitter taste from the daikon radish.
- If you are vegetarian/vegan, you can replace dried shrimp with 3-4 shiitake mushroom (soaked and diced) or just omit it altogether.
- Make sure you add enough water in the steaming pot. If the steaming water dries up in the middle of the steaming process (Steam is no longer coming out of the top), add some more boiling water into the pot.
hi, I'm looking forward to trying out this recipe but I must have missed where we add the fried shallots. Or is it just a topping?
Hi Tammy, thank you so much for catching it! I just edited the recipe, you will add crispy fried shallot with salt, sugar and white pepper powder.
oooh I see! Thank you for replying and for sharing your recipes!
Hi, I'm trying this for the first time. You said to add water to the pan when cooking the radish mixture so that it's sitting in water while cooking. So after cooking with the cover on for 5 to 7 minutes, should it still be watery? If so, how do we know how watery it should be? Or should we then cook it a bit longer, with the cover off, so some of the excess water evaporates before adding the rice mixture? Finally, when we add the rice mixture to the cooked radish mixture, do we take the pan off the heat to do that, or do we continue mixing and cooking it over hear. Sorry for all the questions! Thanks!
Hi Kelly, no problem at all! Those are very good questions. You want the radish mixture to be watery before stirring in the rice mixture, otherwise it will be too dried. Like I mentioned in the recipe, depends on the radish you get, you may or may not need to add extra water. You want the radish to looks like it's soak in the water. And after adding rice mixture, you continue to stir and fold over low heat until the batter is very thick and stick together. Let me know if you have anymore questions!