

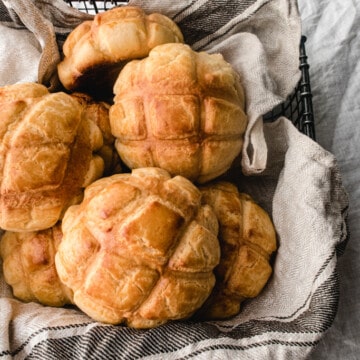
Pineapple buns, also known as bolo buns or melon pan, are likely one of the most popular items in Asian bakeries. In this recipe, I'll show you how to make these at home. After refining my recipe by making over a hundred pineapple buns, I believe my recipe can help you make pineapple buns that are even better than what you can get from your local Asian bakery.
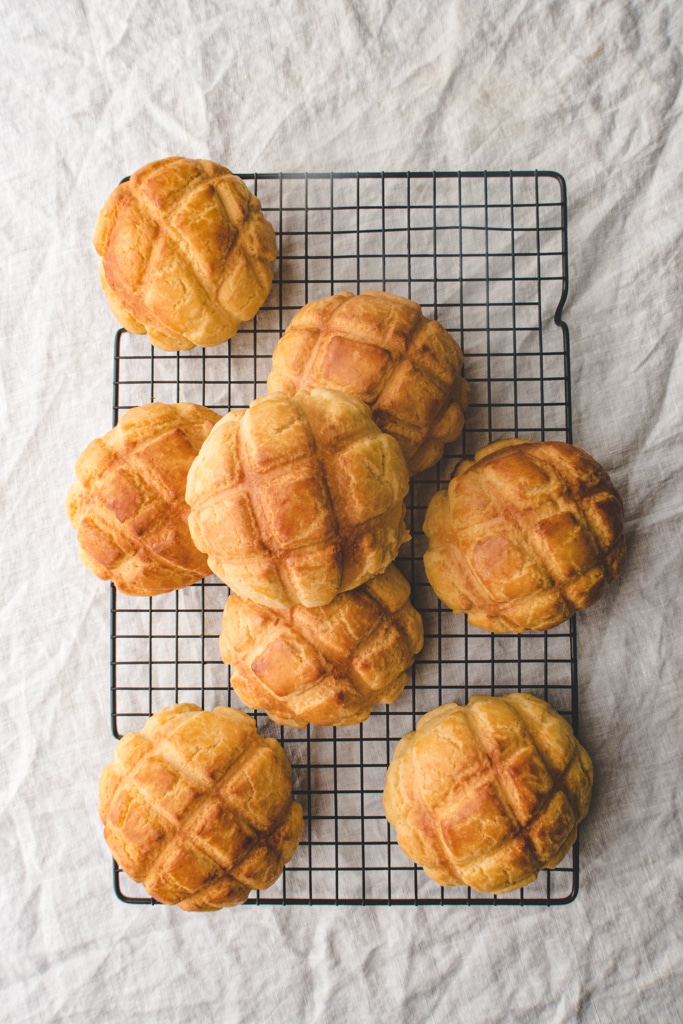
What is a pineapple bun
Pineapple bun is basically a soft and fluffy milk bun topped with a cookie layer that provides a contrasting texture. Just like the baked custard bun, the pineapple bun is one of the most popular and classic buns in Taiwan bakeries. These are called pineapple buns because the pattern on the top of the bun somewhat resembles the the pattern on a pineapple. So there’s actually no pineapple involved in this recipe.
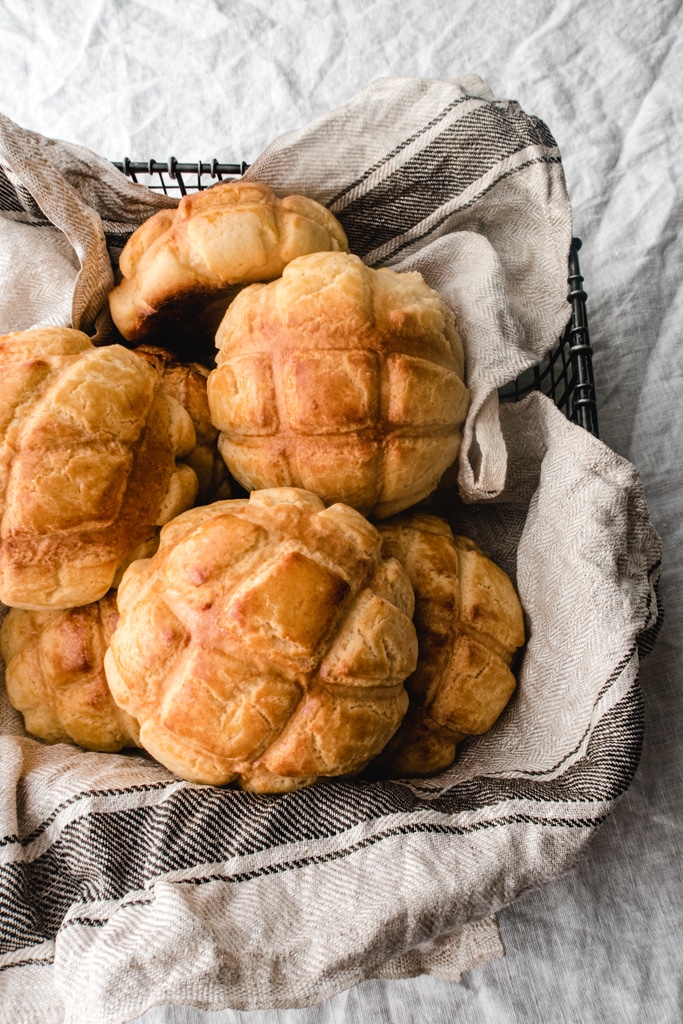
How to make great tasting milk buns that are soft and fluffy
There are several different tips for making a milk bun with a dreamy texture that’s soft, fluffy, pillowy and can pull apart in silky strands. Here are my main tips:
Try using the Yudane (tangzhong) method
The Yudane (tangzhong) method is an easy way to upgrade the texture of bread. All you need to do is to heat up a small amount of the liquid and the flour together and add the mixture into your dough. You can get more information from King Arthur Flour and American’s Test Kitchen if you like to know more about the science behind it.
There are different ways to do Tangzhong, and the one I’m showing you in this recipe is my favorite one because it’s easy and super effective. Simply mix some boiling water with bread flour, then store the resulting dough in the fridge overnight (or 8 hours) and it’s ready to be added to your main dough when needed!
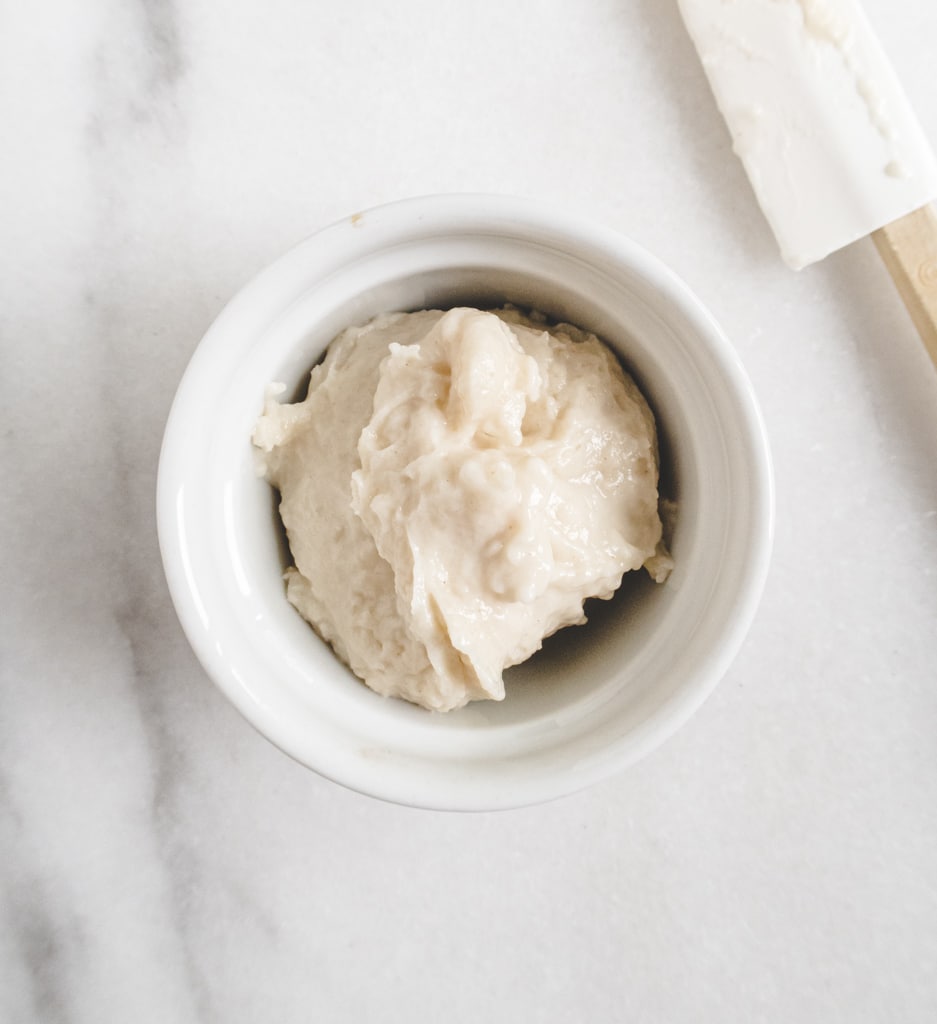
However, if you prefer not to use the Yudane (Tangzhong) method, you can use the dough recipe from my Asian bakery style dinner roll, which will also work out very well.
Start with cold liquid
I know many of you may be skeptical with this one — aren’t we supposed to use warm water to activate the yeast? Will the dough rise if I use cold liquid? Let me explain. When you are making bread, instant (rapid-rise) yeast is your best friend. It doesn’t need to be pre-activated with warm water, just adding it directly into the mixture with other ingredients will do. I highly recommend using Saf instant yeast, as I was surprised by how much better my bread tasted after I began using it. I tried both regular and gold one and both work very well.
In order to achieve a dreamy bun texture, a lot of kneading is required. We need to knead the dough until the surface of the dough is smooth and can pass the windowpane test (meaning that you should be able to stretch the dough into a smooth and nearly see-though membrane).
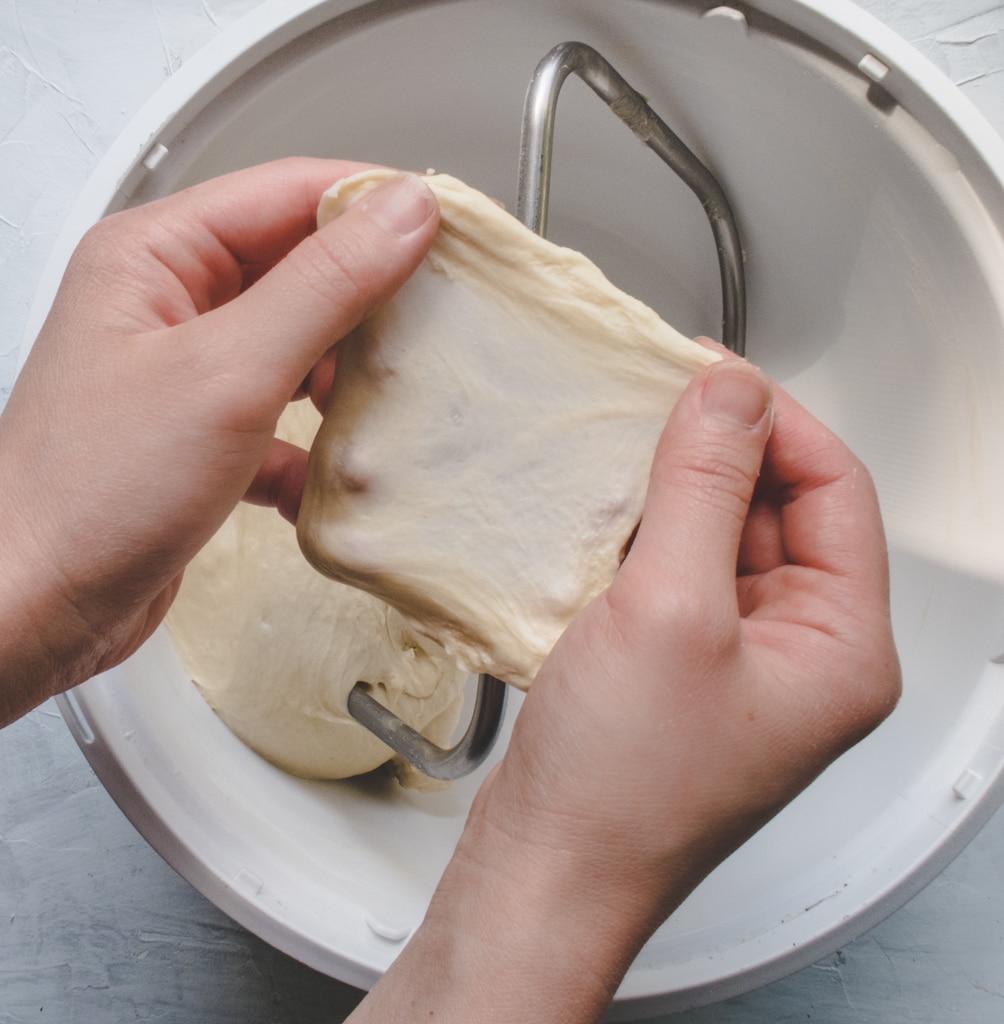
Kneading generates heat, and we don’t want our dough to become too warm (ideally never going above 82°F) during the kneading process. If the dough ever gets too warm, then (1) the flavor of the resulting bread will suffer, the bread itself will (2) have a rougher texture and will (3) be prone to getting stale quickly. That’s why we want to start with using a cold liquid. I learned this technique relatively recently from some professional bakers in Taiwan, and it really leveled up the texture of the Asian breads that I make.
Try the Autolyse method
I highly recommend trying the Autolyse method. This method simply consists of allowing the dough to rest for 30 minutes for the gluten to develop right after forming the dough and before adding salt and butter. Using the Autolyse method is almost like cheating on your (windowpane) test, as it really makes developing the proper dough for this recipe nearly fool-proof. This is why the instructions in the recipe box includes this resting step.
Use a scale
It’s important to weigh your ingredients with a scale instead of using a measuring cup, since the cup of flour I measure will easily be different than the cup of flour you measure due to differences in how we handle the measurement. Making Asian buns/breads requires a higher accuracy than normal bread, and it is how I developed this recipe. I used this OXO kitchen scale that’s recommended by Cook’s Illustrated, but any cheaper one will work just fine!
Storing and reheating
The bun portion can last up to three days in room temperature and still be soft and yummy; however, If you are not eating these on the first day, I would recommend storing them in the freezer once they’re cool in order to maintain the best texture. When you want to eat them, just bake in the oven at 350°F (180°C) for 10 minutes or until the top becomes crispy. Don’t store these in the fridge, or else they will become dry and stale.
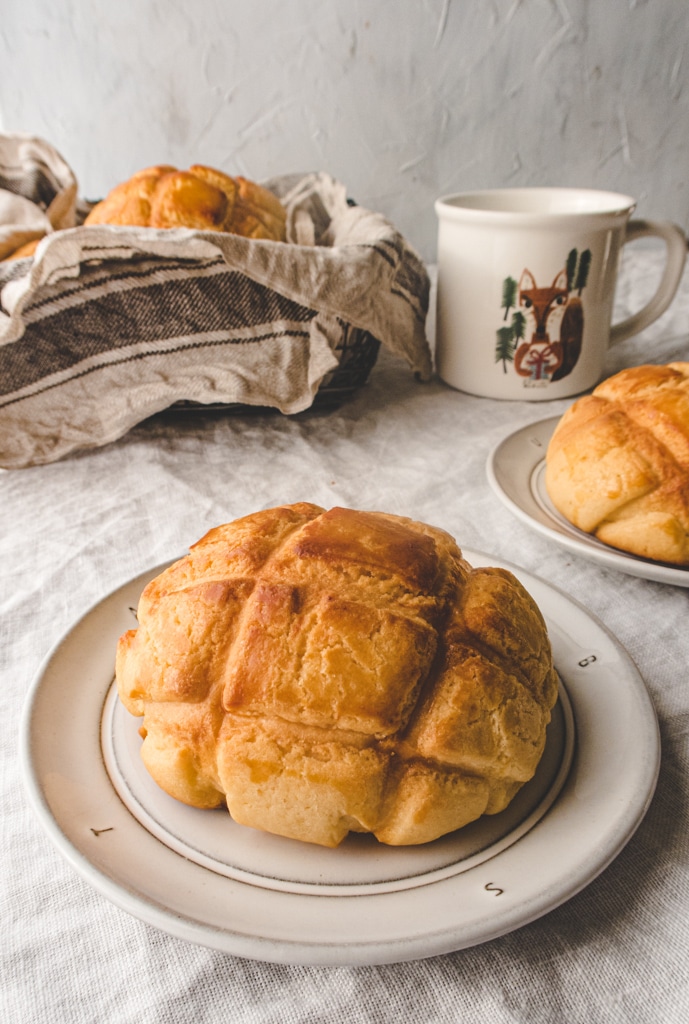
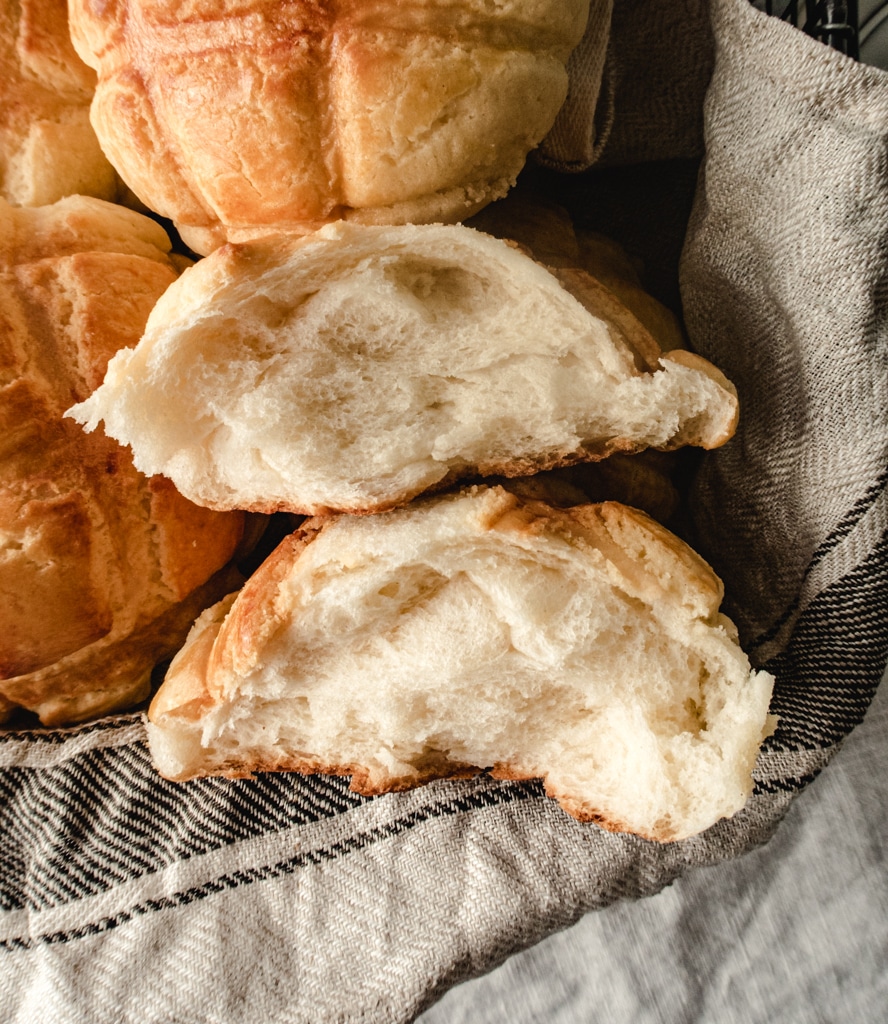
If you choose to keep the buns in room temperature and the cookie top looses its crispiness (this usually happens a few hours after coming out from the oven), simply bake them for 3-5 minutes and they will be awesome and crispy again.
Happy baking!
Don't Forget to Try
I would like to hear from you! If you make this recipe, please consider leaving a star rating and comment in the section further down the page. Stay in touch by following my Instagram and Pinterest!
Pineapple Bun (Taiwanese Style)
Ingredients
Yudane (Tangzhong)
- 30 g boiling water, 2 tbsp
- 25 g bread flour, 2½ tbsp
Cookie Top
- 70 g unsalted butter, 5 tbsp, softened but not too soft
- 60 g powdered sugar, ¼ cup + 2 tbsp
- 25 g beaten egg, use the rest of the egg from making bread dough
- 100 g bread flour, ¾ cup + 1 tbsp
- 15 g dry milk powder, 2 tbsp, see note
Milk Bun
- 250 g bread flour, 2 cup
- 30 g cake flour , ¼ cup, see note if you don't have cake flour
- 10 g dry milk powder, 1 tbsp, optional
- 30 g sugar, 2 tbsp
- 15 g honey, a little bit less than 1 tbsp
- 1 tsp instant yeast, preferably saf instant yeast
- 25 g beaten egg from a large egg, ½ large egg, ⅛ cup, save the rest for making cookie top
- 80 g cold whole milk
- 60 g cold water , cannot be replaced with milk
- all Yudane (tangzhong) paste
- 4 g sea salt , ½ tsp
- 30 g unsalted butter, cut into 6 - 8 pieces
Others
- egg wash, or powder sugar
Instructions
Make Yudane (Tangzhong) the Night Before
- Measure 25 grams of bread flour in a bowl. Set the kitchen scale to zero with the flour and bowl on it and pour in 30 grams of boiling water. Stir until combined to form a sticky dough.
- Let it cool down before storing in the fridge overnight or for 8 hours. Use it within 24 hours.
Cookie Top
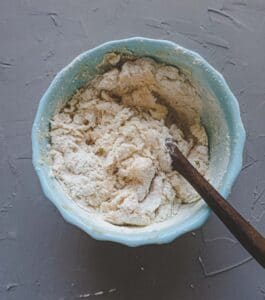
- In a bowl, mix butter and powdered sugar together with a spoon or spatula. Add the egg mixture in three batches into the mixture, incorporating one batch before adding the next. An egg beater is recommended for this process.
- Add bread flour and dry milk powder, fold a few times until the butter mixture is all coated with flour before pouring onto a working surface.

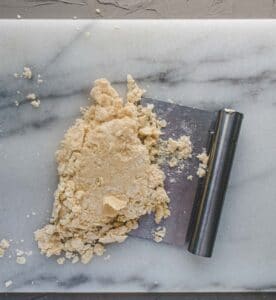
- Use a bench knife (dough cutter) to fold and press with your palm until the flour and the butter mixture are well combined. You can also do this in a big mixing bowl and use a spatula to press and fold until you can't see any dry flour.

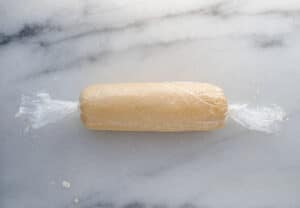
- Place the cookie top mixture on a piece of plastic wrap and roll it into a log. Twist the two ends to seal and store it in the fridge until ready to use.

Bun Dough
- Add all the ingredients for the dough except for sea salt and butter into the stand mixer and knead on low speed until the dough is formed.
- Cover the mixing bowl and let it rest for 30 minutes.
- When it's done resting, add salt and continue to knead the dough on low for 30 seconds
- Add butter cubes one at a time and knead until the dough is very smooth and passes the windowpane test. (This step usually takes me about 6-7 minutes, with 5 minutes on low speed and 1 -2 minute on medium speed. The actual time it takes you depends on your mixer.)

- Form the dough into a ball (it will be very sticky, but if it's too sticky to handle, then add a little bread flour and knead for another 1~2 minutes) and put it in a lightly greased bowl. Cover, and let it rise for 1 hour to 1.5 hours in a warm place (about 82°F to 90°F) until it doubles in size.
Assemble
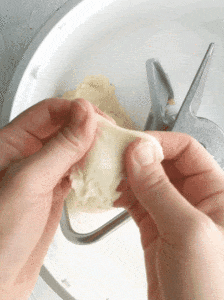
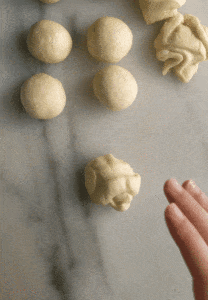
- Transfer the dough onto a working surface and cut it into 8 even pieces. Flatten the dough to deflate it before rolling each piece into a ball.

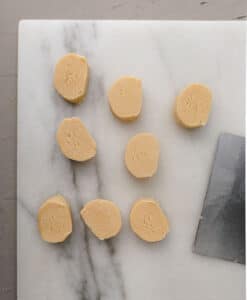
- Take the cookie dough out from the fridge and cut it into 8 even pieces.

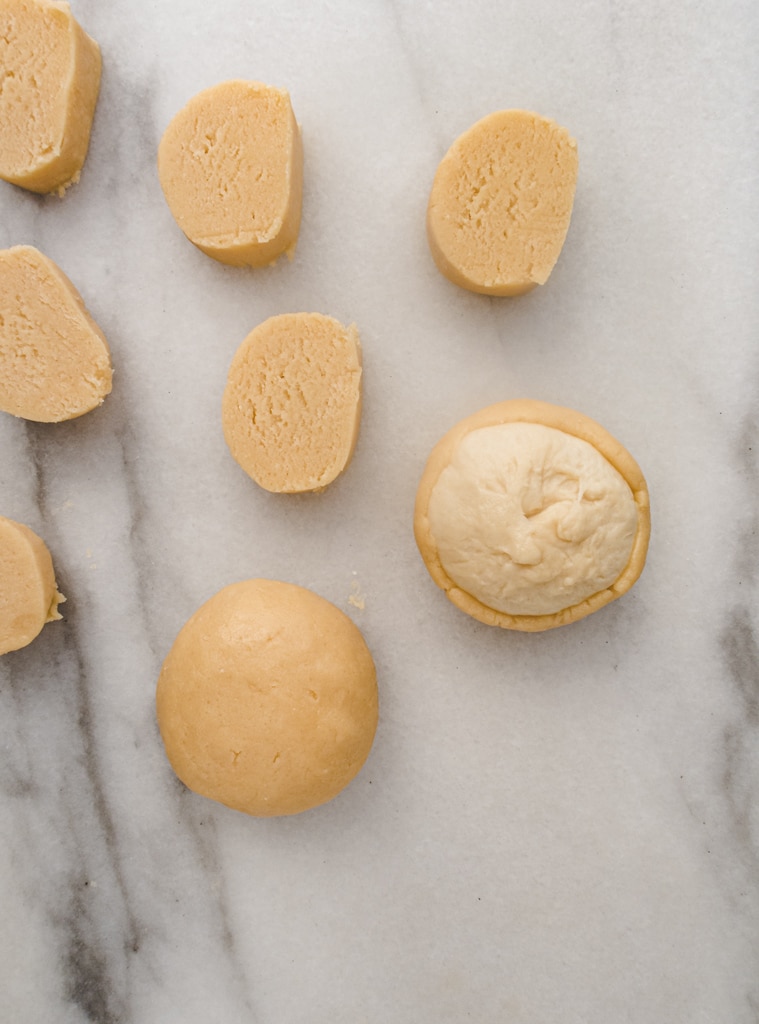
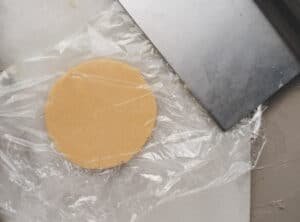
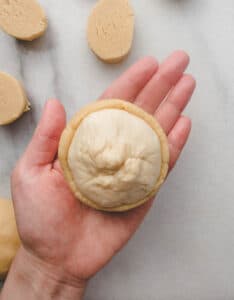
- Take one piece and roll it into a ball, put it between the plastic wrap and press it down with the bench knife to form a disk. I prefer having the cookie top covering the entire surface of the bun, so I usually press the edges down with my fingers to make it bigger and thinner before cover it on the bun.

- Place the cookie dough on the bun and wrap it over the top side carefully. Make sure to let the cookie dough stick directly to the bun dough without any gaps. Repeat the same for the rest of the buns and place them on a lined baking tray with 2½" (6 cm) space between each. If you cannot work fast enough before the cookie dough begins to soften, store half in the fridge until you are ready to work on them.

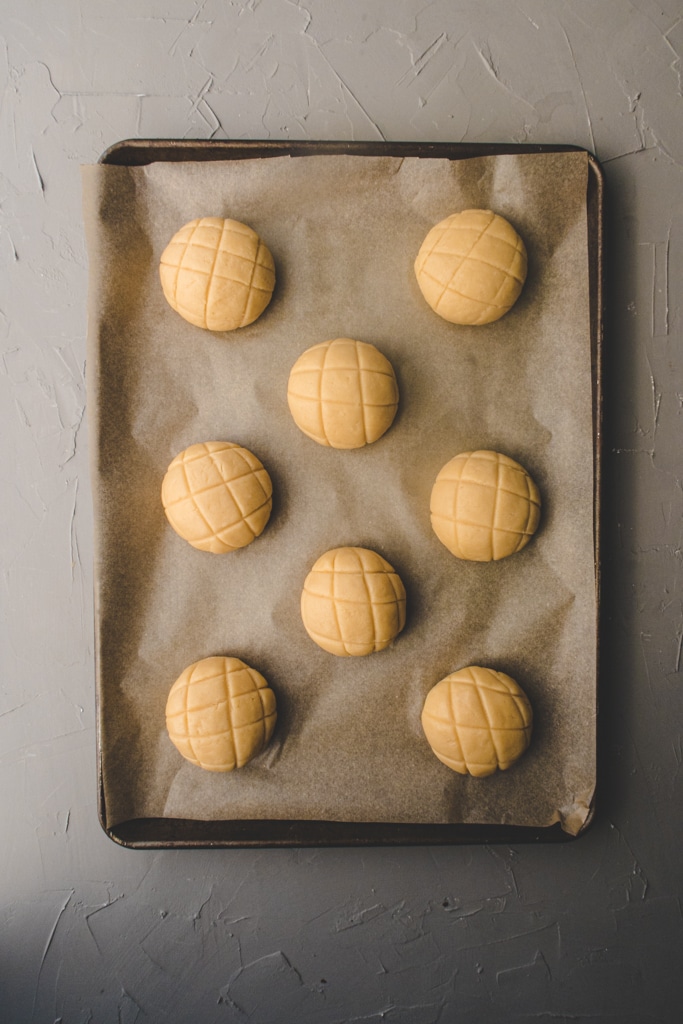
- Use a bench knife to make the classic criss cross patterns on the top of the buns if you like. You can also just let it split naturally after proofing, depending on your preference.
- Cover with plastic wrap and let it rise in a warm place (around 80-85°F) for around 60 minutes or until the expanding dough causes cracks/separation in the cookie top.
Baking
- Preheat the oven to 375°F (190°C) towards the end of the proofing process.
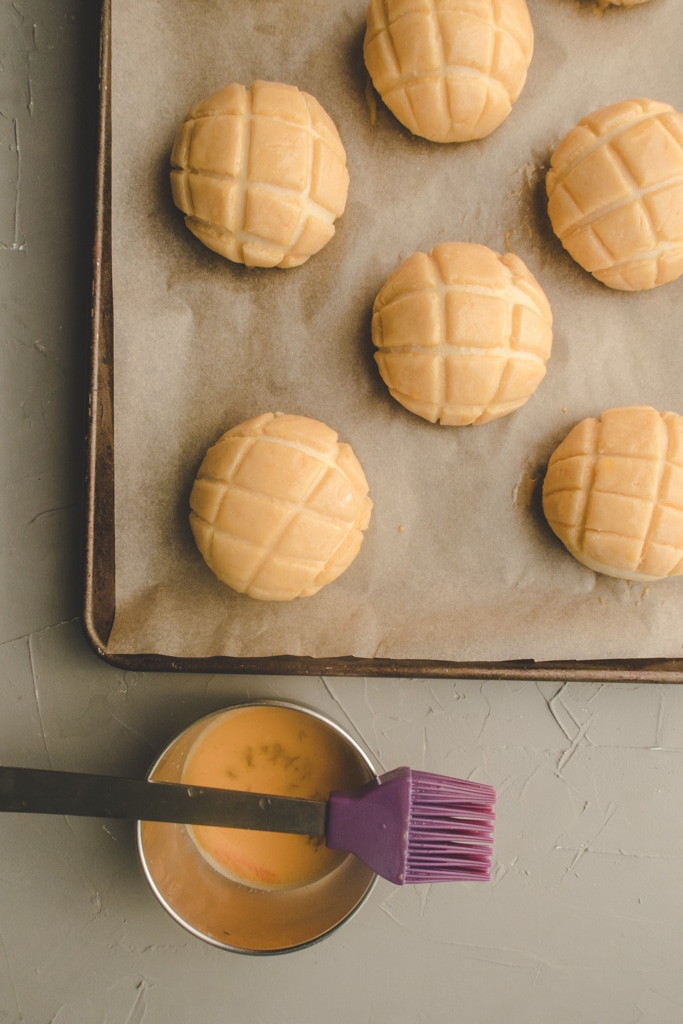
- Brush the top with egg wash or dust a layer of powdered sugar. Bake for 16 minutes or until the top is golden brown and crispy.
- Place the buns on a cooling rack and let it cool down for 5 minutes before enjoying.
I baked this recipe using the grams measurement and made sure I got every bit right and they came out amazing!!! The buns are very soft and airy, and it has the right amount of sweetness to it! My family loved the buns and I really enjoyed making them ☺️ Huge thanks for sharing the step by step and very detailed recipe! It helped alot mostly that I'm just new in baking!
Thank you so much Claudine! I'm glad your family loved the buns 🙂
These are legit bolo bao. They taste like the ones from Asian bakeries! Thank you for the recipe!
Thank you Landon! I'm so happy to hear that 🙂
Absolutely Wonderful! First off, thank you so very much for this recipe. I just made this today for my Taiwanese husband who raved about these! I’m a so so baker, and I’m not too familiar with Asian cooking. I’ve spent the last couple of years testing different recipes to try and treat my husband with dishes he may miss from his upbringing in Taichung. This was one of those recipes he just lit up about. He even sent pics of the buns to his parents to brag! Lol! These came out perfectly! The texture, the flavor, all of it was divine. I encourage anyone to try these. They will not disappoint. I did not wait for my tanzhong to develop overnight. I mixed it and added it within 15 mins. My buns still came out super soft inside. I used a scale and all purpose flour as I did not have the bread flour. I also doubled the recipe. So I have a batch of the buns shaped and frozen and ready to be proofed and baked for next week. I will definitely try some other of your recipes. Again I thank you so very much for sharing! This is a recipe I will be sharing and recommending to my family and friends.
Hi Jo, thank you so much for your comment! I'm so happy to hear your husband likes it! I'm impressed that you succeeded the first time as this is a more involved recipe. I'm very proud of you and hope you will like my other recipes as well! 😀
Hello, Claudine! I plan to make these next week, but I wanted to ask - will there be a difference if I put the topping right before baking vs before the second proof? It’s quite hot where I am, and I’m afraid the topping will melt. Thank you!
No Problem Candy! You need to put the cookie top before the second proof otherwise you will deflate the dough if you put it before baking. You can always shorten the proofing time by 10-15 minutes if you afraid it's too hot at where you're at. Happy Baking!
Oops I’m sorry, Edwina, I mistakenly caught the name of the first commenter Claudine 😂
Hi edwina! I was just wondering how come your tangzhong uses only water and flour? Most tangzhong recipes I've seen also includes milk. Thanks!
Hi Audrey, both milk and water will work, actually you can use any liquid to make tangzhong you want to use to make bread 🙂
Thank you so much for your response! Yours looks a lot easier with less effort so perhaps I'll just start with that instead of cooking and stirring on the stove top 🙂 have you tried doing that? Are the results more or less the same?
Yes, I do both way, depends on the recipe I use, the results are pretty similar.
how to add filling inside?
Hi, what kind of filling are you thinking?
This was by far the best pineapple bun recipe I've had success with. Also I made it vegan with the following adjustments for anyone else who wants to make it vegan-
Milk powder- substituted with diastatic malt powder
Egg- used JUST egg liquid
then the usual vegan adjustments-
Milk- used oat milk
Butter- plant based butter
Honey- maple syrup
Thanks so much!!